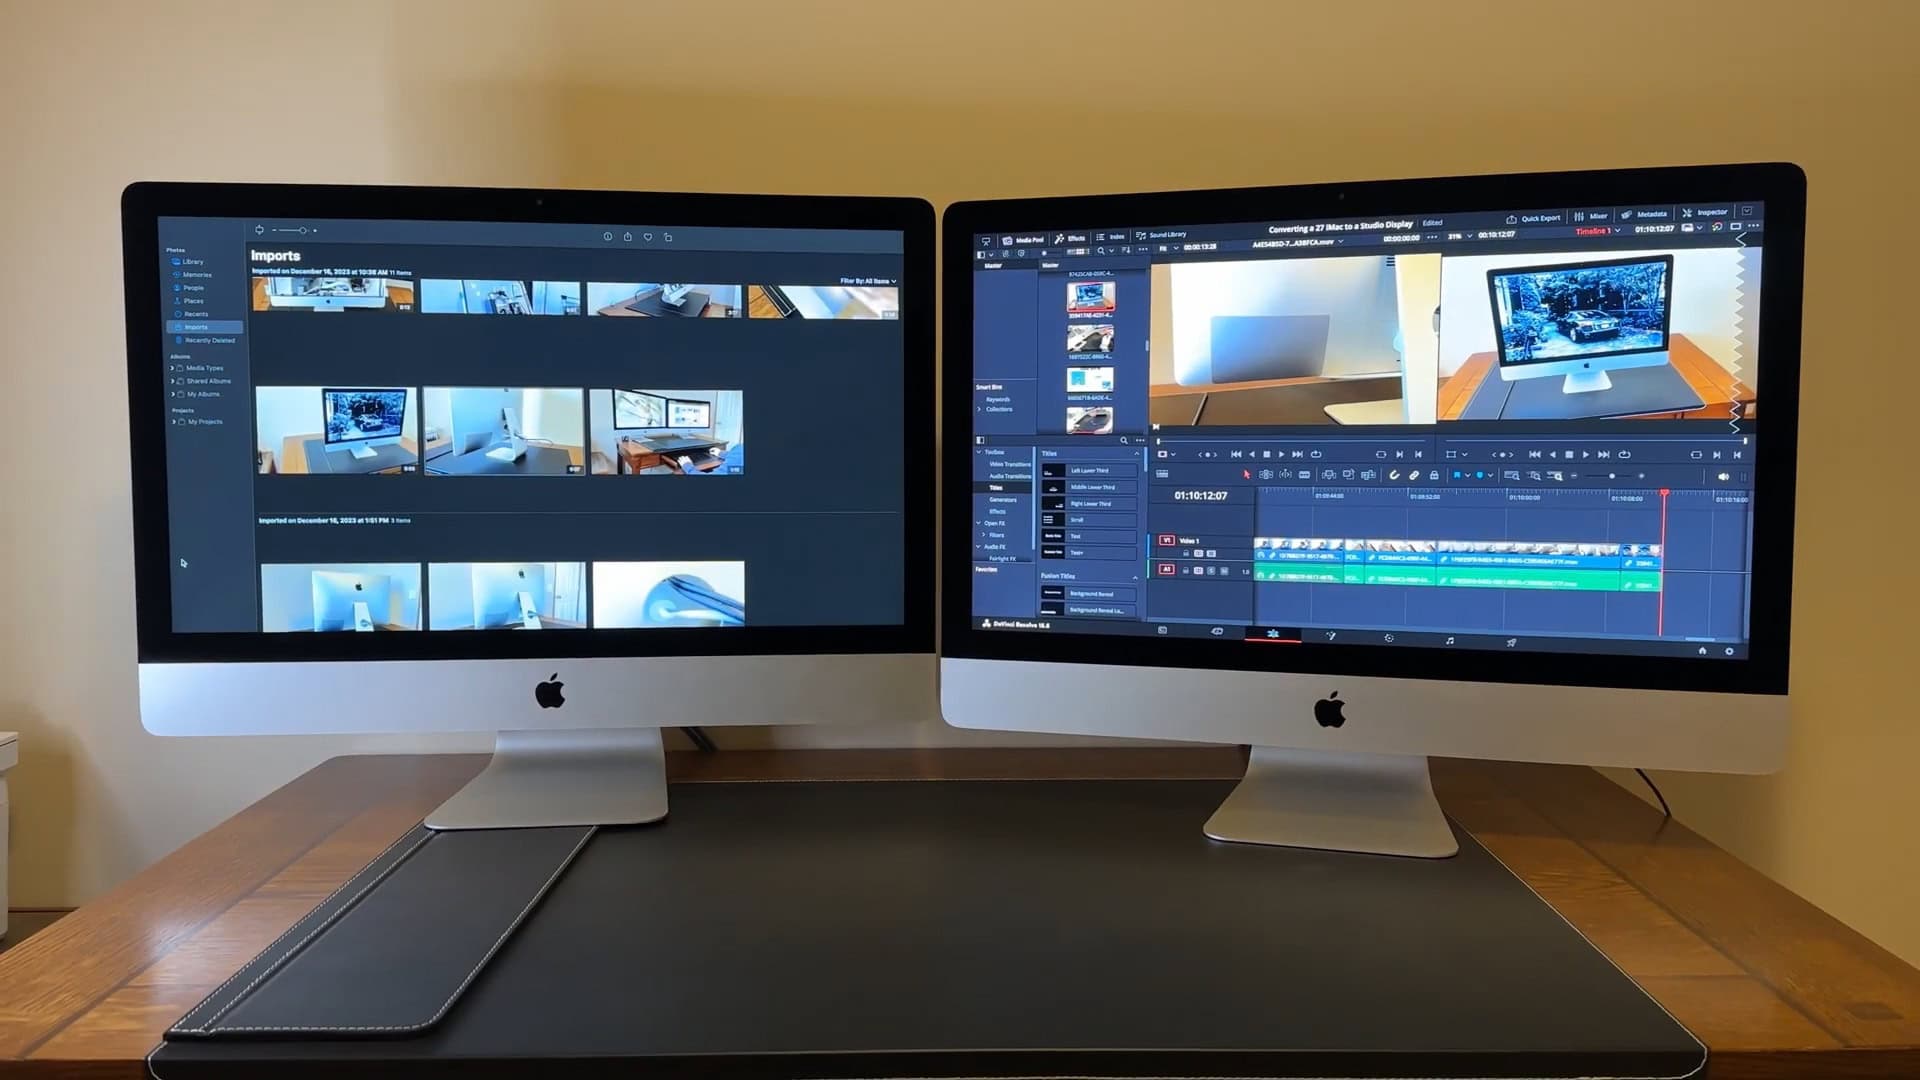
With some careful modding, you can use an iMac as a display — and save more than $1,300 to get a high-end monitor similar to Apple’s pricey Studio Display.
Apple’s Studio Display is one of only a small handful of 27-inch Retina 5K displays on the market, boasting a resolution of 5,120 × 2880. Unfortunately, it costs quite a handful — $1,599. If you have an old iMac 5K sitting around, you already have a computer with the exact same display panel inside. So if you are willing to spend about $190 in parts and can convert it to a Studio Display, you save a big chunk of change.
Here’s how you can mod it yourself — but be warned, it’s not for the faint of heart.
Use iMac as monitor: Make your own high-end display
Convert old iMac
Replacement display control board for 27-inch iMac 5K
This display control board for the 27-inch iMac with 5K Retina display allows to use the old computer as a high-end external display. The iMac with 5K Retina display uses the exact same panel as Apple’s high-end, $1,600 Studio Display monitor. The control board has two HDMI input ports and two DP ports.
Connect the speakers
iMac speaker crossover kit
This speaker crossover kit allows you to connect a replacement display controller board to the internal speakers of a 27-inch iMac 5K.
iMacs used to be able to work as a secondary display, using something called Target Display Mode. Unfortunately, after the switch to Retina displays, this feature was dropped and never returned.
If you have an old iMac 5K sitting around, this mod can give it a new life. But it isn’t easy. You’ll need to carefully disassemble it and remove all its parts, order a replacement display board and power supply, wire it all together, and put the computer back in one piece again. It’s not an easy afternoon side project. The parts will still run a few hundred dollars and it could take a few days of work.
Watch the video below or read the directions to see what you’re signing up for.
Table of Contents:
- Buy an iMac 5K
- Remove its display
- Buy the replacement parts you need
- Remove all the iMac internal components
- Wire together your replacement parts and test
- Secure your components inside the case
- Test it extensively before gluing the display back together
Buy an iMac 5K
First, you’ll need a sacrificial iMac 5K. As of December 2024, you can buy old iMacs on eBay for about $250 – $500.
Some of the tools you’ll need for to use the old iMac as a monitor:
Remove its display

Photo: Run Young/YouTube
Unfortunately, you need to partially disassemble the machine before you can make your complete shopping list. That’s because you need to get the part number for your exact display panel in order to buy a replacement board, and the part number is printed on the inside.
If you buy a replacement adhesive kit for your display, it’ll likely come with the tools you need to pry the panel off. Carefully run your opening tool around the edge of the display, like a pizza cutter, and run the card behind it to separate the glue. For detailed instructions, follow iFixit’s steps.
Buy a replacement controller board, power supply, speaker kit and lead weights

Photo: Run Young/YouTube
Now with the display off, take a look at the sticker on the bottom of the display panel. There’s a part number that starts with LM270QQ1(SD), and you need to take note of the revision number — A2, A3, B1, C1, E1 or F1. Make sure you buy a matching replacement board, which are priced at about $170.
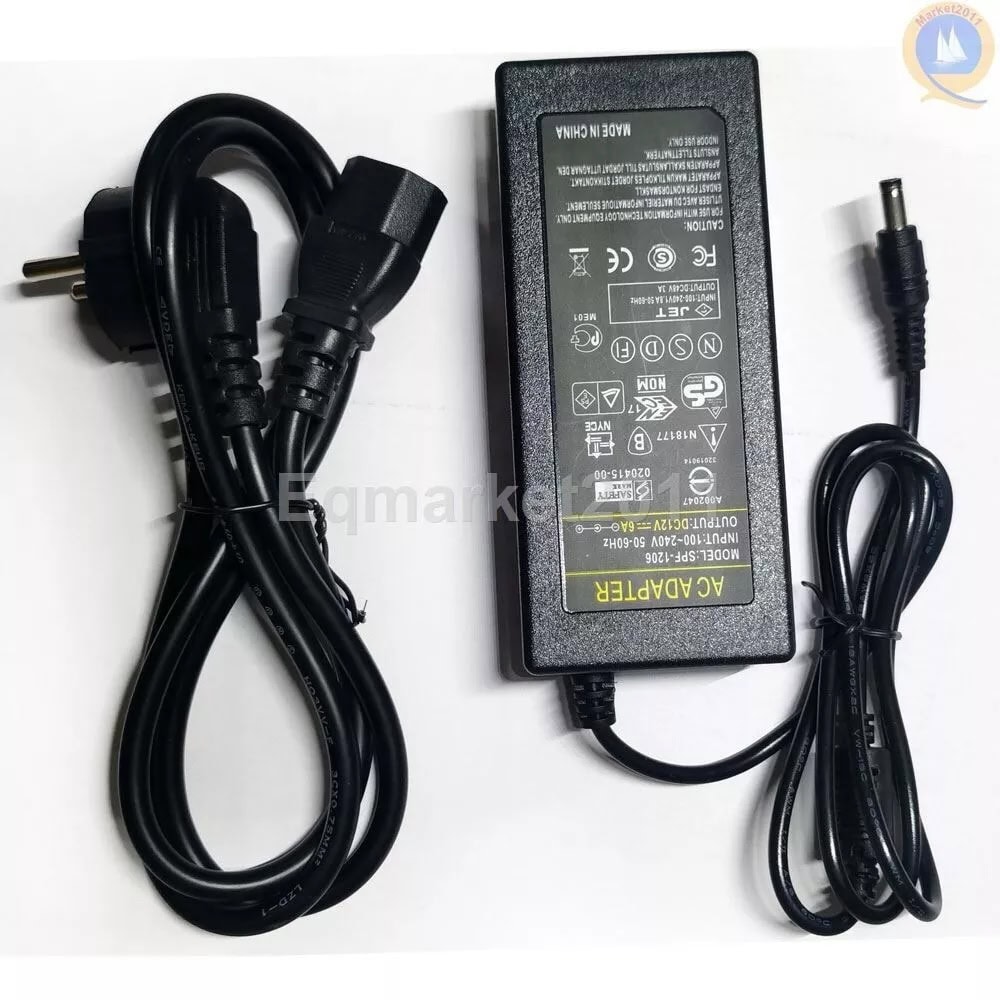
You’ll also need to buy a power supply. In the example video shown above, they purchased a 12V 6A power supply (about $19) from the same seller — double check whether or not the controller board you bought requires the same voltage and amperage.
Optionally, if you want to reuse the internal speakers, you’ll also need to buy a speaker crossover kit. In the example video, this component didn’t work very well, but your mileage may vary.
Your replacement components will be much lighter than the computer previously residing in the case. The tilting screen won’t be as balanced, tilting itself upwards. Adding three one-pound lead weights to the inside of the case will correct for the difference.
Remove all the iMac internal components

Photo: Run Young/YouTube
You’ll need to carefully unscrew and remove all the internal components of the iMac 5K. Many of the parts can be resold, which can make you back a bit of money, so take care. I recommend wearing gloves when you remove the power supply.
For highly detailed instructions, consult this iFixit guide. Follow along through removing the logic board from the case.
Wire together your replacement parts and test

Photo: Run Young/YouTube
Take the two cables hanging off the iMac display panel and connect them to your replacement display board. Plug the display board into your power supply, and plug that into an outlet.
You’ll want to test it at this stage by plugging another computer into the DisplayPort connectors on the back. (Earlier iMacs require two DisplayPort cables.) If your computer successfully connects to the iMac as an external display, great!

Photo: Run Young/YouTube
If you bought the speaker crossover kit, connect the left and right iMac speakers to the two boards and plug those into your display board.
Optionally, if you’re comfortable with soldering, you can wire the iMac’s built-in power cable port and power button into your own power supply cable and controller board. This will make the overall package look and feel nicer, as you’ll be able to use the button and port built into the case. Be sure to test it again after you’ve done this before proceeding.
Secure your components inside the iMac monitor case

Photo: Run Young/YouTube
Now it’s time to put it all back together.
Instead of using hot glue, like the video shows, I recommend Velcro strips — power supplies generate a lot of heat and could melt regular glue. It’s heavy, so use a big piece. Secure the replacement display board with Velcro strips as well. Cables can be secured in place with tape.
Route the display cable (or both of them) through the opening in the back.
Glue in the lead weights into the bottom of the chin.

Photo: Run Young/YouTube
Optionally, if you want the cable(s) to look nicer coming out of the back, you can drill a circular hole in the metal RAM plate and put a rubber grommet on it. You may also cover up the rear ports of the iMac with a trackpad cover.
Test your iMac monitor extensively before gluing it back together

Photo: Run Young/YouTube
Put the display back in place, and tape it on for now — you want to test it again with everything in place before it’s sealed. The more testing, the better. In the video above, they kept it like this for a few days to make sure nothing breaks.
Glue the display back together whenever you’re confident in your work. Be absolutely sure the display is centered on the metal frame before you seal it on.
Your control board may come with a remote control that will allow you to adjust the brightness, contrast, temperature and other settings on the iMac display. If this is going to be used as a second display in a setup, you can precisely match the color and configuration of both displays.
Use iMac as monitor: Give old tech new life
After all your handiwork is done, you’ve likely saved between $1,000 and $1,300 — and picked up a few DIY electronics skills. And your use of an old iMac as a monitor likely saved it from the landfill. Congratulations!
Convert old iMac
Replacement display control board for 27-inch iMac 5K
This display control board for the 27-inch iMac with 5K Retina display allows to use the old computer as a high-end external display. The iMac with 5K Retina display uses the exact same panel as Apple’s high-end, $1,600 Studio Display monitor. The control board has two HDMI input ports and two DP ports.
Connect the speakers
iMac speaker crossover kit
This speaker crossover kit allows you to connect a replacement display controller board to the internal speakers of a 27-inch iMac 5K.


