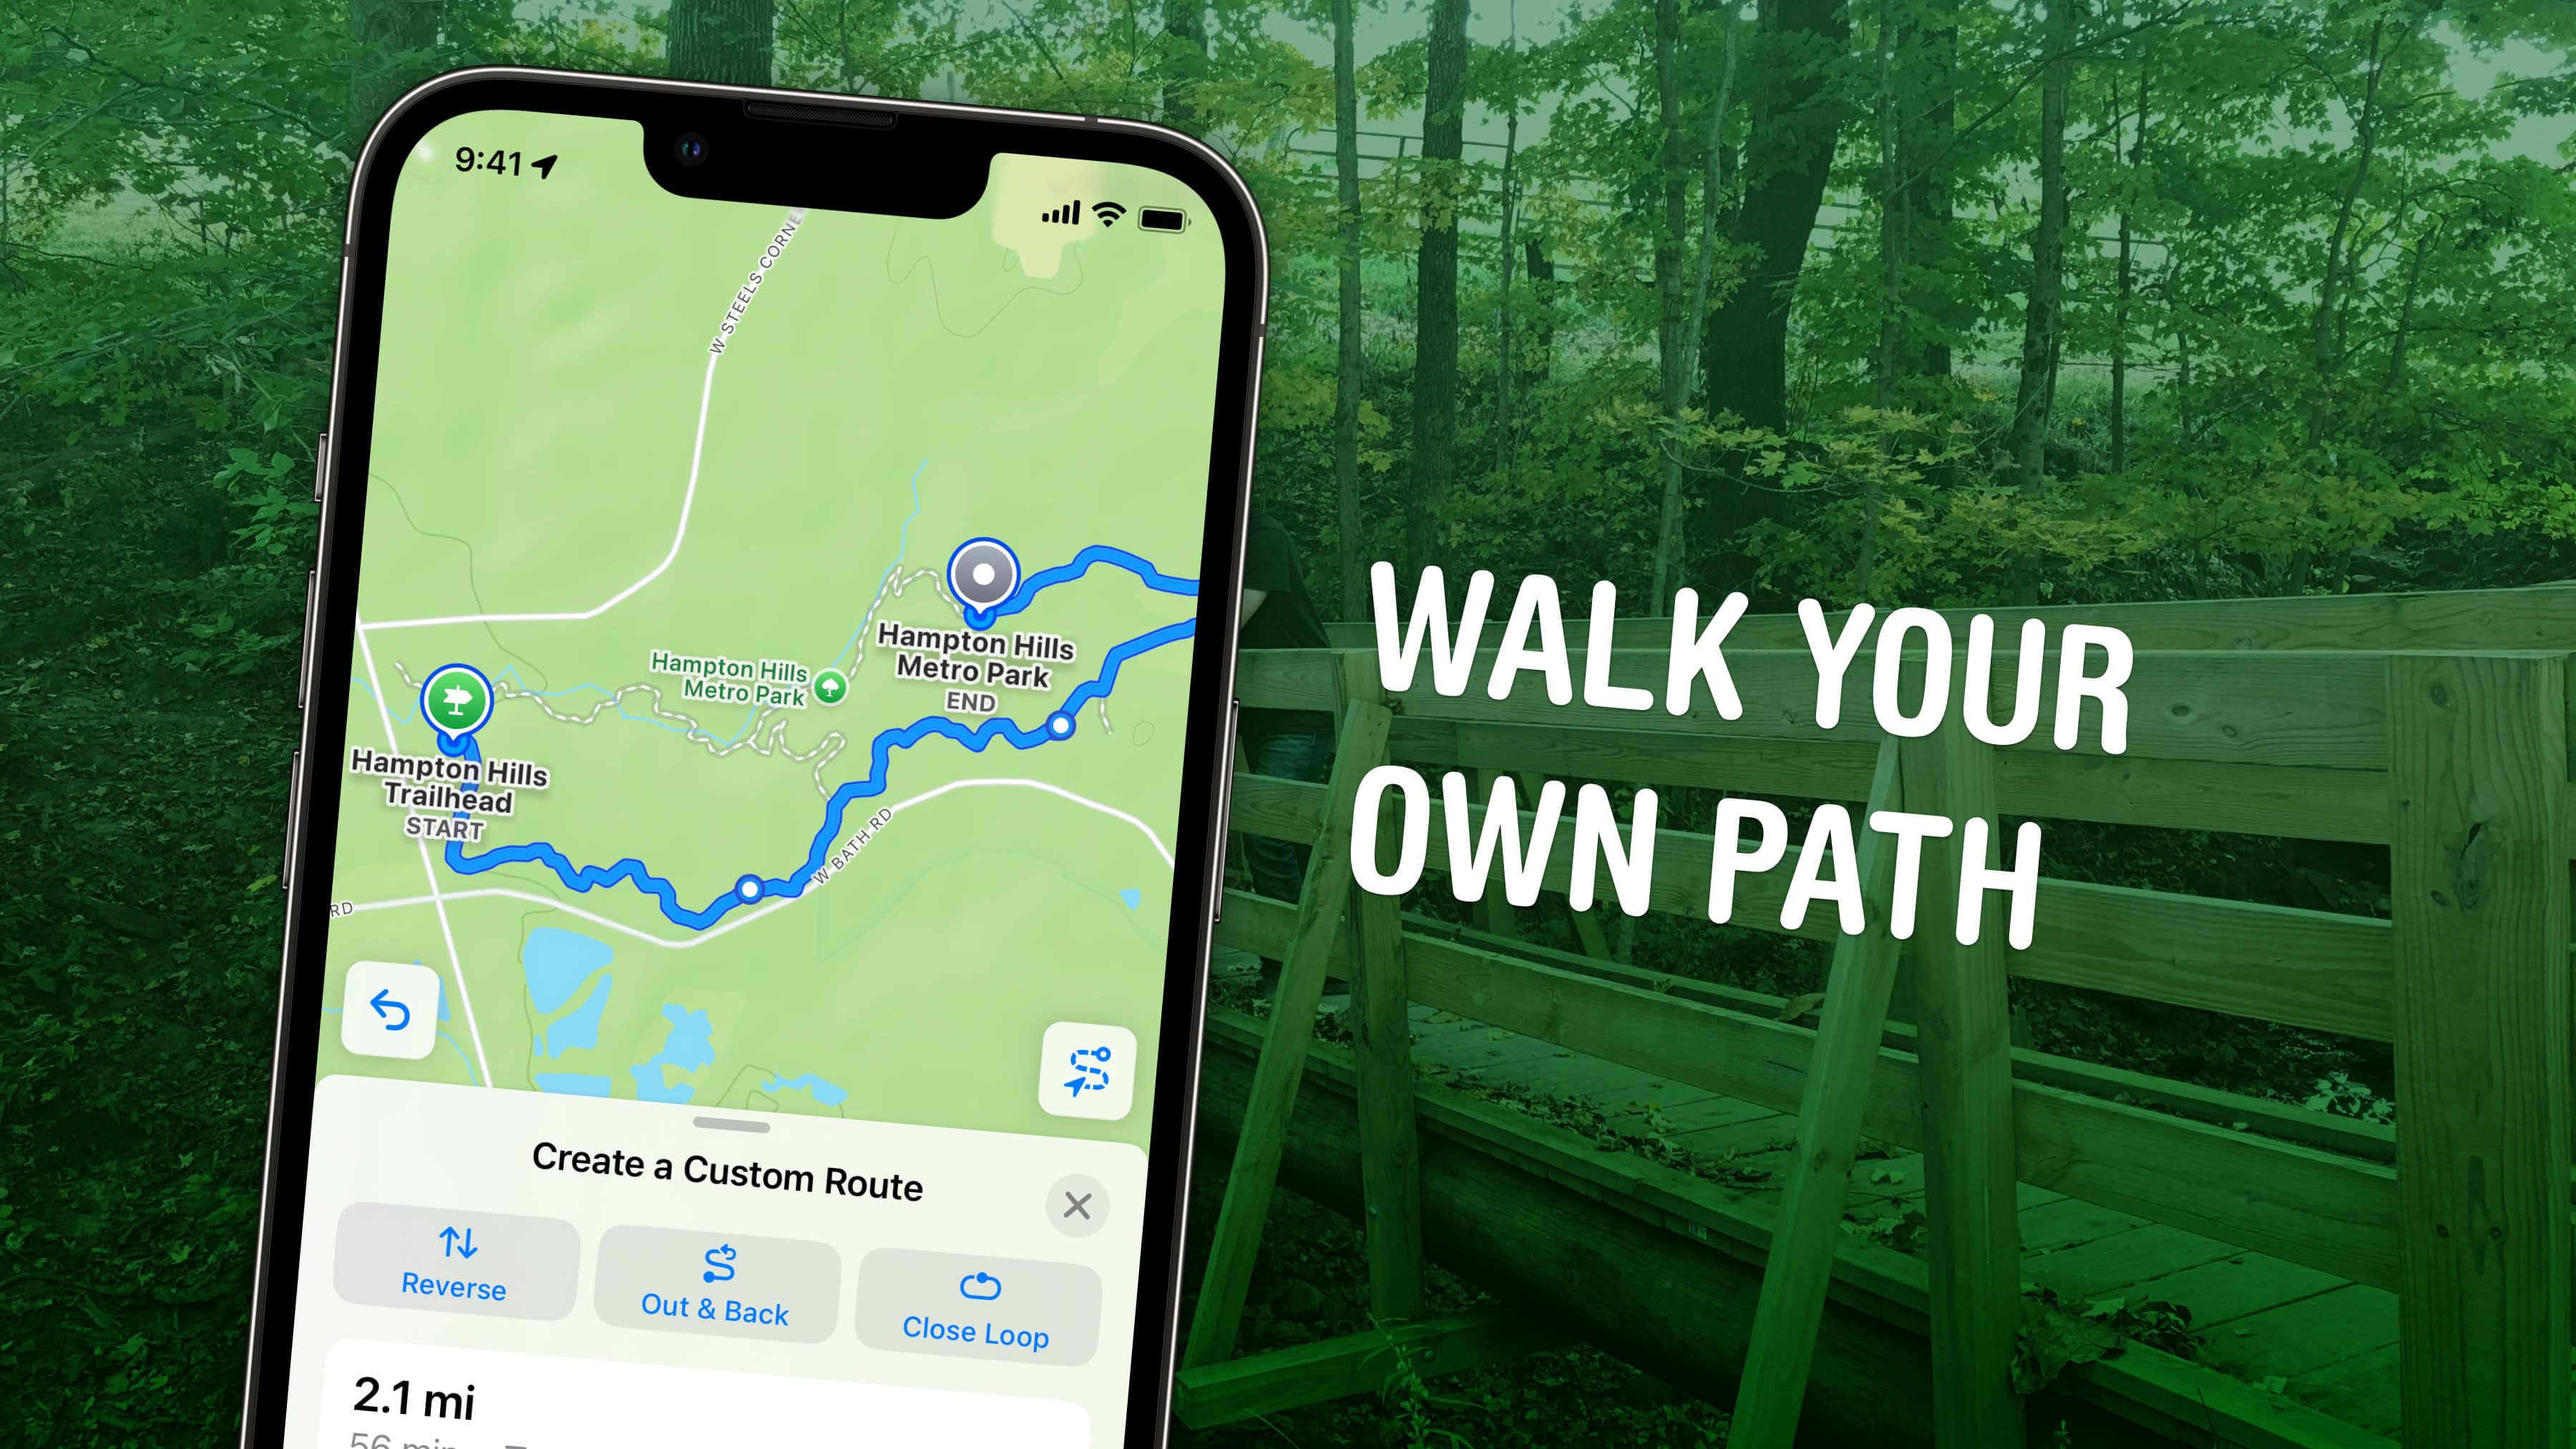
You can get rich topographical hiking maps of local trails and U.S. national parks on your iPhone, right in Apple Maps. New in iOS 18, you can build custom routes connecting walking paths and save them to your device for offline access.
You can use this feature to plan a hike as a day trip. Planning your route in advance could save you the hassle of getting lost without a signal — or keep you from starting an overly ambitious hike.
According to Apple, the update comes with data for “all 63 U.S. national parks.” In my testing, Apple Maps showed a thorough knowledge of the trails in northeastern and Appalachian Ohio, too. It could contain detailed trail data about your local park as well.
Here’s how to make the most out of the new hiking maps in iOS 18.
How to get hiking directions in Apple Maps
Note: These hiking features are new to iOS 18 — available now in a public beta. Apple will release iOS 18 this September, and the update will work with any device currently running iOS 17.
Table of contents: How to get hiking directions in Apple Maps
Find hiking maps and trails

Screenshot: D. Griffin Jones/Cult of Mac
After you update to iOS 18, you can find hiking trails in a few different ways in Apple Maps. Just search “hiking” to bring up results in your area and show them on the map. You can filter for length, elevation and more. You also can tap on a park and find a list of hikes by scrolling down to the “Hikes” section on the page.
Apple Maps displays hiking trails as white dotted lines. Small circles on the map designate intersections. When you zoom into an area while looking at a park, path or trail, you’ll see contour lines drawn on the map indicating the topography.
Get details on trails and hikes

Screenshot: D. Griffin Jones/Cult of Mac
You can tap on a trail in Apple Maps to see details like its length, highest and lowest elevations, and the various trailheads (entrances and exits) along the path. If the trail falls outside of typical cell coverage, tap Download to make sure you can navigate around on your hike at all times.
Scroll down and you may see predesigned hikes along the trail. You’ll see in the preview card an outline of the path, the overall distance and the change in elevation. Tap to see details with an elevation map and walking time estimate. Tapping Add to Library will let you download the map and enter a custom title and description of the hike for your library. Tapping Directions will navigate to the start of the hike from your current location.
Build custom paths in Apple maps

Screenshot: D. Griffin Jones/Cult of Mac
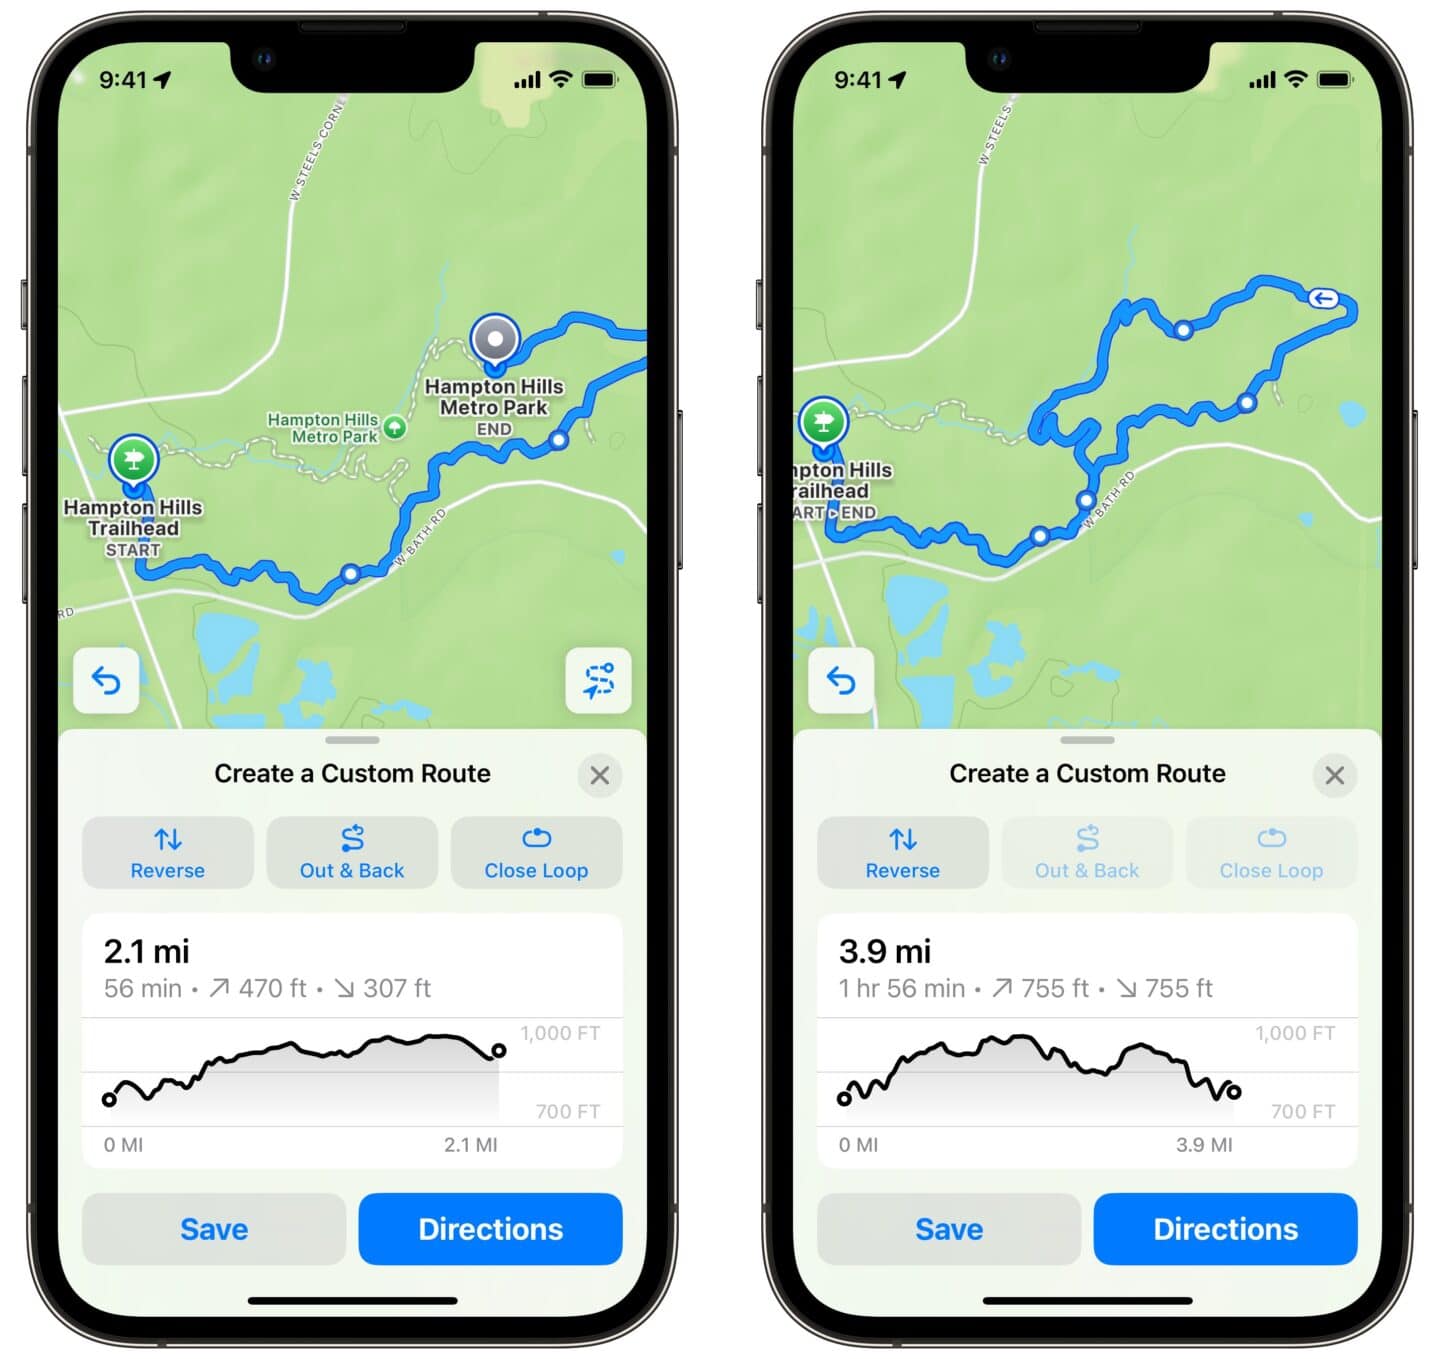
If a trailhead is part of a network of paths, you’ll see an option to Create a Custom Route. Tap on different parts of the trail to draw out the path you want to walk. If you make a mistake, tap the Undo button to the left.
Slide up on the sheet at the bottom of the hiking map for additional info and options. After you start drawing a path, you can tap Out & Back if you want to turn around and go back the way you came, or Close Loop if you want to take the shortest route back to the trailhead. The graph below the trail map will show your elevation and estimated walking time.
Hitting Save will let you give the route a custom name and description, and allow you to download the path. Directions will start navigating to the trailhead. Tap the × to delete the route or start over.
More iOS 18 features
Now that you know how to create custom hiking maps in Apple Maps, check out some of the other great new features in iOS 18:


