Key Takeaways
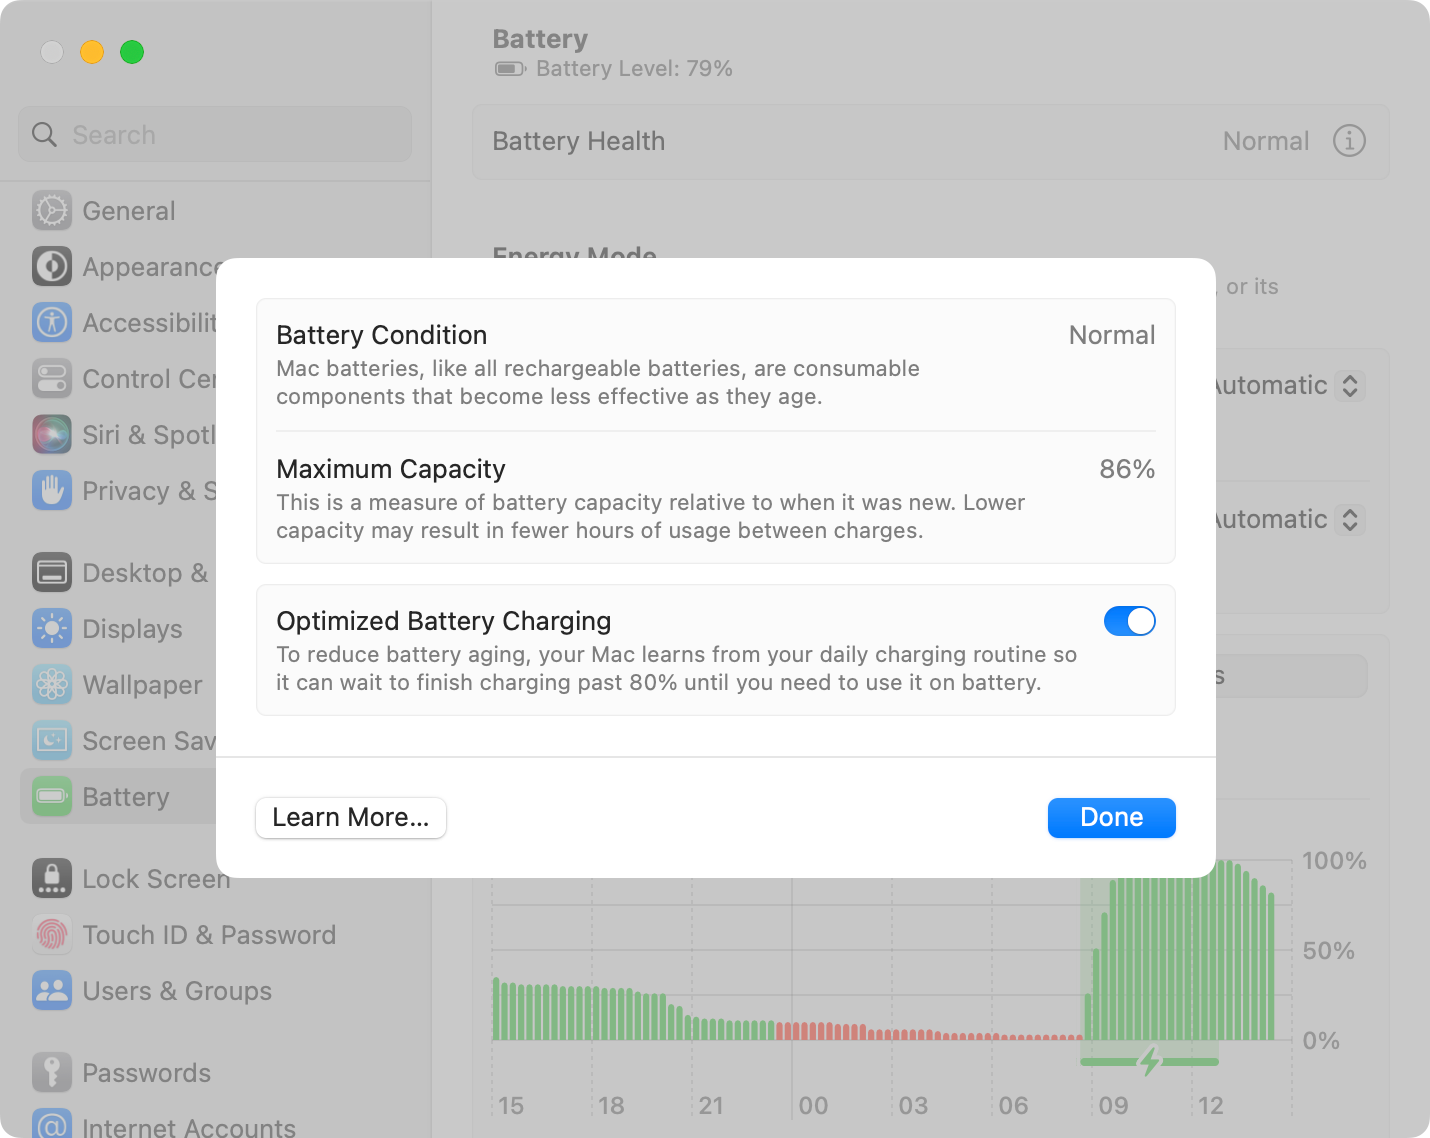
- If your MacBook battery is stuck at 80% capacity, that’s because Optimized Charging is enabled. Disable under System Settings > Battery.
- Otherwise, check basic connections. Ensure your charger is properly connected to the MagSafe or USB-C port, and look for LED indicator lights.
- Then, clean ports and connectors. Remove any debris from the ports using a soft brush or wooden toothpick, and inspect the cable and adapter for any damage.
Plugged your MacBook charger in and nothing happened? There are some obvious, not-so-obvious, and downright unpredictable reasons why your MacBook might refuse to charge. Here’s a checklist to run through to troubleshoot the problem.
Optimized Charging Can Interfere with Charging
Optimized Charging is a setting that’s built into modern Mac models that is designed to prolong battery life by keeping your battery at more stable percentages until it is required. For example, if you take your MacBook off the charger at 8 a.m. every morning, your MacBook will only be charged to 80% capacity if you happen to pick it up at 5 a.m. instead.
Your MacBook will learn your habits and charge based on usage patterns. Since keeping lithium batteries at full charge causes faster degradation of the cell, keeping the battery at 80% is a good way of prolonging its lifespan. Learn more about protecting your MacBook battery and optimized charging.
You can disable this feature under System Settings > Battery, which will cause your MacBook to immediately charge to 100% when you leave it plugged in. You might want to do this if you find yourself frequently caught short by the feature, but we’d recommend most people leave Optimized Charging enabled to extend the overall lifespan of their battery.
We’ve Got to Ask, Is It Plugged In?
You’ve probably made this mistake before, so before we get too far ahead of ourselves and start suggesting less obvious fixes it’s a good idea to make sure the basics are taken care of.
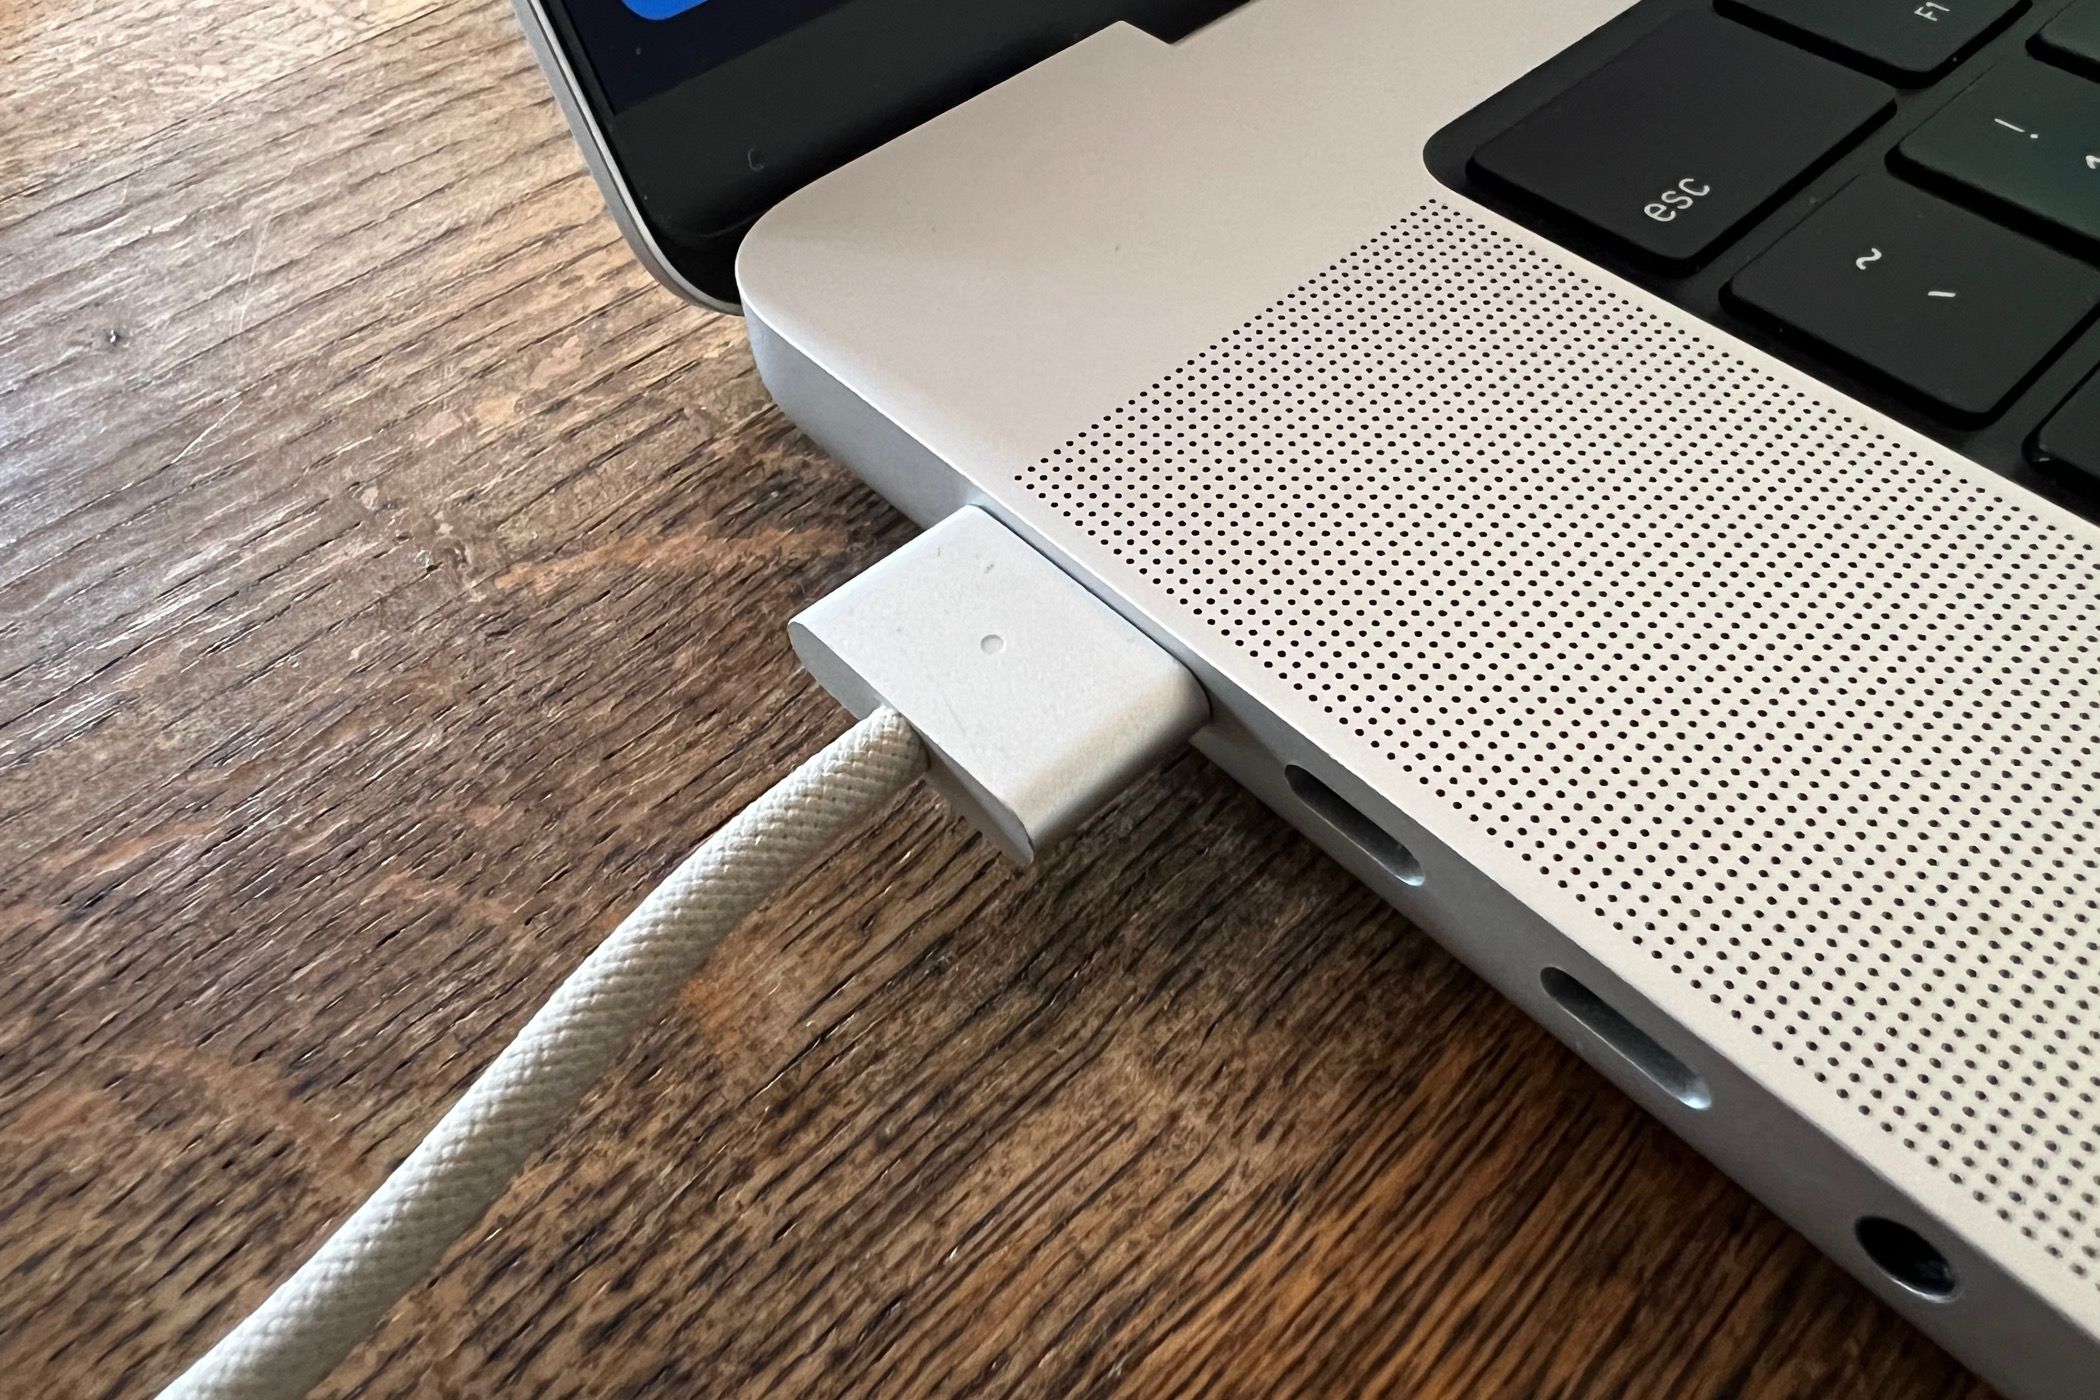
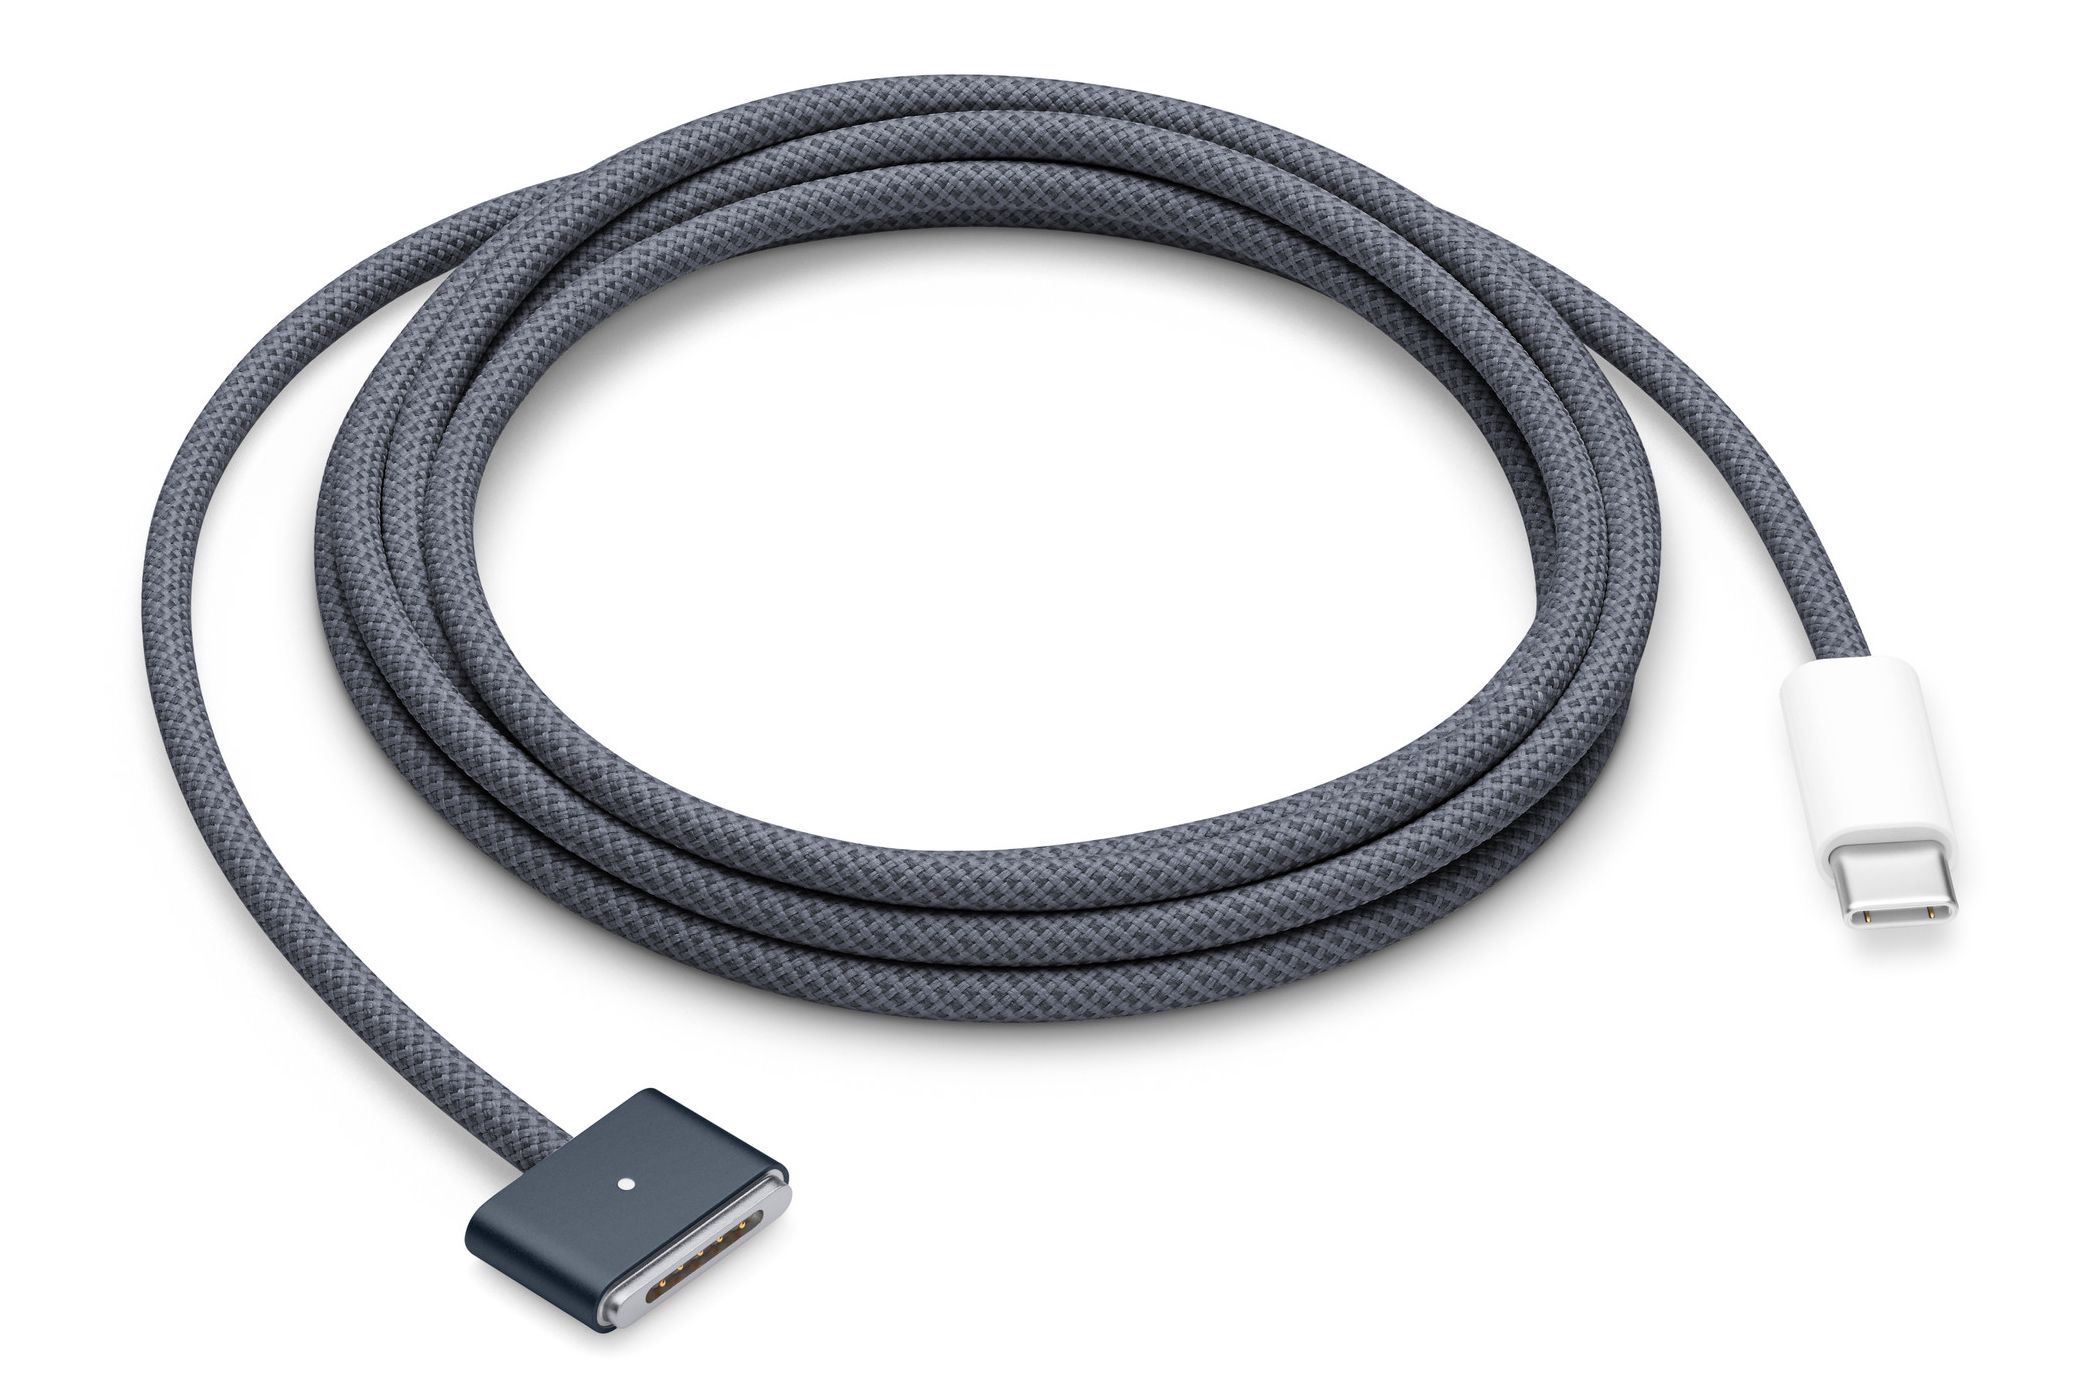
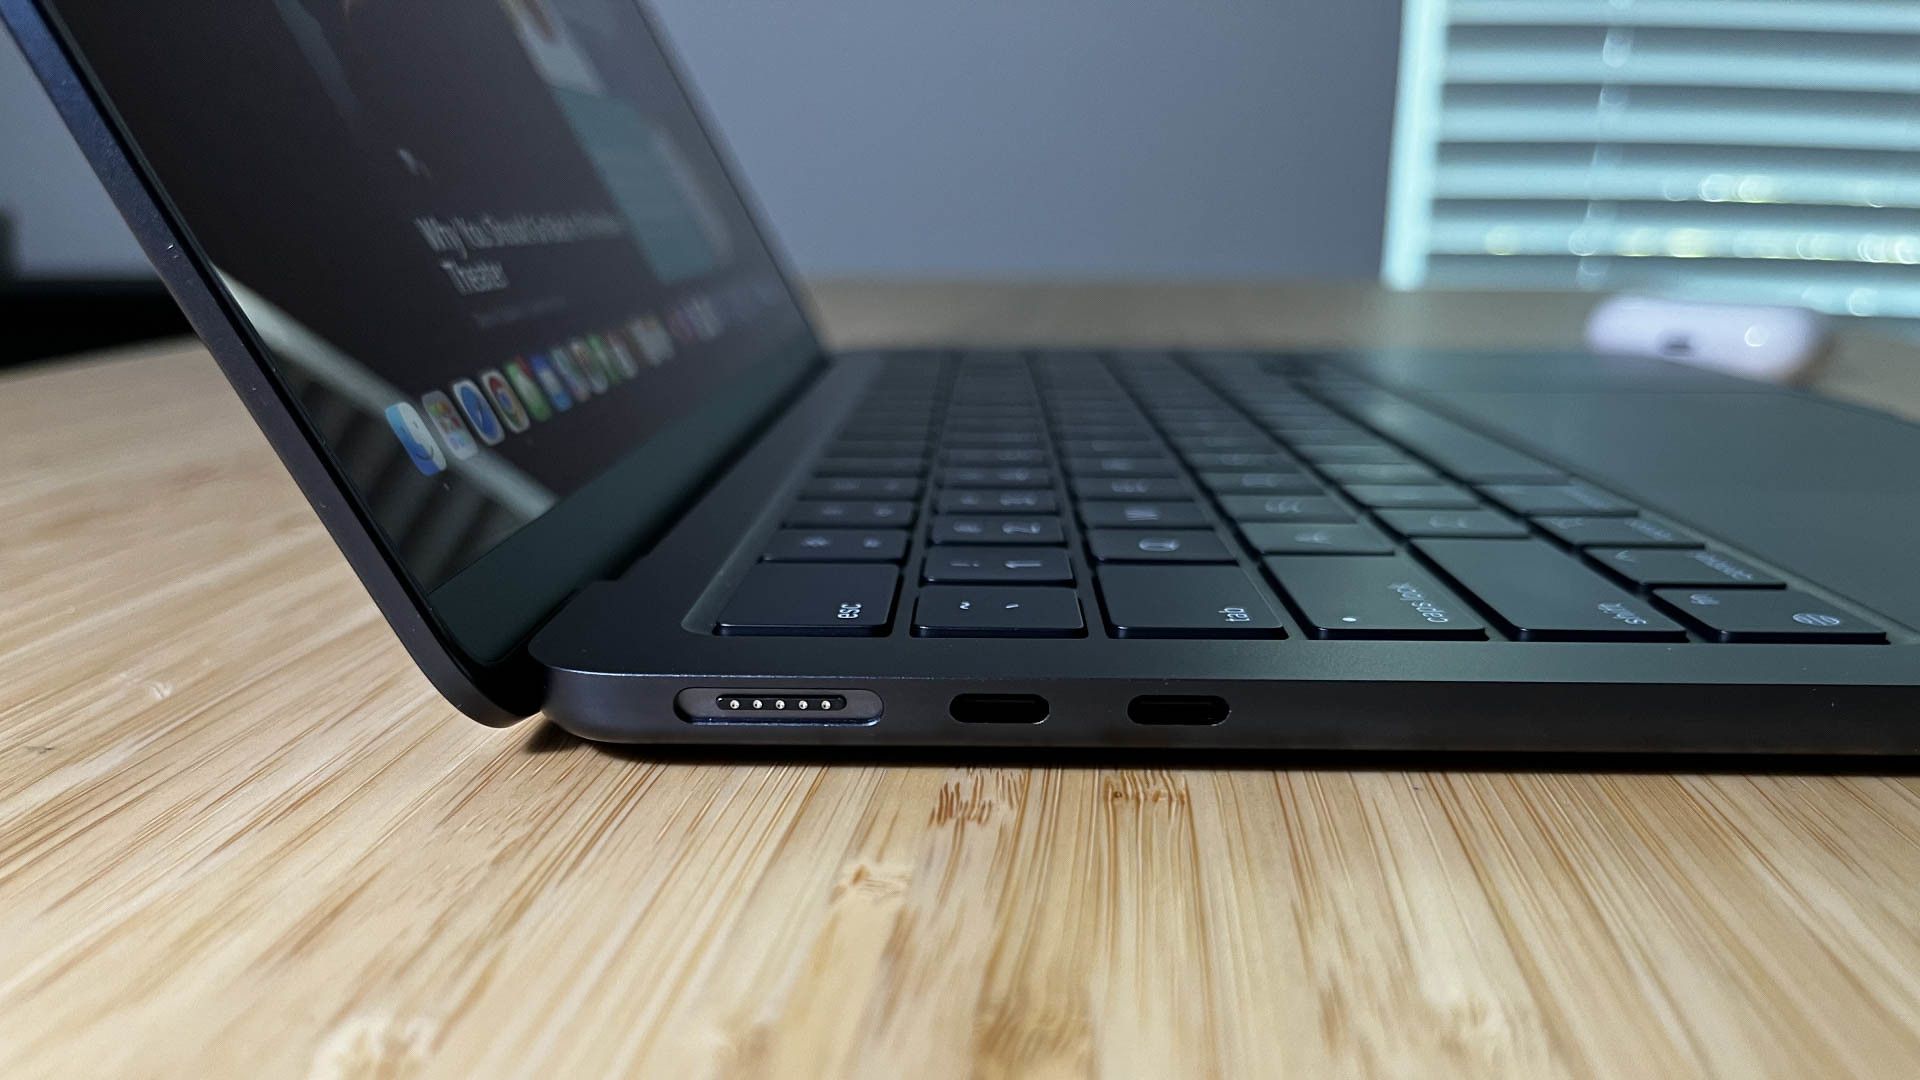
Trace the charging cable from the adapter at the wall (which should be turned on) to your MacBook. Make sure that the charger is properly seated in the MagSafe or USB-C port. If you have a MagSafe cable, it should have an LED indicator on it.
Steady green means that there’s power and that your battery is full, steady amber (yellow) means that there is power and that the battery is currently charging. A flashing LED means that something is potentially wrong with the charger or your Mac (not the most helpful of information, we know).
Is the MagSafe or USB-C Cord Connected Properly?
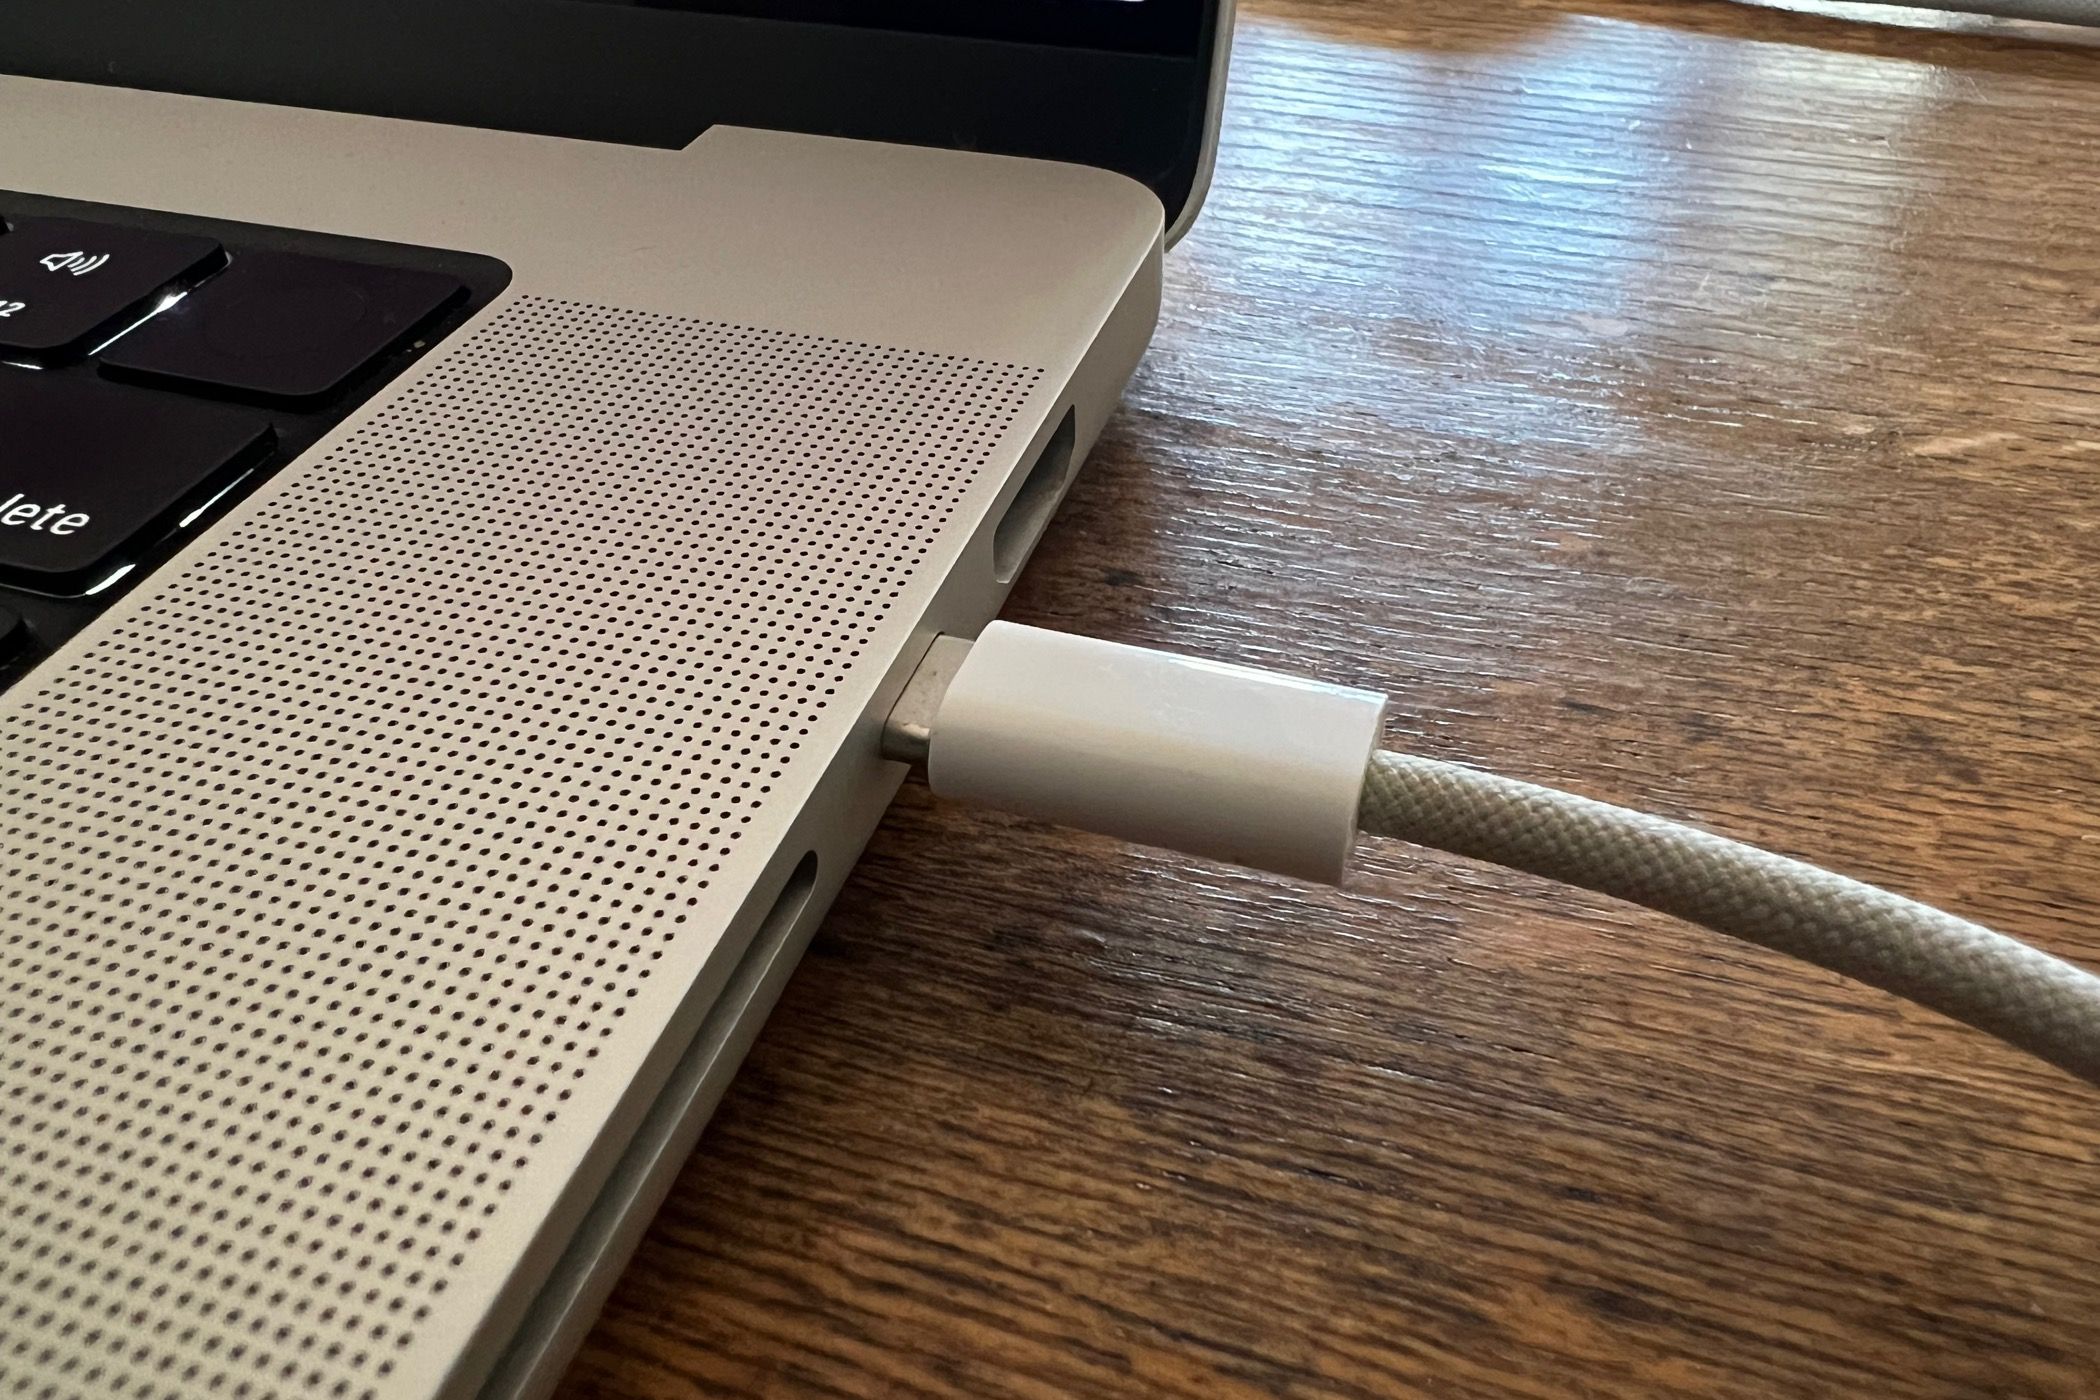
Whether you have a MacBook that charges using a MagSafe adapter or a USB-C cable, make sure that the charger is seated correctly. This is more common with MagSafe chargers, which can sometimes sit just to the side of the connectors and make only partial contact with the pins.
Take the connector out, put it back in, and make sure it’s connected properly. There is no “right way” to connect a MagSafe or USB-C charger, they’re completely reversible. If you have a wall adapter with a removable cable, make sure the cable is connected properly there too.
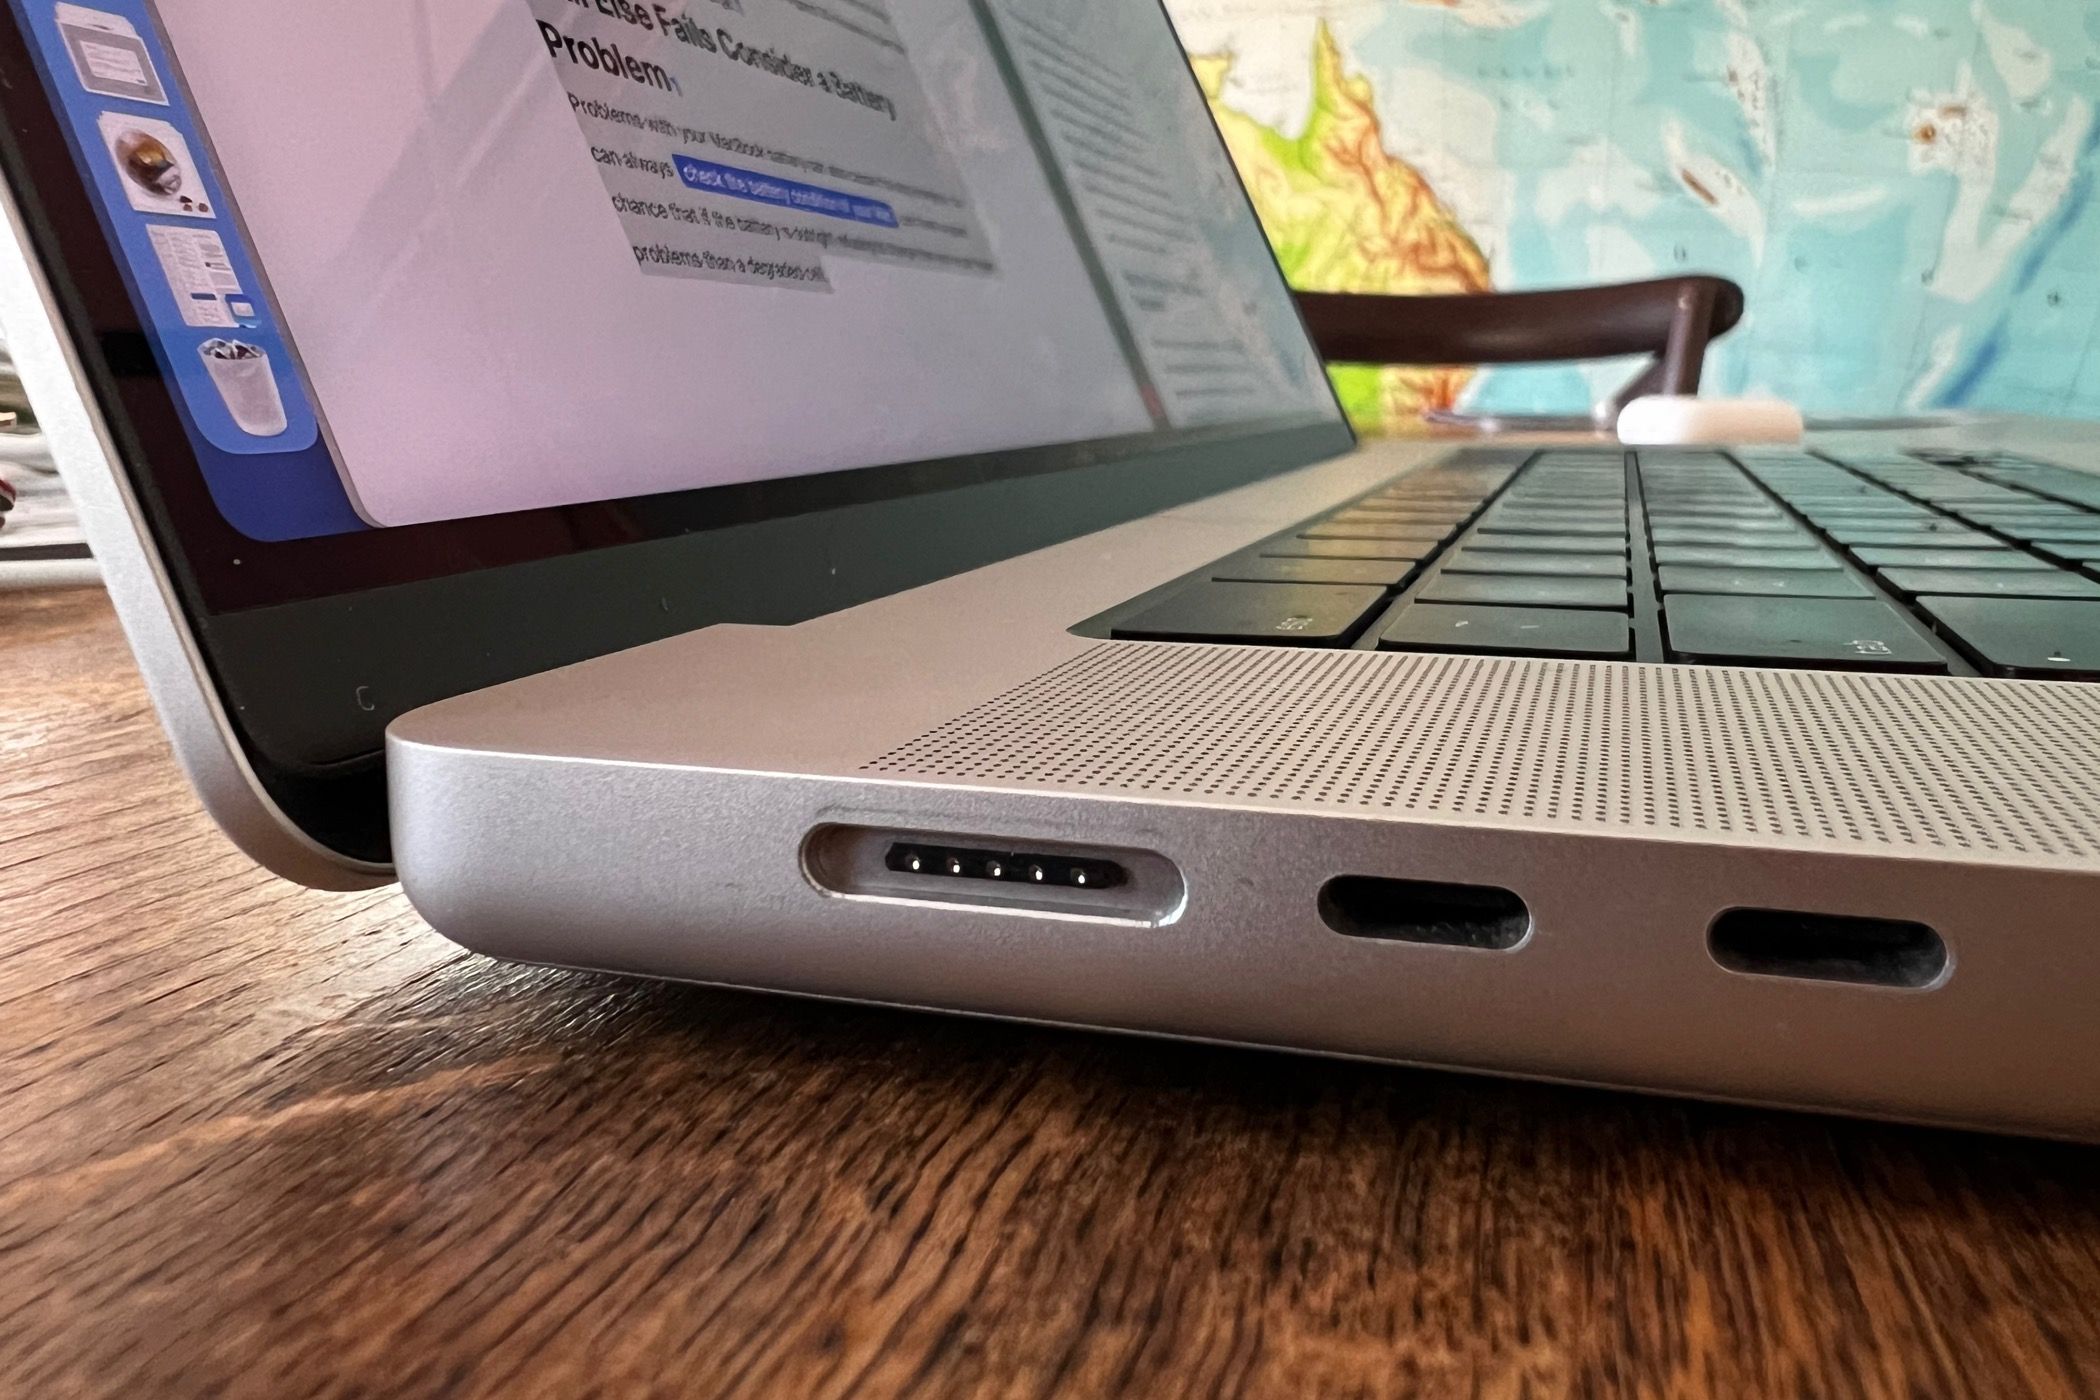
Compared to a USB-C port, the MagSafe port is quite large. This can lead to lint and other debris gathering in the port, which prevents the charger from making proper contact. Remove the charger and take a good look at the port and the connector.
It’s a good idea to unplug your charger from the wall before you start poking around to clean it. Remove any debris with a soft brush or a wooden toothpick (avoid using metal or otherwise damaging the pins). You should be able to see the gold contacts on both the port and the connector.
MacBooks that charge over USB-C are less prone to this problem, but it’s still possible. Try using another USB-C port to see if the problem persists. You can also clean your USB-C cable using a soft brush, but be careful you don’t damage the pins if you stick anything in there.
Has the Charger or Cable Been Damaged?
Cables don’t last forever, and a frayed cable can be a danger to you and your laptop. In the best-case scenario, a severely damaged cable will simply refuse to charge your laptop. Sometimes damage isn’t as obvious as a cut or fraying wire, but may present as “pinched” wires or cracked connectors.
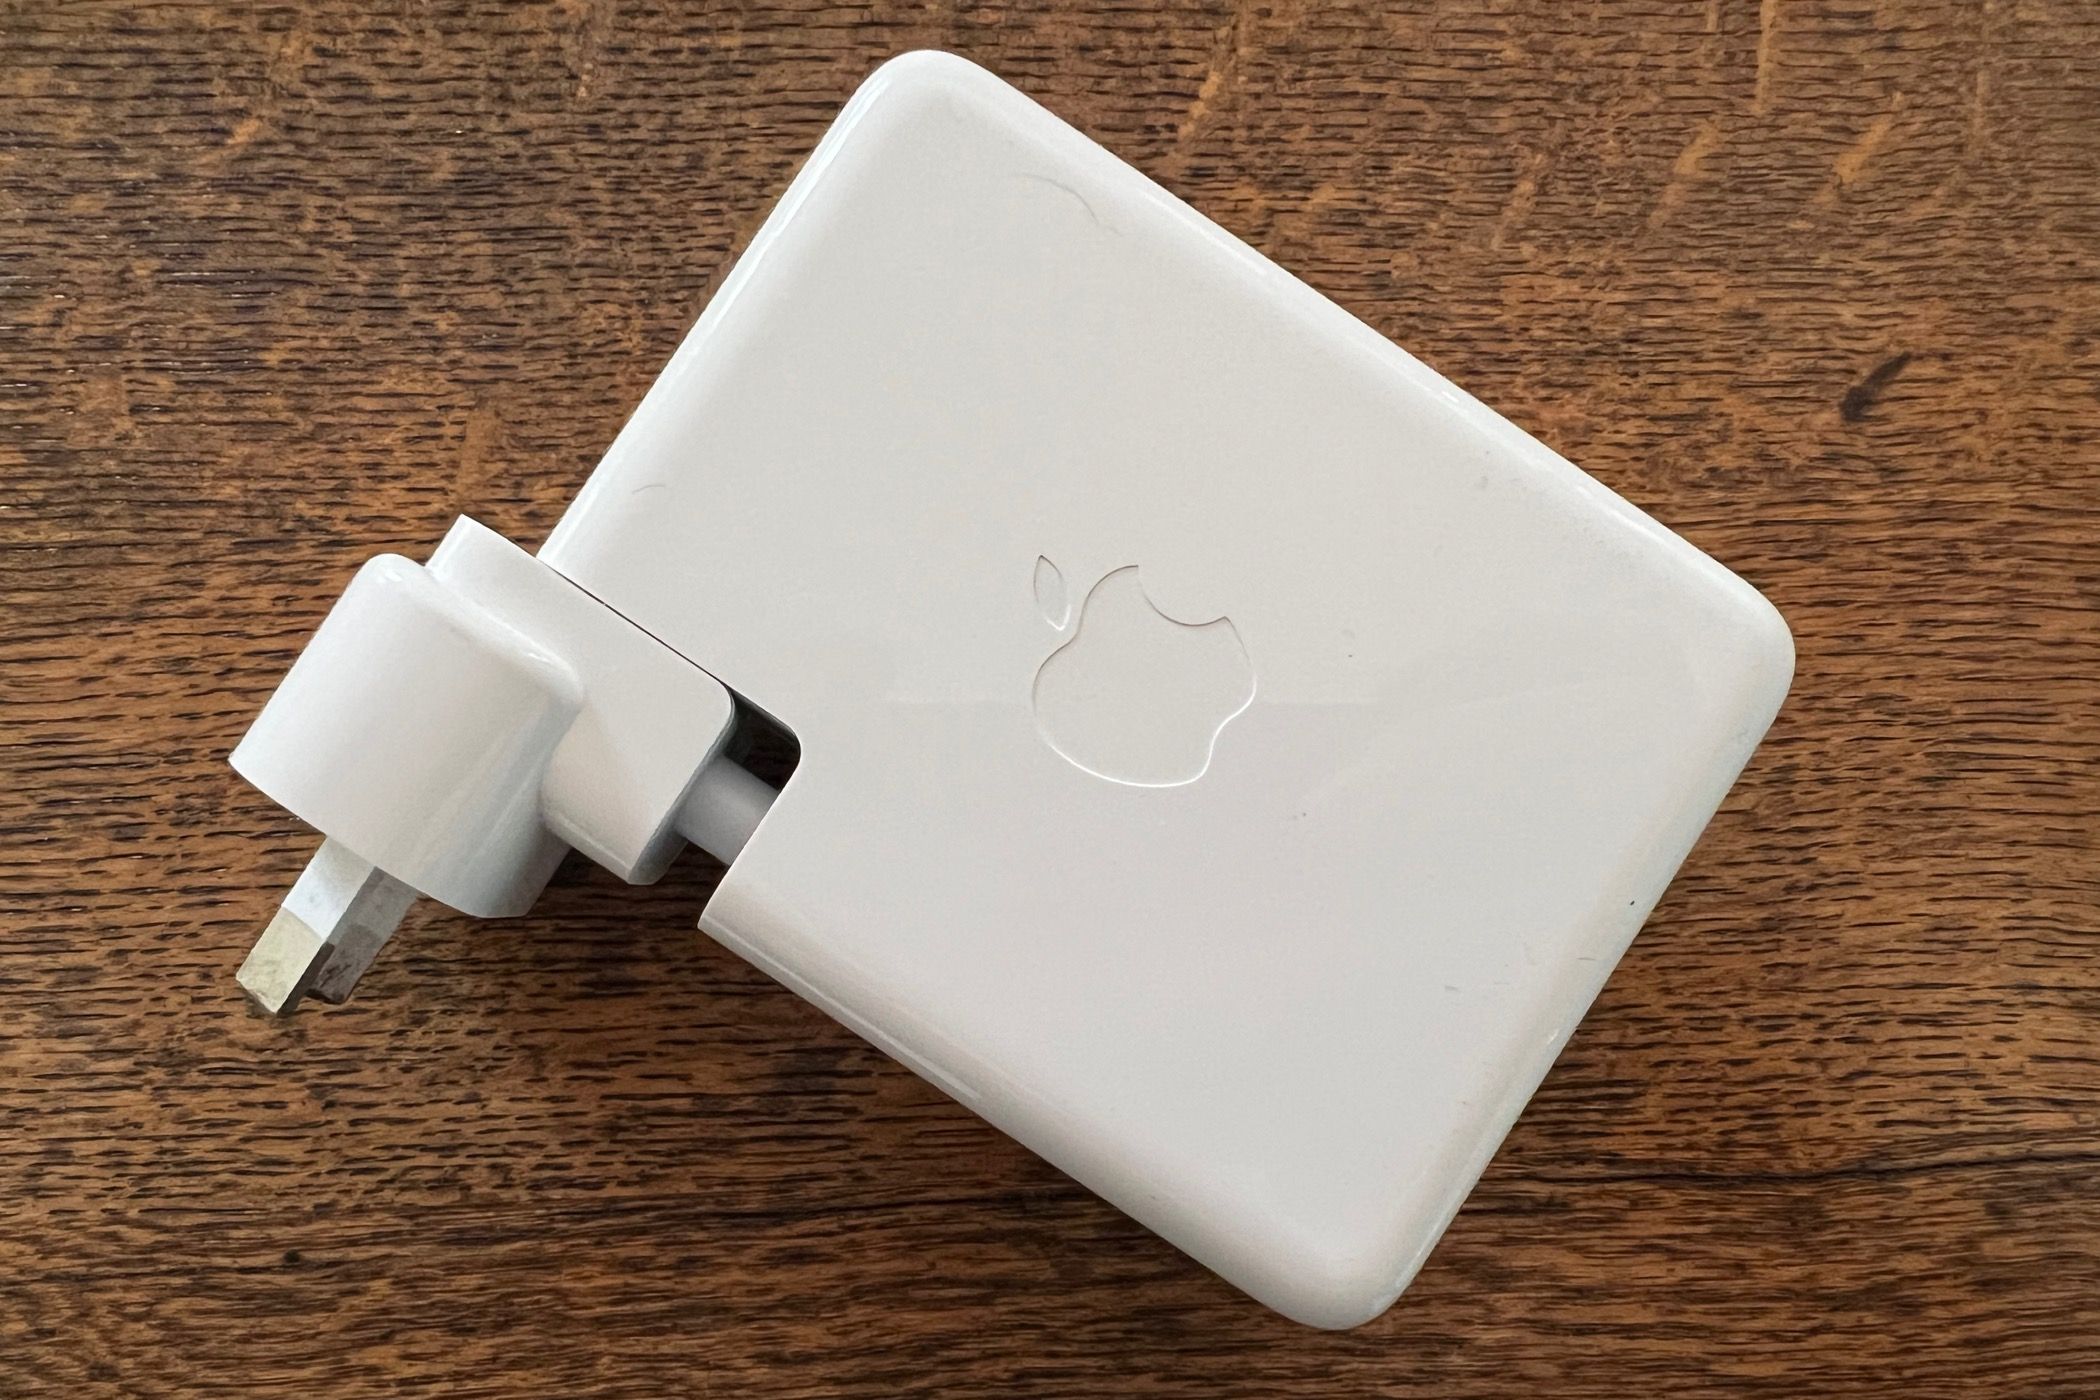
Inspect your cable and adapter for damage. Many MacBook models ship with adapters that have wall plugs that can be swapped out. These are a point of failure and can simply slip out, become loose, or become damaged in transit. Try re-seating yours to see if that helps.
Damaged chargers and cables should be replaced. To ensure that your laptop can use its full feature set (like fast charging on newer Apple Silicon models), make sure to consult Apple’s product information. Learn more about fast charging your MacBook.
Are You Using The Right Adapter, and Is There Enough Power?
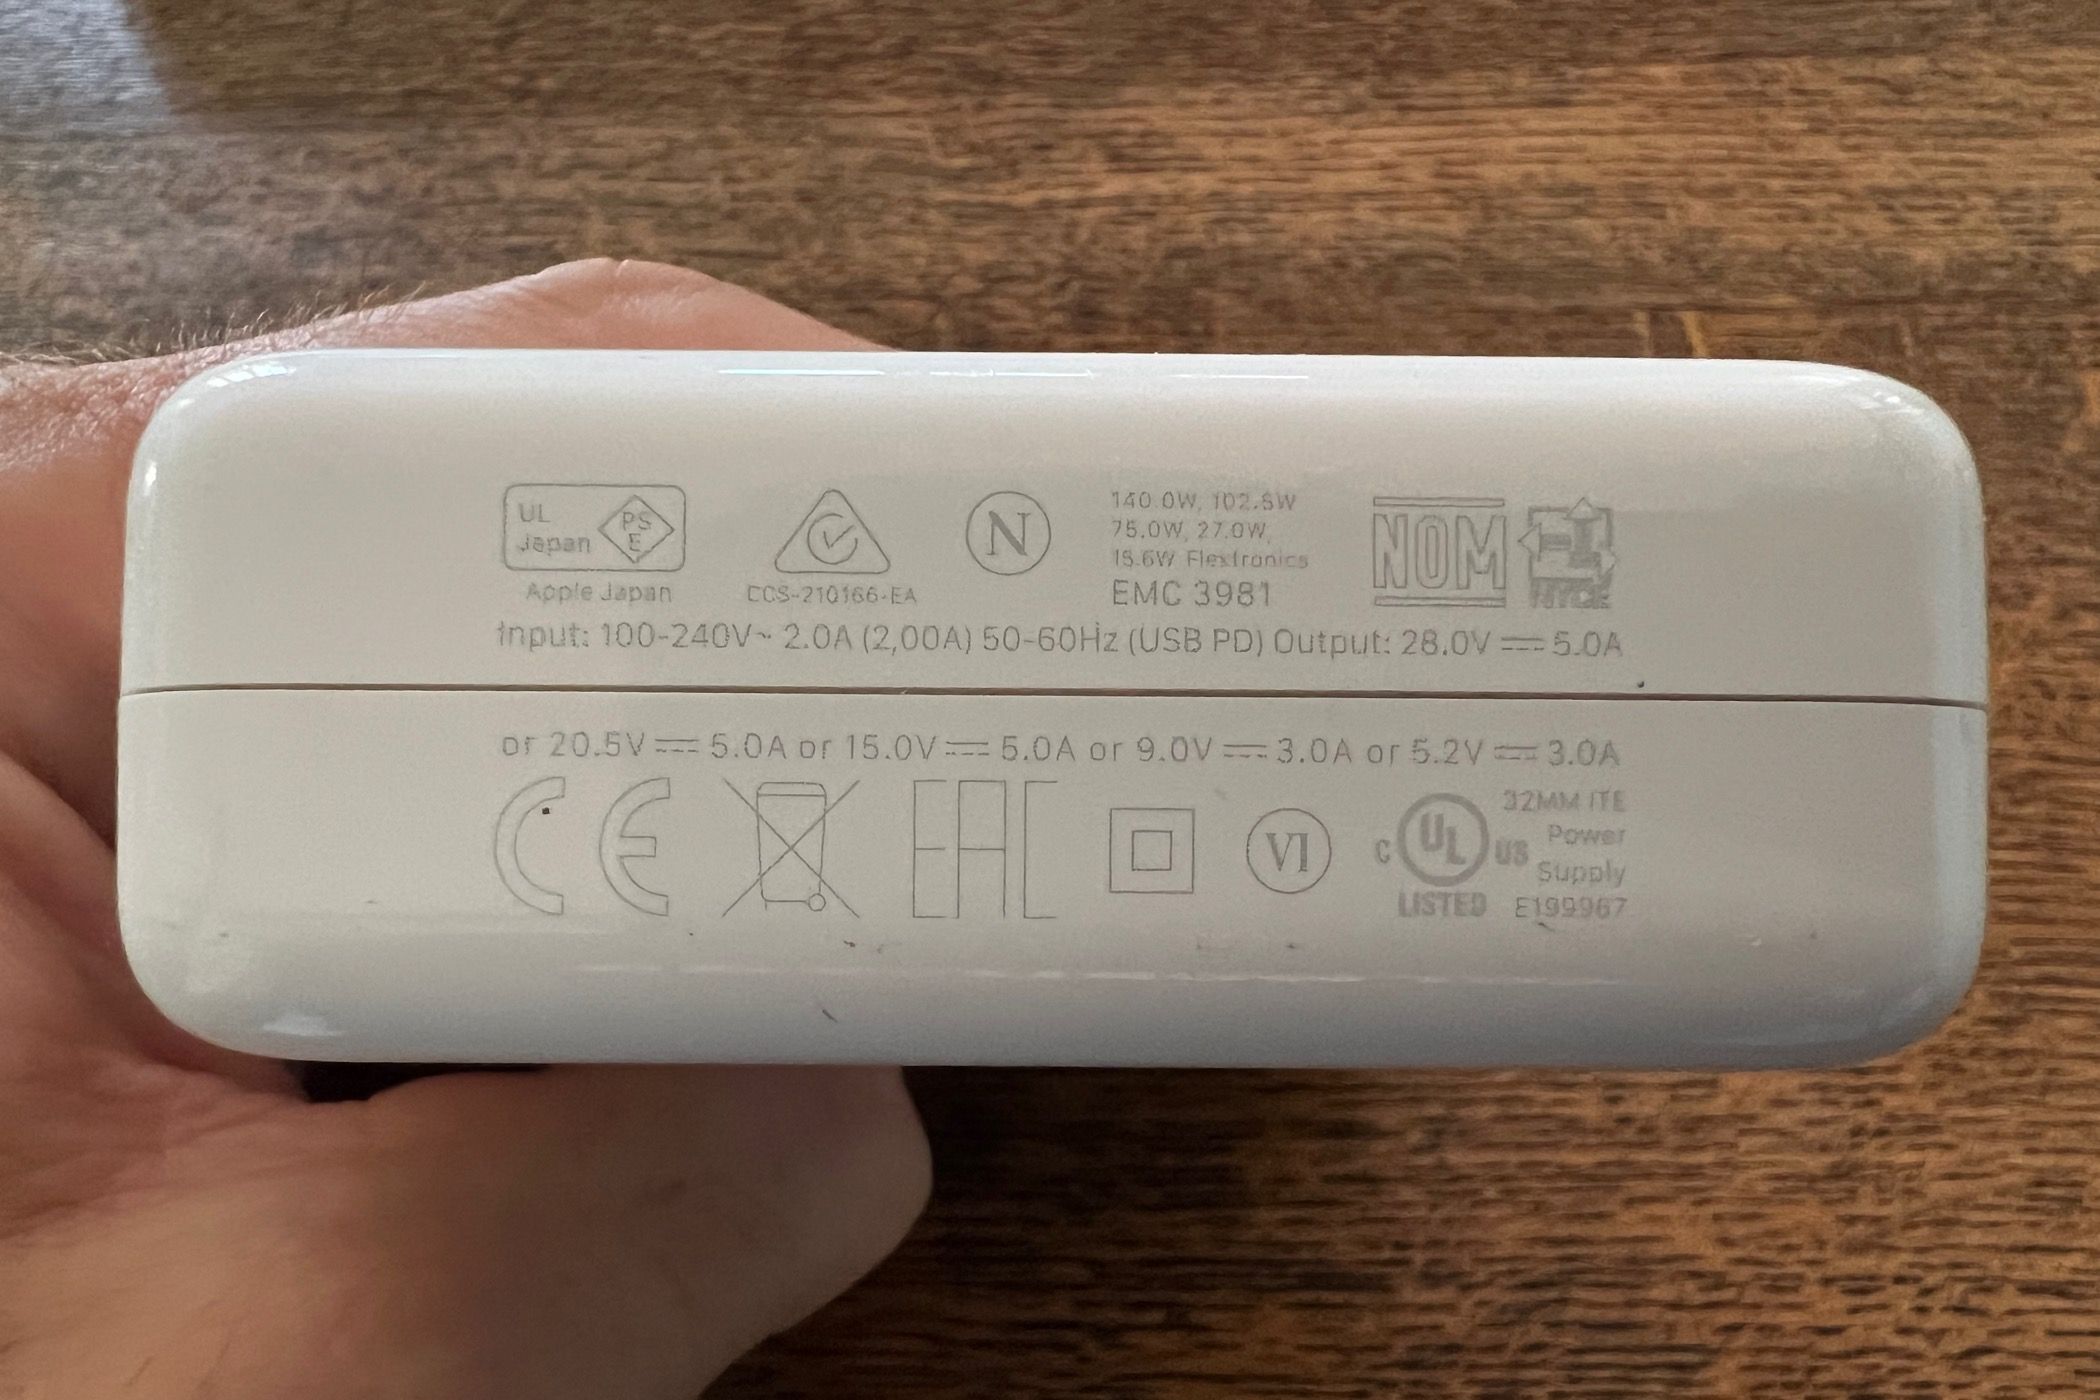
If you use your MacBook in a house, dorm room, or office with lots of other MacBooks, it can be easy to accidentally plug your MacBook into the wrong charger. Sometimes you won’t even notice something is wrong, as your Mac may charge and behave as normal.
For example, if you plug an M2 Max MacBook Pro into a charger designed for an M2 MacBook Air, you might not realize your mistake until your MacBook’s power usage spikes. At that point, you’ll be notified that your MacBook “is not charging” and it will start losing battery life, even though it’s plugged in. Meanwhile, a MacBook Air user using a more powerful MacBook Pro charger will never run into problems.
Double-check you’re plugged into the right charger to be sure. This can be all the more confusing now that the identically-sized MagSafe 3 is built into both Air and Pro models.
Even with MagSafe, you may prefer to charge and power your MacBook using the same cable used to drive a monitor. This is possible with USB Power Delivery (USB-PD), but only if the monitor can supply enough power to keep your MacBook happy.
Try Power Cycling Your Wall Adapter
Sometimes, you’ve done everything right and your MacBook still shows an error that says it’s “not charging” while acknowledging there’s a cable connected. We’ve encountered this problem ourselves on a modern Apple Silicon machine, and we’re pleased to report that it doesn’t seem to happen very often.
The easiest fix we’ve found is to power-cycle your MacBook wall adapter. Apple’s wall adapters are surprisingly complex bits of kit, but as we discovered in our review of Apple 35w Dual USB-C charger they’re also overpriced. Turn it off and unplug it, wait for a minute, then turn it back on again.
Try Rebooting Your Mac
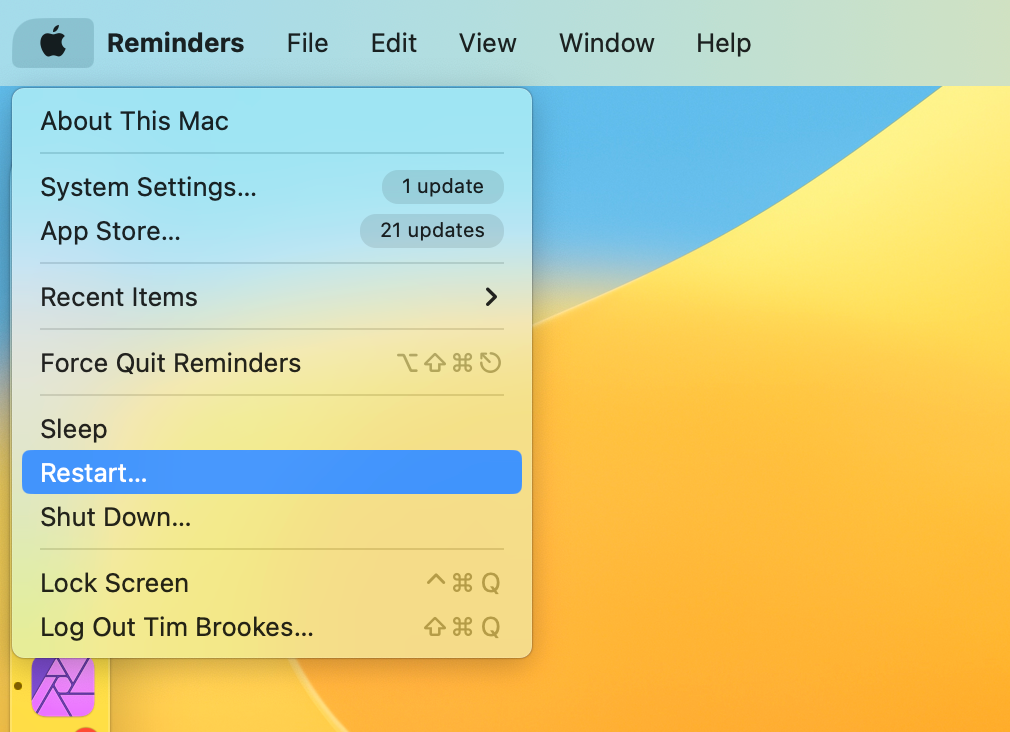
Rebooting fixes almost everything, so if you’ve got enough juice left then a quick restart might also fix the pesky “not charging” error you’re seeing in Control Center.
High Temperatures May Cause Your Mac to Stop Charging
Heat can rapidly degrade lithium batteries, which is a problem since heat is generated whenever your battery is charging. If your MacBook is very hot because you’ve been using it to play games, encode video, or other intensive tasks, then wait for it to cool down and try again.
If your MacBook is hot because you left it in the sun, move it into the shade and stop leaving your MacBook in the sun. Nothing good can come of it.
Got an Intel Mac? Try Resetting the SMC
If you’ve got an old Mac with an Intel processor, you can try resetting the system management controller, or SMC for short. The instructions for doing this vary depending on which MacBook model you have, but for Intel models with non-removable batteries, this involves removing your charger and holding down the Left Shift+Control+Option keys on startup.
Learn more about how and why you might want to reset the SMC on an Intel Mac.
Switch Out Your Charger, Cable, and Socket
If the problem persists, trying another charger can help you hone in on the cause. Switch out the adapter and cable, if possible. You may even be able to take your Mac to an Apple store and have them test it for free, which will save you having to buy a whole new charger to find out for sure.
You should also try using a different wall plug, just in case the socket is to blame.
Try Leaving It Plugged in for a While
Apple recommends users who have recently taken their MacBooks out of long-term storage leave them plugged into the wall for a good 20 minutes to give the battery a chance to properly charge. This doesn’t apply if you haven’t had your machine in storage, but it’s worth keeping in mind.
If All Else Fails, Consider a Faulty Battery
Problems with your MacBook battery can also cause it to stop charging. Battery degradation is a fact of life, which is why you can replace your MacBook battery yourself or pay Apple to do it.
You can always check the battery condition of your Mac, but there’s a good chance that if the battery is outright refusing to charge then you’ve got bigger problems than a degraded cell.

