1. Control settings in search
As you might know, when you toggle the Wi-Fi or Bluetooth buttons in the control center shortcut, it doesn’t really mean you’ve turned them off. This action simply indicates that Wi-Fi and Bluetooth on your device are disconnected. However, both settings will continue to be available.
Apple designed this feature so that you can continue using certain accessories and features, such as specific devices or services that allow users to share files and other media across multiple Apple devices.
In iOS 17, however, Apple added a shortcut to immediately deactivate settings like Wi-Fi, and even provide access to Airplane mode. As an iPhone 14 Pro Max user, this is a lifehack that saves you from making unnecessary extra clicks. Here’s how you do it:
- Swipe down to quickly open Search.
- Type “Wi-Fi” or the specific settings you want to modify.
- Toggle the Wi-Fi off. Done!

2. Safari Private Browsing locker
As soon as your phone starts running on iOS 17, the first time you open Safari, you will be presented with a Private Browsing locker. I suggest activating it immediately. The reason is simple: it adds an additional layer of privacy to your phone.
To activate it, you only need to give the browser permission to use your Face ID. After that, every time you swipe from left to right, you can open your private tabs. Just you, no one else.

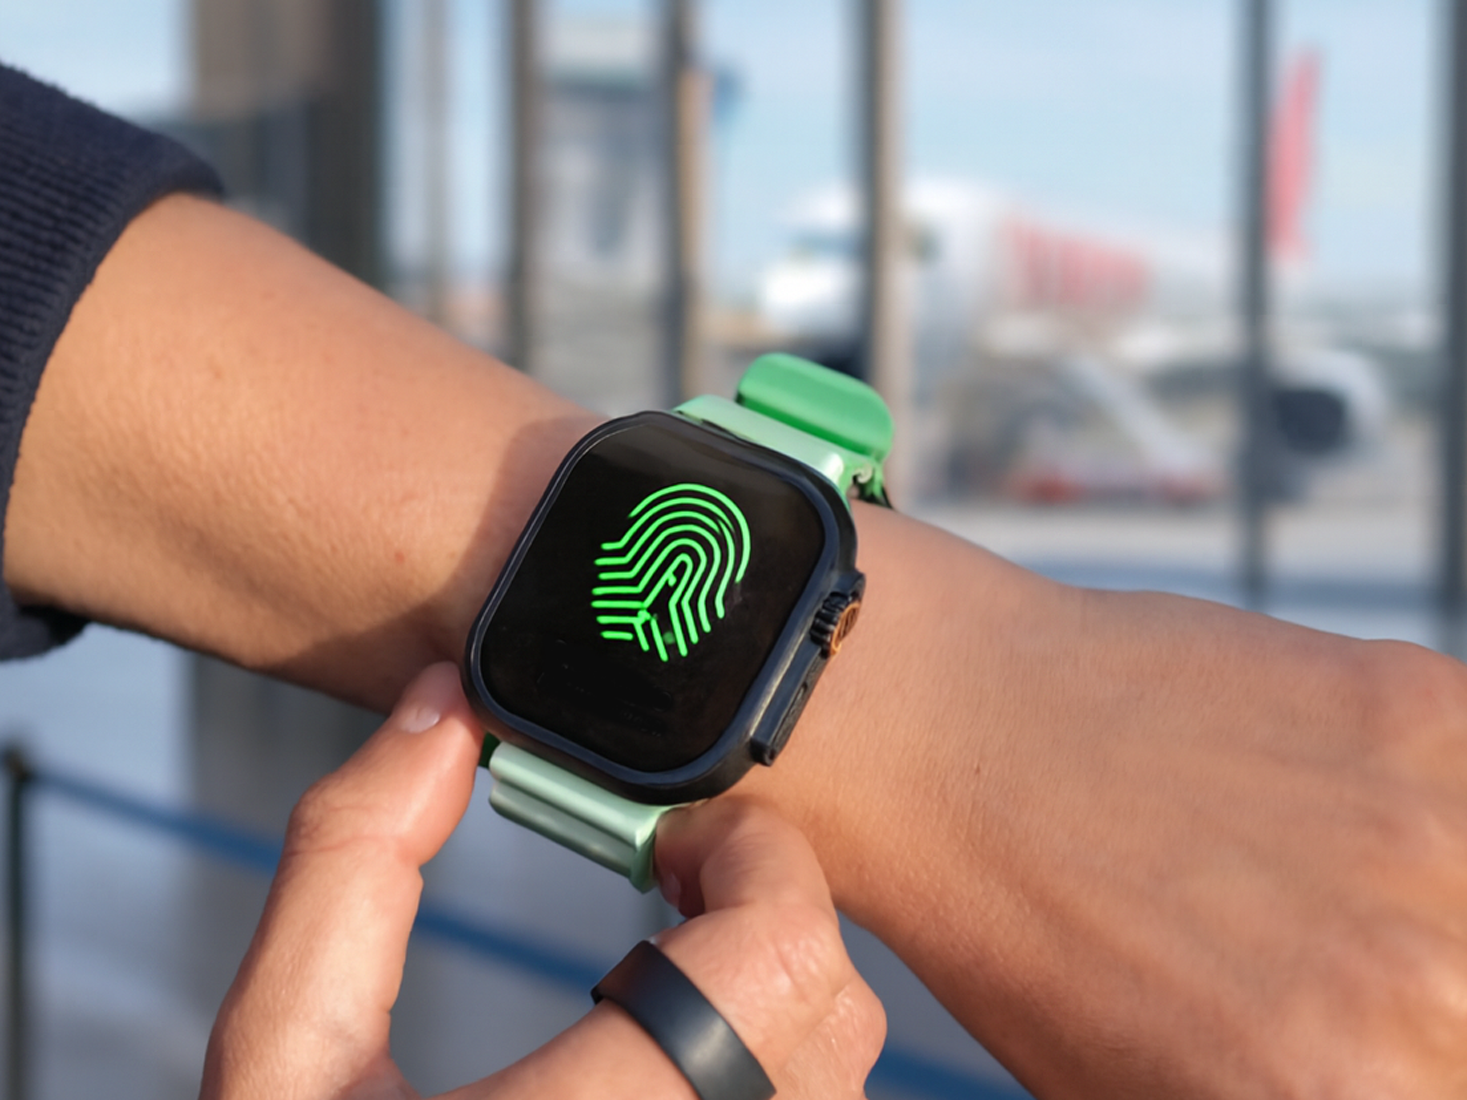
3. Ping your Apple Watch
Another incredibly handy feature recently added to the operating system is the ability to ping your Apple Watch directly from the control center. This is especially useful for those who frequently misplace their devices.
To enable the “ping Apple Watch” feature on your iPhone, follow these steps:
- Go to Settings > Control Center > More Controls section, and tap the (+) icon.
- It will move to the Included Controls section. Here, you can reposition it to be more towards the top, center, or bottom of the Control Center.
- Done! To trigger the action, simply click on the Watch icon in the Control Center and your Apple Watch will ring.

4. How to use camera level on the camera app
This might seem overly simple, but it’s a feature that was definitely missing in Apple’s camera app. If you’re a meticulous casual photographer like me, you’ll appreciate knowing that you can add a level directly to the camera app screen. This ensures that any slant in your composition is intentional, not accidental.
To enable the level icon in the camera app on your iPhone, follow these steps:
- Go to Settings > Camera > Composition.
- Toggle the Level option.
- Done! Now you can use it every time you launch the camera app.

5. Zoom to crop
Since we’re on the topic of cameras, here’s an extra tip on using zoom to crop photos. Given that your phone’s main camera can capture photos with a significant amount of detail, the ‘zoom to crop’ feature can help you maintain image quality while magnifying the image simultaneously.
Here’s how to make the most of the ‘zoom to crop’ option:
- Go to Gallery > Choose a picture > Zoom In and Out until you find the best size composition.
- Tap the Crop button at the top-right of the display.
- Done! You’ve edited your image. Of course, you can use additional editing options before saving it.

6. How to add multiple timers
Do we really need multiple timers? Well, I do. Here at nextpit, we constantly review smartphones and tablets, and sometimes the battery tests can be quite laborious. If you lose track of time, you might end up having to redo the entire recharging test.
So, yes, the ability to set multiple timers simultaneously is very helpful in these circumstances. And now, iOS offers this option. Setting up and running multiple timers is quite simple:
- Launch the Clock app and navigate to the Timer tab.
- Click on the (+) icon to add a new timer.
- You can label it and set when the timer ends.
- After that, click on Start.
- You can create as many timers as you need… apparently. However, only five timers will appear as Live Activities on your Lock Screen.

7. Rearrange Messages app
If customization is very important to you, you now have the ability to choose which features are more relevant to you in your Messages app, with the option to rearrange them. The process couldn’t be simpler.
- Launch the Messages app on your iPhone.
- Click on the (+) icon at the bottom-left of the screen.
- Click on More to see all your options.
- Drag and drop the options you would like to have in the quick menu.
- You can also rearrange them in the quick menu to facilitate communication.

8. Use shortcuts to create custom icons and more
iOS is not the most bespoke user interface in the wide world of smartphones. However, it is undeniably getting more and more customizable, much to the chagrin of many fans.
If you’re the type who likes an original UI, the Shortcuts app allows you to easily transform application icons on the iPhone home screen, making unique color combinations and much more. Of course, you can choose to use a third-party app for this, but the Shortcut tool offers a range of options in line with Apple’s nitpicky design guidelines and, what’s more, can be exploited for automation of routines in iOS and other shortcuts.
Check out how to create custom icons and other tricks to make your iPhone home screen truly unique.

9. Turn your iPhone keyboard into a trackpad
Of all the iOS tips, turning your iPhone keyboard into a trackpad is by far the most useful lifehack and I revel in using it almost every day. It’s actually a basic trick, one that most iOS users don’t know of and perhaps even less popular than the function to dim the iPhone’s flashlight.
To quickly place the Apple standard keyboard cursor in a strategic position, just long press the space bar and wait until the letters disappear. After that, without removing your finger from the display, you can move the cursor as you please, and you can edit text “like a pro”!

Check out our complete guide on how to turn your phone keyboard into a trackpad.
10. Unlock shortcuts and other actions using the Back Tap feature
Ok, this tip is as old as activating Dark Mode on iPhone, but it still goes unnoticed by most people. Beyond simply taking screenshots, the Back Tap feature offers a wealth of features and shortcut options using two or three taps on the back of the iPhone.
The sensational thing about this feature is that it supports models from iPhone 8 onwards, and besides being an important accessibility tool, it also functions as shortcuts to important system software, such as the camera and—in my case—Shazam.
To enable the Back Tap feature on your iPhone, follow these steps:
- Go to Settings > Accessibility > Touch, and tap Back Tap.
- Tap Double Tap or Triple Tap and choose an action.
- Done! To trigger the action, simply double or triple tap on the back of your iPhone.

11. How to enable Picture-in-Picture mode on YouTube
Since iOS 15 Apple offers an advanced option to use YouTube in a floating window. The function is known as Picture-in-Picture (PiP), and makes it possible to minimize YouTube videos on the iPhone screen. However, to enable YouTube’s Picture-in-Picture mode on the iPhone a Premium subscription to Google’s streaming application is required.
If you’re anything like me, you are also a YouTube Premium subscriber. First, you need to sign up as a trial user, then the function will be automatically available on your iPhone. On the other hand, if you want to remain YouTube-free, our tip is to download the PiPifier app directly from the App Store.
We show you the complete step-by-step in this tutorial on how to enable Picture-in-Picture mode on YouTube.

12. Drag and drop texts, photos, and files between apps
Apple’s universal control may not have arrived on the iPhone yet, but that doesn’t mean that you can’t drag and drop texts, files, and photos between apps on the system. This is not a very popular iOS feature, but it is certainly a great multitasking feature. See how simple it is to move text from the notes app to the body of the email.
However, the most interesting feature of this feature arrived only with in iOS 16 and the “lift subject from background” option. Using drag-and-drop we can isolate a specific object in an image, removing the background—for example—or even passages of text.
Among the apps that allow you to remove the background from images are Photos, Quick Look, and Safari. For now, we can use the function only on iPhones running the beta version of iOS 16, but the feature will soon be available for all iPhones compatible with Apple’s new operating system.

13. How to cast an iPhone on a TV
Streaming the content of the iPhone screen on the TV is possible via the AirPlay feature. Similar to Miracast, this function allows you to mirror your iPhone screen on compatible TVs or connected to the Apple TV streaming device. To do so, you will need to access the iPhone control panel and activate the shortcut for AirPlay and follow these steps:
- Open Control Center.
- Tap Screen Mirroring icon.
- Select your Apple TV, AirPlay 2-compatible smart TV, or Mac from the list. (If an AirPlay passcode appears on your TV screen or Mac, enter the passcode on your iOS).
- To stop mirroring your iOS device, open Control Center, tap Screen Mirroring, then tap Stop Mirroring.

An important note here: the list of TVs compatible with AirPlay 2 is still small, including models released from 2018 by manufacturers LG, Samsung, Sony, TCL and Vizio. The updated list can be checked on Apple’s website and also includes some devices with Amazon Fire TV and Roku systems.
It is worth remembering that, in the case of both AirPlay and Miracast, some applications may prevent the transmission of content to the TV, either for technical reasons or due to certification requirements. To learn more about the topic, check out this tutorial on how to connect your iPhone to your TV.
14. Get the best of Cinematic Mode and Photographic Styles
Last but not least, starting with the iPhone 13 series, Apple now offers Cinematic Mode and Photographic Styles. As both features are hardware-dependent, only owners of the iPhone 13 series models will now be able to take full advantage of these functions.
In our special article on tips for using Cinematic Mode, we show you how the video feature works and the different ways to edit footage during and after recording. If you have a compatible device, you can learn how to capture video with a blurred background and understand how you can automatically change the foreground object or person in a shot.
When it comes to Photographic Styles, Apple’s latest generation smartphone camera lets you apply the same changes in hue, temperature, and saturation as traditional filters, but takes advantage of the iPhone’s hardware to provide a different result compared to existing methods. Here’s how to optimize the use of Photographic Styles on the iPhone.
15. How to set up Apple Pay
If you own an iPhone or Apple Watch, setting up Apple Pay will help you to deepen your devices’ potential. Apple’s contactless payment platform works together with Apple Wallet and offers a bunch of options. From payment card integration to ID card storage, Apple Wallet can be extremely convenient.
With your credit or debit card set up, you can easily make purchases using just your iPhone to check out in stores with Apple Pay. So whether you just bought a new iPhone or are setting up a new debit or credit card in the Wallet app, it’s easy to set up Apple Pay from your iPhone and have the advantage of making transactions using just your phone. Follow our tutorial on hot to set up Apple Pay.

16. Control Apple Music remotely from your iPhone
Apple has excellent integration between its products, and although the iPhone is not among the devices that use the Universal Control function, with the help of an app that was developed by Apple you can control your Apple Music on your PC or Mac from your iPhone—and even from your iPad. This is a great tip for those who want to change playlists or albums from the couch without having to get up!
Using the iTunes Remote app you can easily control Apple Music remotely using your iPhone. The app is available for free on the Apple Store and offers you many more possibilities. Here is how to control Apple Music on the PC or Mac from your iPhone.

17. Add a sleep timer for all media
If you’re using an iPhone or an iPad, you can watch your favorite series on Netflix or Apple TV+ without worrying about killing the device’s battery because you fell asleep in the middle of an episode. That’s because Apple offers a sleep timer for every media playback.
And the best part is that you can use it for all apps that play media content on your Apple device—it can also be set for children’s watch time on iPads for instance.
To use the function, all you have to do is go to the Clock app. Find out more on our comprehensive tutorial on how to add a sleep timer for all media on iOS.

18. Protect your notes via password and/or Face ID
Apple’s native note-taking app now allows you to protect your notes with a password and/or Face ID. This is a very handy trick if you store sensitive content like IDs and passwords or any other sensitive information on your handset.
You can either use your iPhone password (and sync it to your iCloud Keychain) or create a new password just for your notes. Once you’ve chosen a password, you can opt for the second level of protection with Face ID. When you open the note, you can then lock it by pressing the padlock icon in the toolbar at the top. Its contents will only be visible after you enter the correct password or scan your face to unlock it.
To lock your notes in iOS:
- Go to the Notes app and open or create a note.
- Tap the three-dot menu at the top right and select Lock.
- Choose the password and whether you want to use Face ID or not.
- Open the note and tap the lock icon in the top toolbar.

19. Stop ending calls with the lock button
If you’re tired of hanging up on people unintentionally after accidentally pressing your iPhone’s lock button, you can turn this option off.
- Go to Settings and then Accessibility.
- Go to the Touch menu.
- Turn on the switch labeled Prevent Lock to End Call.

20. Delete contacts more easily
Unlike Android, iOS doesn’t like long presses. Whether it’s to select or access a contextual menu, Apple always prefers to make you perform multiple actions rather than rely on a single long press. This is the case, for example, when deleting a contact. First, you have to select the contact, edit it, and then press the delete button.
Now, it is much more intuitive as you can delete a contact in iOS 16 using a single long press:
- Go to your Contacts.
- Select the contact you want to delete and press and hold it.
- In the contextual menu, select Delete Contact.

21. Share your Wi-Fi password
This tip is designed for situations where you invite people to your house. Instead of dictating your password to your guests, you can easily share it. Don’t worry, the clipboard to copy your Wi-Fi password is Face ID-protected and the copy-and-paste works even with the password hidden on your screen.
- Go to Settings and then to Wi-Fi.
- To the right of your network name, press the circled “i” icon.
- Long press your password, and it will automatically be copied to your clipboard.
- Share it with your guests.

22. Connect your Nintendo Switch controllers
You probably already know that you can connect a PS4/PS5 or Xbox One S/X and Xbox Series S/X controller via Bluetooth to your iPhone.
But if you have a Nintendo Switch, you can also connect your Joy-Con to your iPhone. What’s nice about this trick is that you normally have at least two Joy-Cons and each of them can be used as a separate controller. You can also connect each Joy-Con, be it the right or the left one, independently to the iPhone.
Well, I don’t know many mobile games with local multiplayer, but if you do, you should like this trick. To do this:
- On your Joy-Con, press the pairing button located between the SL and SR triggers.
- On your iPhone, launch the Bluetooth settings and pair the Joy-Con(s).
23. Merge duplicates in Photos
The photo app has a new utility feature that allows you to detect and merge photos that you have multiple copies of. If you want to free up some storage space:
- Go to the Photos app.
- Go to your Albums and then scroll down to More.
- Tap Duplicates and select the photos you would like to merge.
- Select Merge.

According to Apple, merging duplicates ensures that the image is kept with the best quality and the metadata is combined in a consistent manner.
23. End a call with Siri
If you’re on a voice or FaceTime call and your hands are full, you can hang up using Siri.
- Go to Settings and then to Siri and Search.
- First, enable the “Say Siri” feature.
- Scroll down to Call Hang-up and activate the corresponding slider button.
- The corresponding voice command is then: “Say Siri, hang up“.

25. Copy/paste your photo and video montages
Just edited a photo or video and found the perfect combo of filters and settings? If you don’t want to lose your genius cut and apply the effect to other photos and/or videos without starting over, you can copy an edit.
- Launch the Photos application.
- Select the image or video you just edited.
- Press the three-dot menu at the top right.
- Select Copy Edits.
- Select another image or video to which you want to apply your edit.
- Press Edit at the top right and then the three-dot menu (also at the top right).
- Select Paste Edits.

26. Activate the haptic feedback of the native iOS keyboard
Haptic feedback is nothing new on iOS except for the native keyboard which was previously without it. In iOS 16, you can now enable vibration for typing on your iPhone keyboard.
- Go to Settings and then to Sounds & Haptics.
- Scroll down to Keyboard Feedback.
- Enable the Haptic slider button.

27. Pin a tab in Safari
The Safari app lets you open up to 500 tabs at once. I don’t know who really uses that many tabs and it would drive me totally nuts, personally. But let’s say you have a dozen open, being able to pin a few of them can be very handy.
- In Safari, press the button at the bottom right of the toolbar.
- Select the tab of your choice and press and hold it.
- In the contextual menu, select Pin Tab.

Not only can you pin multiple tabs, but you can also pin tabs that are part of tab groups so that they are permanently open. Just repeat the same steps listed above, but after opening the chosen tab group.
Well, these are some of the best iOS functions and usage tips for iPhone users for now. What do you of the features shared here? What’s your tip for getting the best out of your iPhone? Which feature would you like to see listed in this iOS usage guide? Share your thoughts in the comments below.
The iOS tips and tricks article was updated on July 17, 2023, to add six new features enabled by iOS 17 update.