“Passkey” is the name for a simplified login process to websites that arrived in its full glory later this year with macOS 13 Ventura, iOS 16, and iPadOS 16. A passkey relies on broadly supported industry standards to let you carry out an encrypted login with almost no effort on your part after the initial setup.
You can try a passkey without installing the public betas of these upcoming operating systems, as Apple built passkey support in a preview form into Safari across all its operating systems in iOS 15, iPadOS 15, and Safari 15 with macOS 12 Monterey. With the full release of passkeys in a few weeks or months, and Google and Microsoft’s announced support for compatible technology, you’re likely to see options to add a passkey login at many websites this fall.
Here’s how the process works.
Apple IDs
Beginning with iOS 17 and macOS 14 Sonoma, your Apple ID will support passkey authentication. Anywhere you need to sign in with your Apple ID, including websites and icloud.com, you’ll have two options to log in: with a standard password or by pressing the “Continue with Apple” button that will display a QR code that can be scanned with your iPhone’s camera to create the unique code.
Enroll at a website
A passkey comprises a paired set of encryption keys, known generally as public-key cryptography. When you visit a server that supports WebAuthn (the technology required to accept, store, and interact with a passkey), your browser will present the public key of the encryption pair. The public key can’t be used for login but rather to prove your identity: you possess the private key, which is created on your device and never leaves it for a login.
To enroll, you visit a website that offers passkey support. A site might state it supports passkeys generically, say that it has WebAuthn support, or declare that it’s FIDO2, CTAP, or “multi-device FIDO credential” compatible. All of those terms should mean you can use an Apple (or Google or Microsoft) passkey as your login credential. (FIDO2 is the name given by the FIDO Alliance trade group, a key part of making passkeys and WebAuthn happen, and which Apple, Microsoft, and Google are members of.)
The process will work very similarly to when you enroll at a site for two-factor authentication (2FA) or if you have previously used a hardware key for WebAuthn, like those made by Yubico:
- Log in using your existing username and password.
- The site may prompt you for additional verification. This might be a link sent via email, a texted code, or a prompt for a 2FA acknowledgment with a code or via an app you already have installed on your iPhone or iPad.
- The site’s security section lets you choose to use a passkey or one of the alternate names above.
- The web server pushes a request to your browser to provide encryption information.
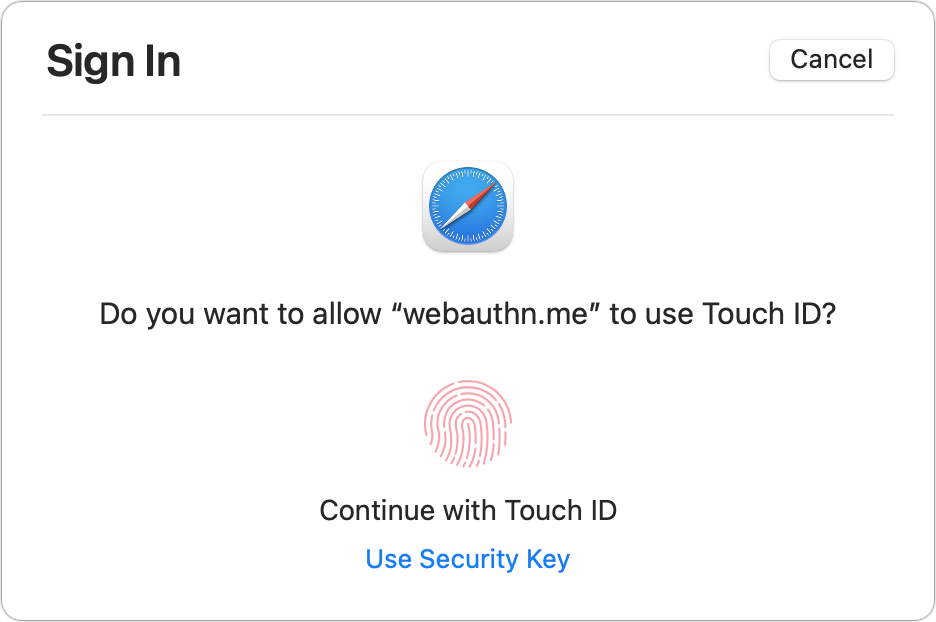
- You’re prompted to approve this request with Touch ID, Face ID, or your device password, depending on what’s available and enabled.
- If you successfully validate your identity, your device generates the public/private key pair. The private key is stored on your device and never sent to the remote site.
- Your browser sends the public key along with a cryptographically signed message that the server can validate using the provided public key: only someone whose device holds the private key can produce a verifiable message.
- The web server stores your public key for your future logins.

Setting up a passkey login may disable 2FA on your account or allow you to opt for a passkey login instead of a 2FA pathway. A passkey provides proof of possession of both a secret and the device on which it’s stored, effectively two factors. (Some higher-security sites and services may still require 2FA instead of or in addition to a passkey.)
You can see the passkey process at work with some of the underlying technical pieces exposed at Webauthn.me, a site made by Auth0, a provider of authentication services. Some production sites currently offer passkey-compatible logins, but they’re fairly few at the moment. You could set a Google or Dropbox account to use a “security key” and use a passkey instead. See below for my experience with that.
Log in with a passkey
At an enrolled site, you can use a stored passkey the next time you need to log in. You might have noticed that many websites have begun to split the user name or account email submission from a password submission–that appears to be prep for passkeys.
With a site fully ready for passkeys, you’ll tap or click in a username or account email field and be prompted by Safari to validate a passkey login. In some cases, Safari may first ask you if you want to allow Touch ID or “security key” logins on the site; click Allow to continue. Then you can authenticate via Touch ID, Face ID, or your device password just as during enrollment. That’s it! Using the Webauthn.me site noted above, you can test this in Step 4 of its process.


With some sites that have WebAuthn support but aren’t yet fully aligned with the simplified passkey process, you may be prompted to perform a normal user name and password login before the site initiates the sequence that asks your browser for a passkey.
I was able to enroll with a passkey at Dropbox by choosing the Security Key option and following the prompts within Safari for macOS. (While logged into Dropbox via Safari, click your avatar in the upper-right corner, click the Security link, and click Add next to “Security keys.” When it asks if you’ve inserted the key, confirm you have.)
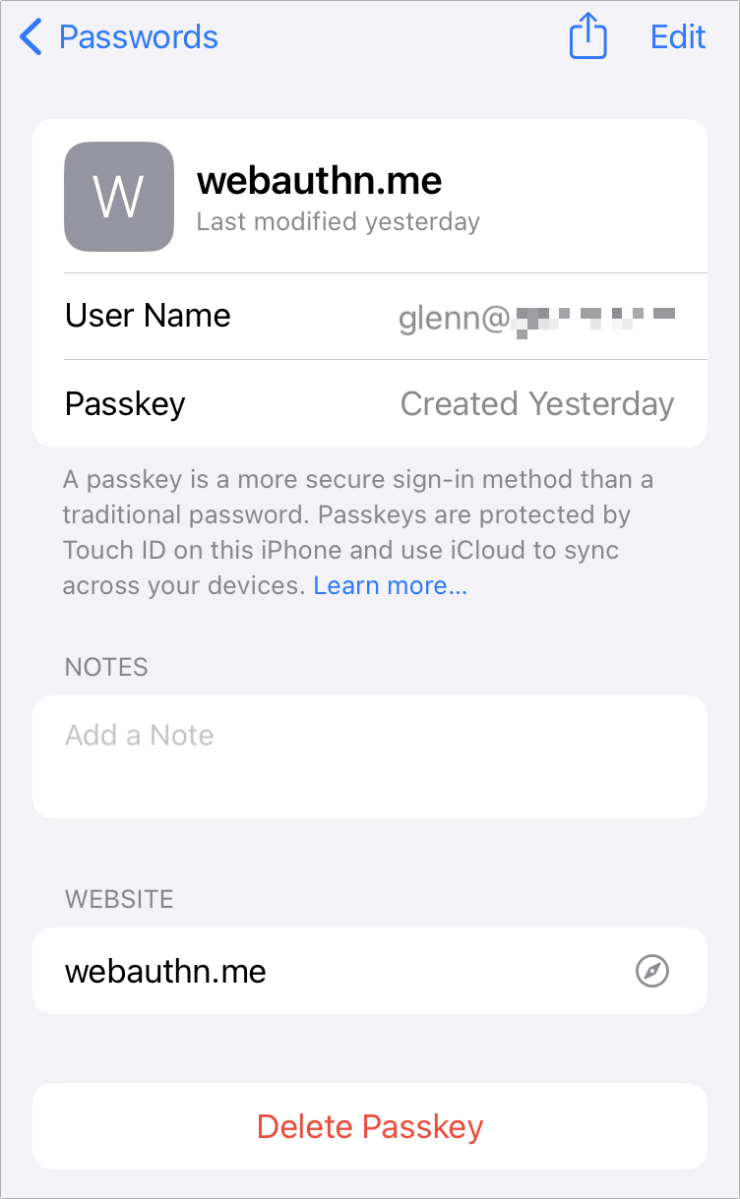
Subsequent logins worked in Safari for macOS but not in Safari for iOS, probably because of a lack of iCloud Keychain sync support prior to the release of the new operating systems. In iOS 16, iPadOS 15, and Ventura, with iCloud Keychain enabled, passkeys will sync and be listed in Settings > Passwords in iOS/iPadOS and System Settings > Passwords in Ventura.
Apple will let you share passkeys with other Apple users by securely sending them over AirDrop. This will share both the public and private key and give people the same degree of account access as if you had given them the username, password, and two-factor token for your account.
Login from other devices
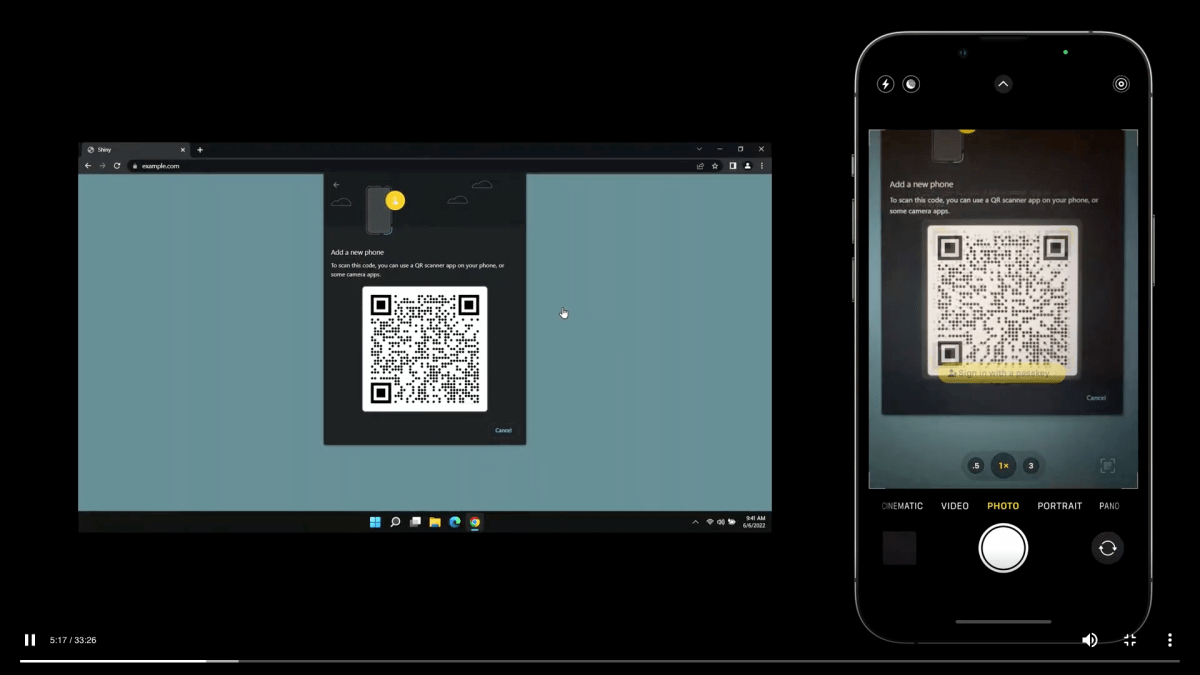
Some sites will let you specify a passkey login as your sole method to gain access. So what if you’re trying to log in from a device that doesn’t have your passkey stored, like a communal or family computer, a device at work, or one you have access to while traveling? Or you need to use a Windows system or Android phone to access a site due to features specific to those platforms? Apple demonstrated a clever approach in its introduction to passkeys at the 2022 Worldwide Developer Conference that requires a QR code and Bluetooth.
The process works like this:
- On a device with an operating system or browser new enough to support WebAuthn logins, when you enter your account name at a website with which you use a passkey.
- The site will query the browser for a passkey, and the browser will discover it has none. You can then click to provide a passkey via a proxy, such as by clicking “Add a new phone.”
- The site sends a query that causes the browser to display a QR Code.
- On your iPhone or iPad, you scan the QR Code and tap the prompt “Sign in with a passkey.”
- On your device, click Continue and then approve the login with Touch ID, Face ID, or your device password.
- The browser shows you’re logged in.

Apple
During this process, the device on which the QR Code is displayed and your iPhone or iPad quietly establish a connection via Bluetooth and exchange key information. This lets your device get assurance that the login is happening using a piece of gear that’s nearby to prevent remote attacks, and the Bluetooth backchannel an encrypted channel separate from the browser connection, avoiding phishing attacks that present fake logins.
After you’ve authenticated your login on that other device, your session proceeds as normal. Make sure and log out when you’re done to clear the state.
The future is passkeys
The simplicity of passkeys hides the sophistication. For once, we get both ease, no overhead for managing the process, and the highest possible level of security. Each login is unique, stored for you, and verified in both directions—by your device and by the site—to ensure only the person with access to your device can log into the site.


