How to Use AutoGPT to Build a Self-Running AI Assistant

Meet Your Self-Running AI Assistant

The era of truly autonomous AI is here—and AutoGPT is leading the charge. Unlike traditional AI tools that require constant user input, AutoGPT chains multiple tasks together and executes them without your ongoing supervision. Whether you’re automating research, managing emails, running digital marketing campaigns, or building business strategies, AutoGPT acts like a self-sufficient virtual employee.

AutoGPT is powered by the GPT-4 API and enhanced with memory, file storage, and internet access capabilities. This makes it a powerful tool for entrepreneurs, developers, marketers, and productivity geeks looking to build a self-operating AI assistant that can plan, execute, and refine its own tasks.

What You’ll Need

To get started with AutoGPT, here are the tools and accounts you’ll need:

  • Python 3.10 or higher installed on your machine

  • Git (to clone the AutoGPT repo)

  • OpenAI API Key (you’ll need a paid account with API access to GPT-4)

  • Pinecone API Key (for long-term memory, optional)

  • ElevenLabs API Key (for AI voice, optional)

  • A code editor (like VS Code or Replit)

  • Basic understanding of terminal commands

Optional: Docker for containerized deployment

Step-by-Step Guide: Building Your AI Assistant With AutoGPT

1. Clone the AutoGPT Repository

Open your terminal or command prompt and run:

git clone https://github.com/Torantulino/Auto-GPT.git
Auto-GPT

This pulls the AutoGPT source code into your local environment.

2. Install Required Packages

Ensure you’re in the AutoGPT directory and create a virtual environment:

python -m venv venv
source venv/bin/activate  # On Windows: venv\Scripts\activate
pip install -r requirements.txt

This installs the required Python libraries to run AutoGPT smoothly.

3. Set Up Your Environment Variables

Create a .env file or copy the template:

cp .env.template .env

Edit the file and add your API keys:

OPENAI_API_KEY=your-openai-api-key
PINECONE_API_KEY=your-pinecone-key
ELEVENLABS_API_KEY=your-elevenlabs-key

You only need OpenAI’s key to get started. Pinecone and ElevenLabs are for memory and voice features respectively.

4. Run AutoGPT

Once configured, launch the app:

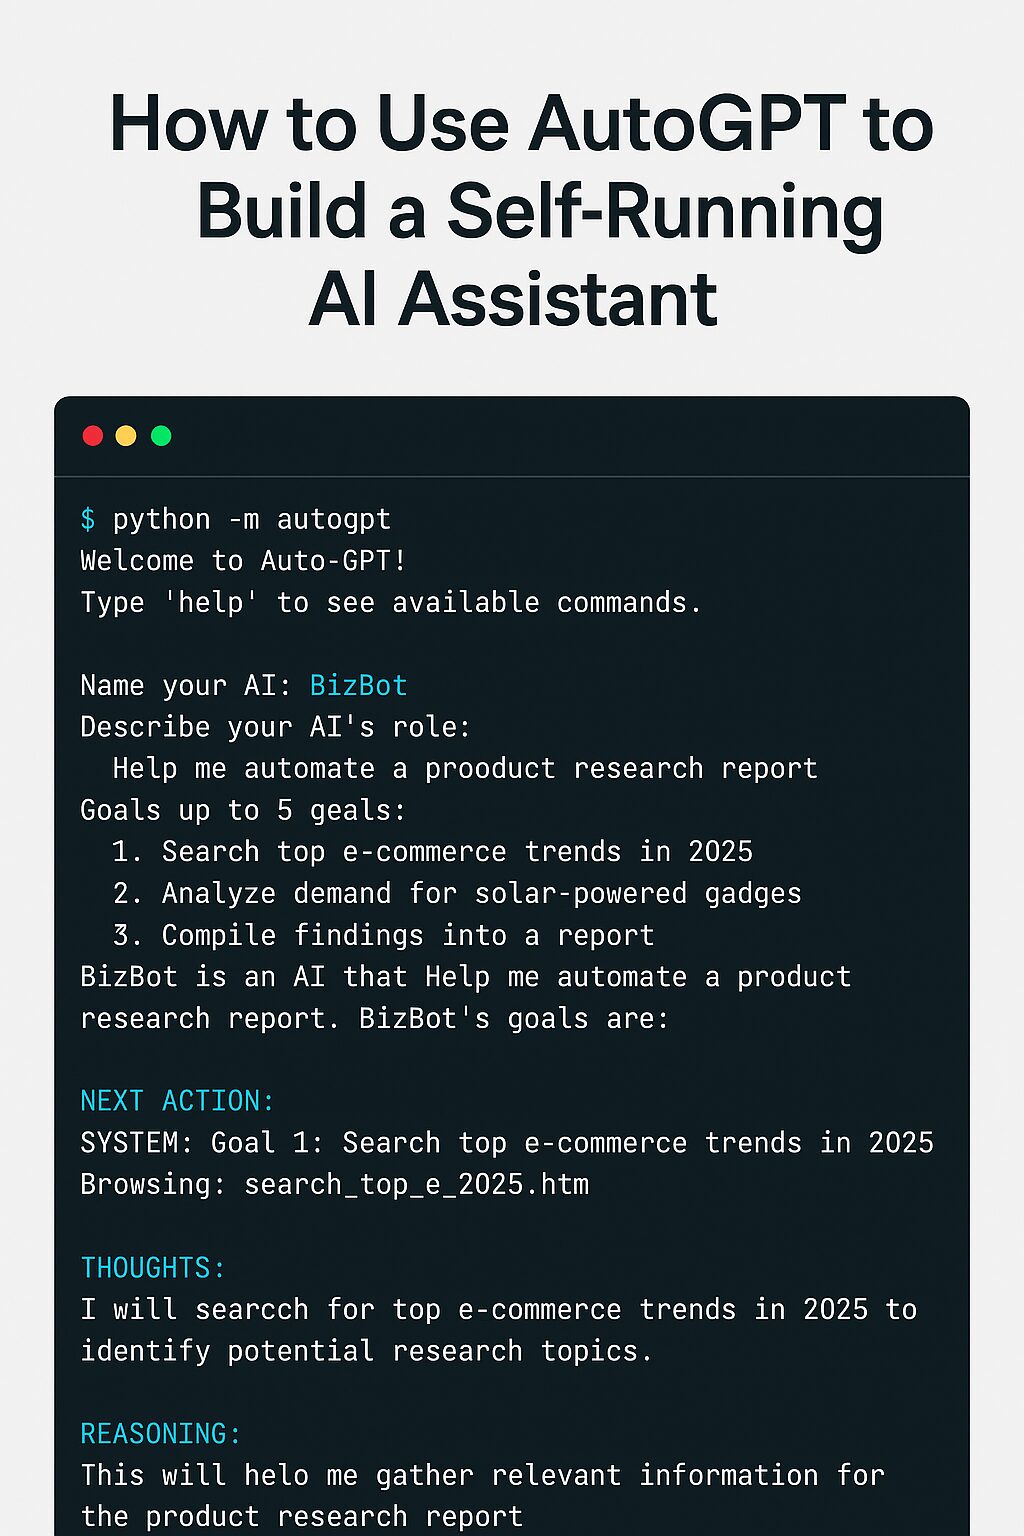
python -m autogpt

You’ll be prompted to name your AI and define its role. Example:

  • Name: BizBot

  • Role: Help me automate a product research report

  • Goals:

    1. Search top e-commerce trends in 2025

    2. Analyze demand for solar-powered gadgets

    3. Compile findings into a report

AutoGPT will start by breaking down the goals into subtasks and run them independently. It will browse the internet, make decisions, store memory, and iterate—all without your input.

5. Monitor and Interact (Optional)

You can watch AutoGPT’s decision-making process in your terminal. If needed, it may ask for confirmation before taking sensitive actions like writing to a file or accessing specific URLs (depending on your config).

Use these commands:

  • --speak to enable voice output

  • --debug for detailed logs

  • --continuous to allow it to run without asking for permission

6. Save Outputs and Improve Logic

AutoGPT stores results and outputs in the /auto_gpt_workspace directory. You can review files, logs, and memory to fine-tune your prompts and assistant behavior.

Best Practice Prompt Example:

You are MarketBot, a research analyst AI. Your role is to explore trends in electric scooters in Africa, summarize top five key insights, and provide three business ideas based on those findings.

Pro Tips

  • Use Specific Goals: AutoGPT performs best when goals are clearly defined and limited (3–5 steps).

  • Enable Memory: Set up Pinecone to allow AutoGPT to remember tasks across sessions.

  • Use Continuous Mode With Caution: It’s powerful but can lead to unintended actions without supervision.

  • Keep a Backup: Always test with a copy before allowing AutoGPT to write or delete files.

Pros and Cons of AutoGPT for Building AI Assistants

Pros Cons
Fully autonomous execution Requires technical setup
Internet browsing and file storage Resource-intensive on local machines
Customizable goals and workflows GPT-4 API usage can become expensive
Open-source and community-supported Still experimental and under development

FAQs

1. Is AutoGPT free to use?

Yes, the AutoGPT codebase is open-source. However, you need a paid OpenAI API plan to access GPT-4 features.

2. Can I use AutoGPT without coding skills?

Basic command-line and environment variable knowledge is needed. For non-coders, tools like AgentGPT (web-based) may be more user-friendly.

3. What’s the difference between AutoGPT and ChatGPT?

ChatGPT is a conversational assistant that needs constant prompts. AutoGPT sets goals, thinks autonomously, and takes action without human input.

AutoGPT is changing the game in AI automation. With the ability to think, plan, and act independently, it brings us one step closer to intelligent personal assistants that can manage tasks without ongoing supervision. From market research to process automation, the use cases are vast—and the setup is well within reach for tech enthusiasts and developers.

Whether you’re building a productivity tool or experimenting with AI agents, AutoGPT offers a fascinating entry point into autonomous systems.

Want to experience the future of automation?
Clone AutoGPT, plug in your API key, and start building your self-running AI assistant today.
Check out the AutoGPT GitHub repository and take your first step into the world of autonomous AI tools.

Guidantech
Logo
Shopping cart