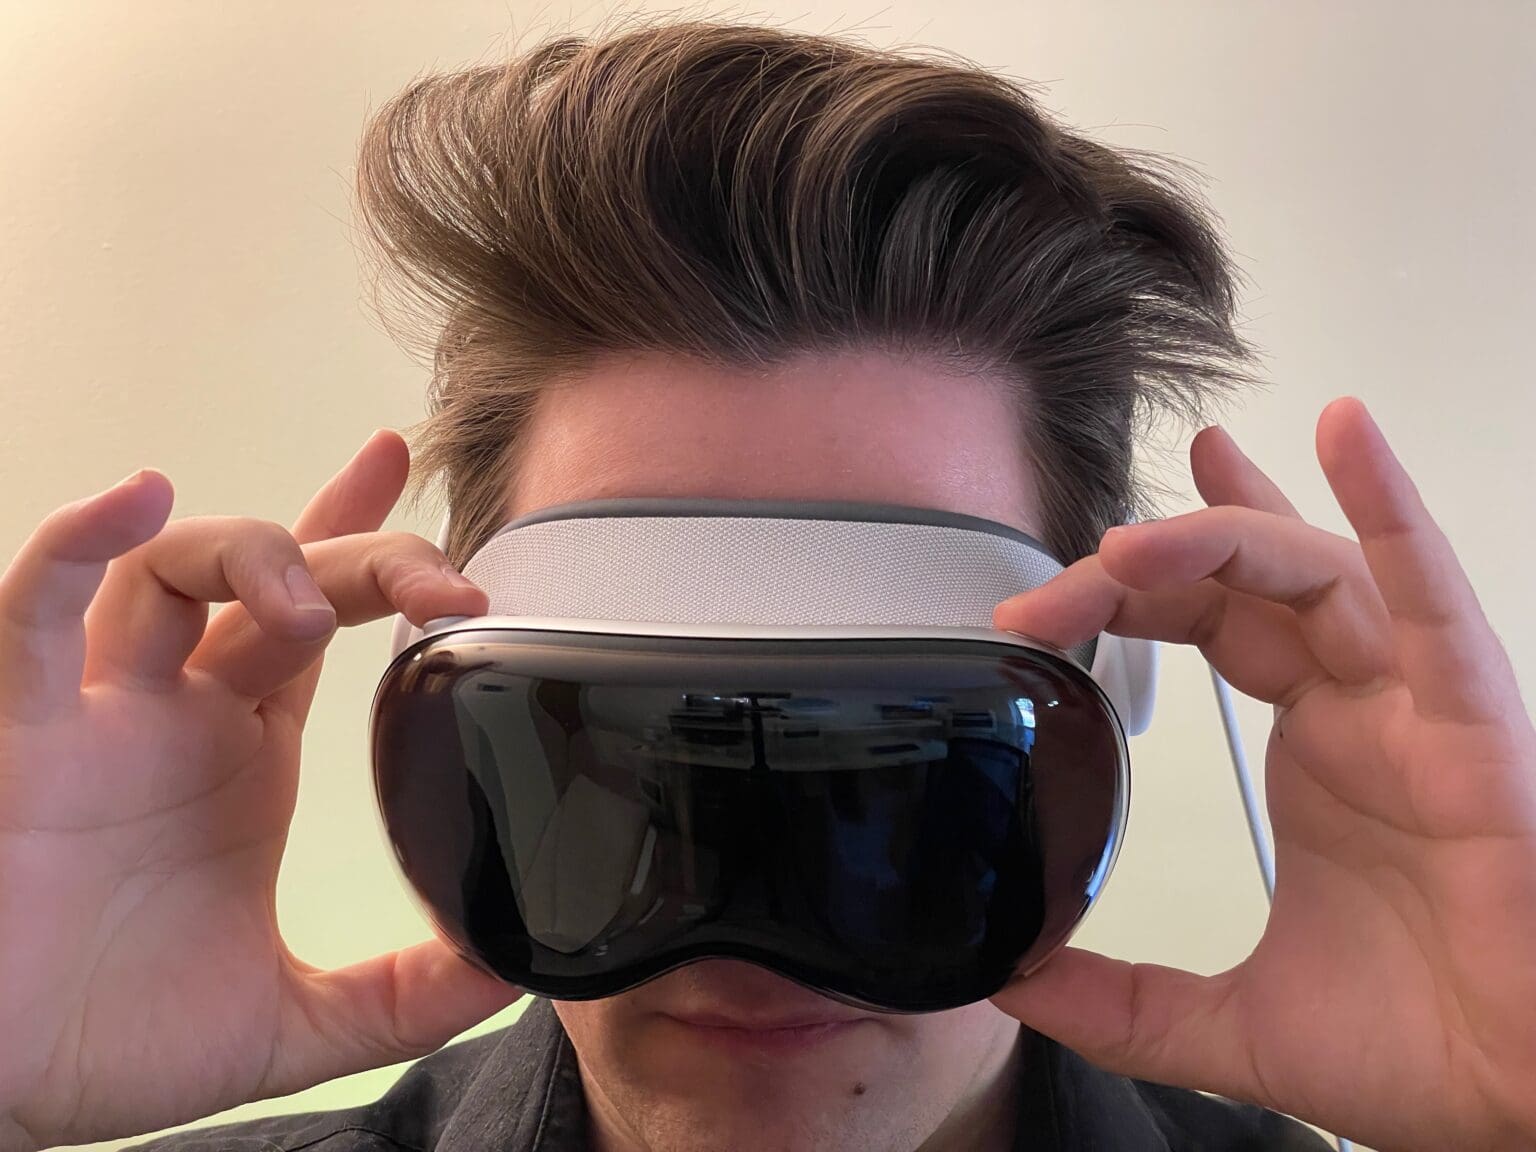
You can take a screenshot or a screen recording on Vision Pro, just like on an iPhone or a Mac. The screenshot is saved as an image file, and is easy to view in Photos or share.
Here’s how to take screenshots in Vsion Pro.
How to take a screenshot on Vision Pro
Note: screenshots in Vision Pro include the entire field of view, not just the contents of whatever apps you may be using. It includes app windows, any active Environments, and your physical surroundings.
Keep in mind that Vision Pro uses something called foveated rendering — only the spot you’re looking at is in focus; everything else is drawn in lower resolution to save computing power. This means your screenshots and screen recordings will be blurry around the edges.
In Vision Pro, screenshots and screen recordings will appear in 3D. On other devices, they’re flattened to 2D.
How to capture your view
To take a screenshot, just click both the top button and the Digital Crown simultaneously. Vsion Pro makes the familiar camera shutter sound.
You can see your screenshot in the Photos app. Press the Digital Crown to open the App View and select Photos. Look at the screenshot and tap your fingers to preview it. Tap the Share button in the top right to send it to someone else via AirDrop, iMessage, Mail, etc. It will sync to all your other devices if you have iCloud Photos enabled, so you can view it on your iPhone, iPad and Mac.
Use Siri to screenshot Vision Pro
You can also use Siri to screenshot Vision Pro. Just say, “Siri, take a screenshot.”
How to take a screen recording on Vision Pro
- To take a screen recording, look at the top center of your field-of-view where you should see a small floating down arrow; this is the Control Center. Tap your fingers together to bring up Control Center.
- Select the middle-right button, the icon of two toggle switches.
- Click the fifth button, the icon of a circle, to start a screen recording. You’ll see a quick countdown.
- Use Vision Pro as you normally would. The green bubble will disappear after start doing things in the headset.
- When you’re done, look in the top center to bring up Control Center and tap Stop. You’ll see a dialog box asking if you want to view the recording in Photos.
If you don’t see a Screen Recording button in Control Center, you may have to add it. Go to Settings -> Control Center, and add the Screen Recording button. Then follow the steps above.


