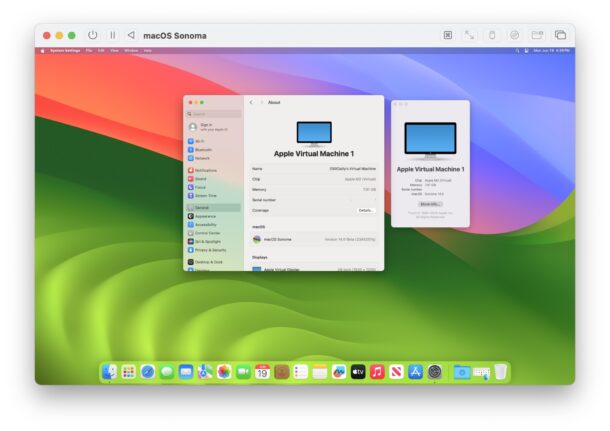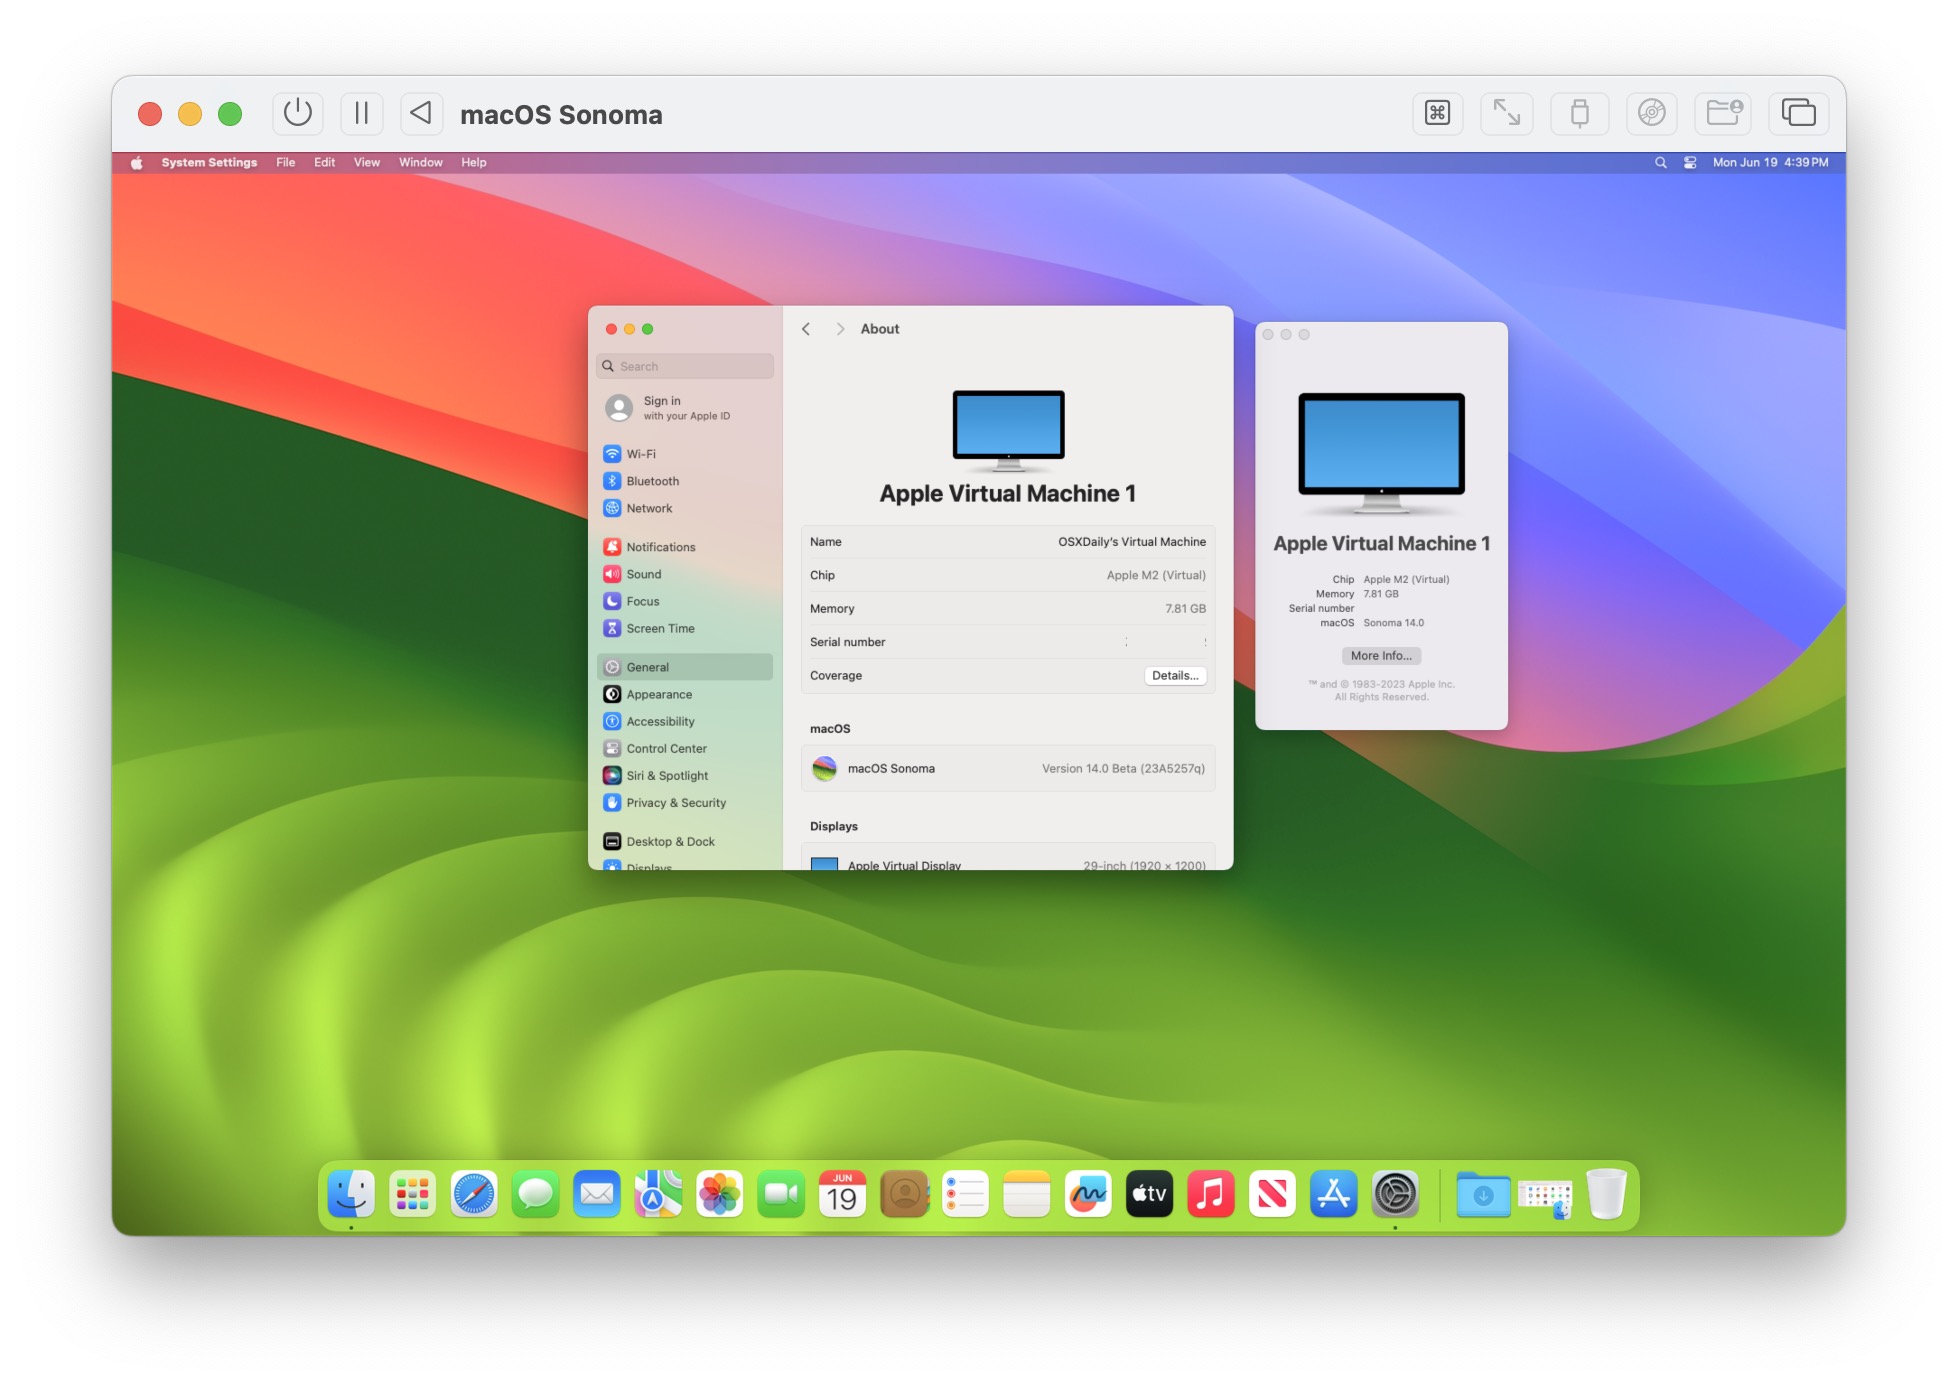
One way to test out MacOS Sonoma beta but without installing it directly on a Mac is to install the Sonoma beta into a virtual machine instead. There are several different ways to do this, but for this particular article we will show you how you can setup and install MacOS Sonoma beta in a virtual machine by using the free UTM software.
To use this particular method of running Sonoma in a VM, you’ll want an Apple Silicon Mac with at least 60GB of disk space available and 16GB RAM, and you’ll then use the Sonoma beta IPSW file provided by Apple to install Sonoma into a VM using the free UTM app. It may sound complex, but it’s actually pretty easy, as you’ll see as we walk you through the steps.
Installing MacOS Sonoma beta in a UTM Virtual Machine
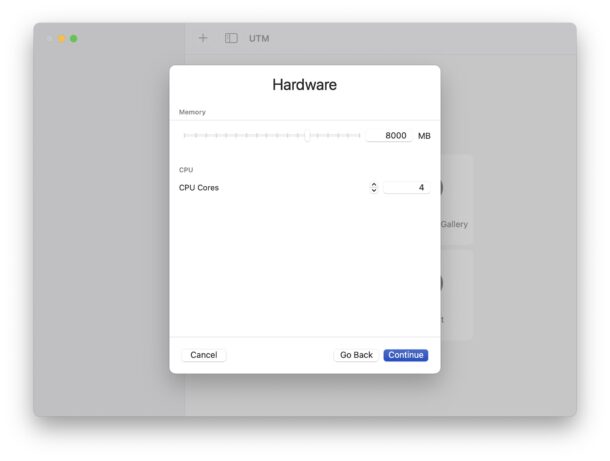
The VM we’re setting up here has 4 CPU cores, 8GB RAM, with a 64GB drive, however you can configure more if you’d like.
- Download UniversalMac_14.0_23A5286g_Restore.ipsw (direct download link for Sonoma beta 3 IPSW via apple.com)
- Download UTM for Mac (free from the website) and copy it to your /Applications folder to install it
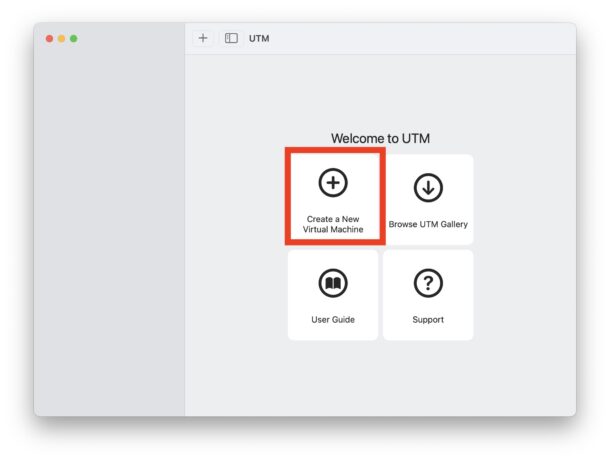
- Launch UTM on the Mac
- Choose “Create a New Virtual Machine”
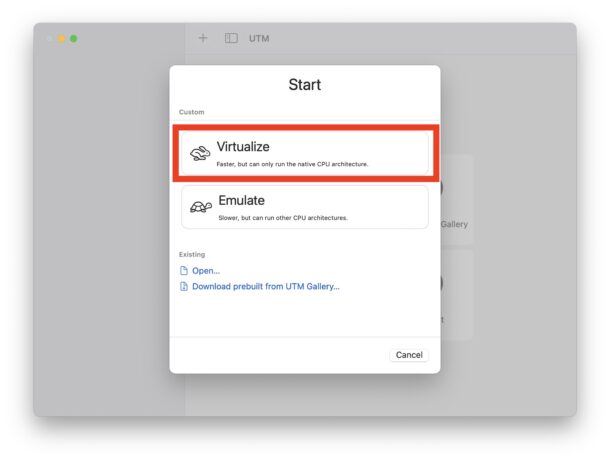
- Choose “Virtualize”
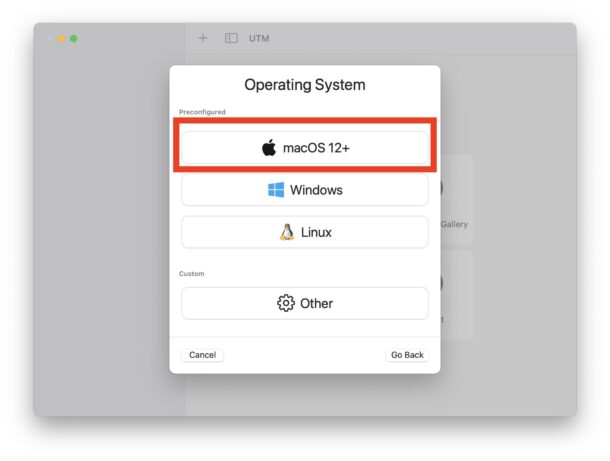
- Select “MacOS”
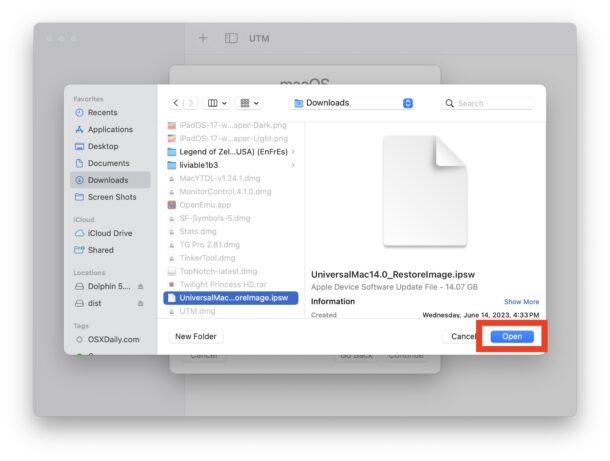
- At the IPSW selection screen, click “Browse” and select the Restore.ipsw image you downloaded in the first step, then click “Open”
- Configure the hardware to allocate to the virtual machine (recommended to assign at least 8GB RAM, 4 CPU cores, and at least 64GB of disk space), clicking Continue through each
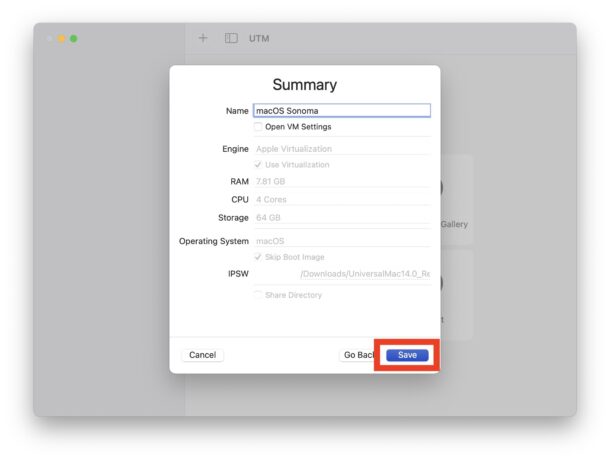
- Name the virtual machine something obvious, like “MacOS Sonoma beta” and choose “Save”
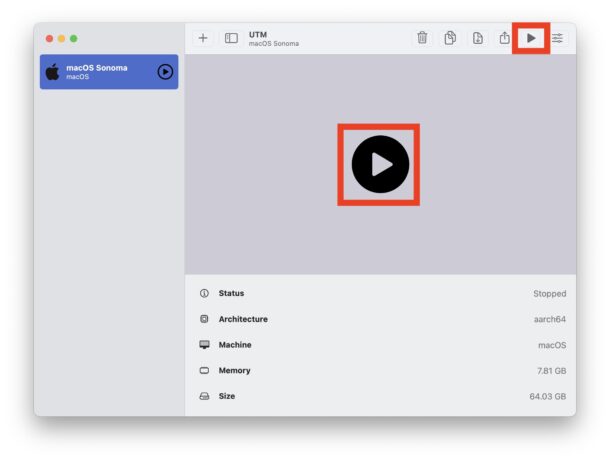
- Back at the main UTM screen, you’ll see the MacOS VM, click the big play button to boot the VM
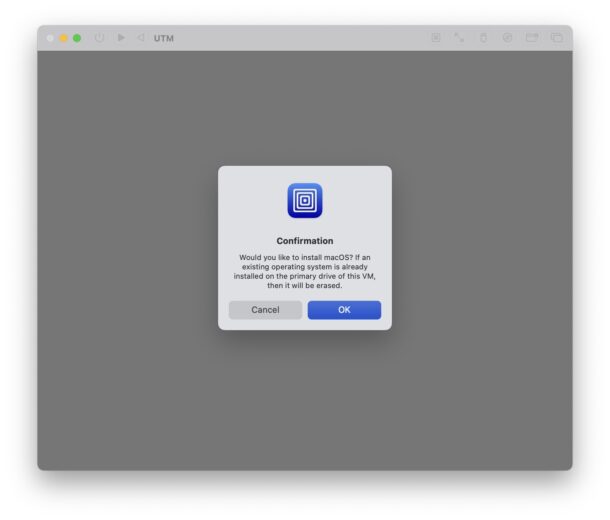
- Confirm that you wish to use the IPSW file to install MacOS in the virtual machine
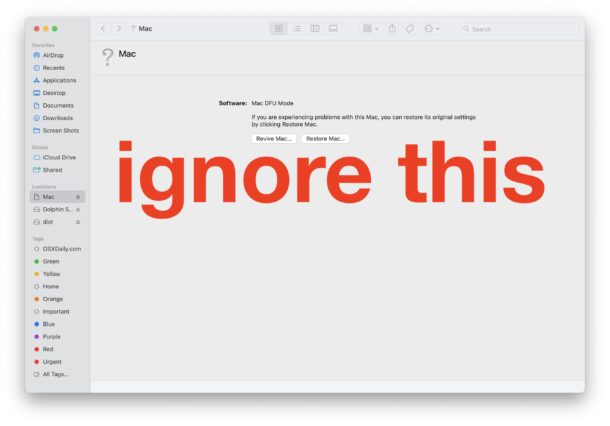
- Finder will open saying a Mac has been detected in DFU mode, ignore this (it’s simply finding the VM to restore the IPSW to)
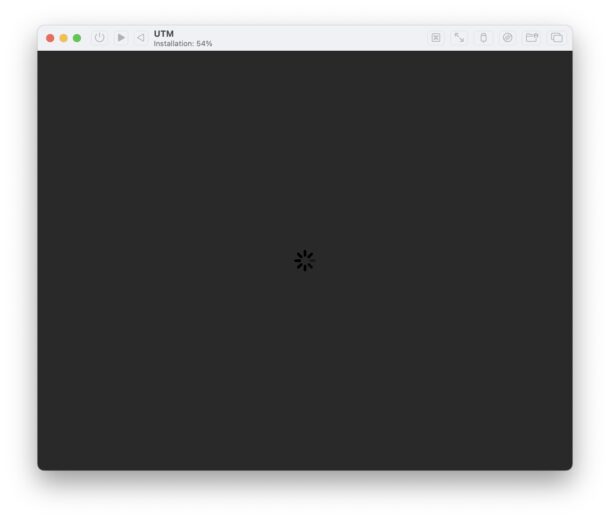
- Let UTM install MacOS Sonoma beta in the virtual machine by restoring from the provided IPSW, this requires nothing but patience, and at times it may seem like nothing is happening, but if you look at the window titlebar of UTM you’ll see a progress indicator
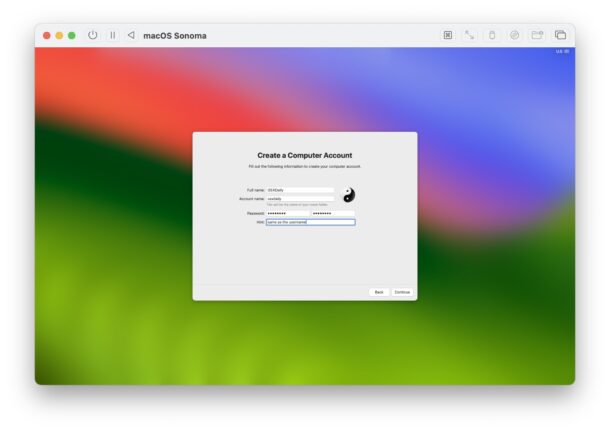
- After MacOS Sonoma beta has restored to the VM, it’ll boot immediately into the typical “Hello” welcome screen, where you can setup MacOS Sonoma beta in the virtual machine, just as if it were a new Mac
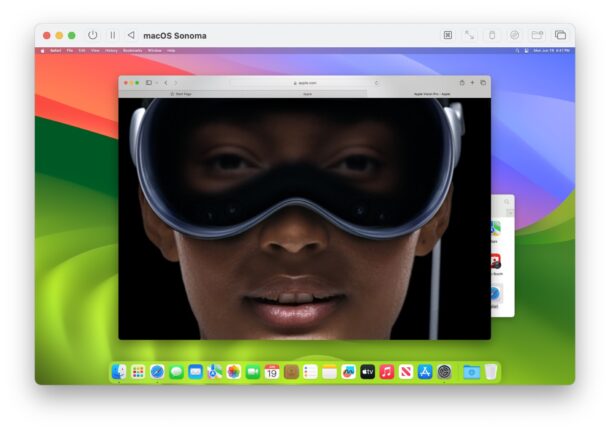
You’re now running MacOS Sonoma beta in the UTM virtual machine, and as you can see, it runs quite well.
As is usual with virtual machines, MacOS Sonoma beta is fully functional and has internet access in the VM:
You can update MacOS Sonoma within the virtual machine just like any other macOS update, by going to System Settings > General > Software Update.
If you’re a regular reader, you’ll undoubtedly have noticed we often cover virtualization and virtual machines, as they offer an easy way to run and test out various operating systems, without interfering in your primary OS. Whether it’s MacOS like we discuss here, Windows 11, or Linux, you can have a lot of fun with virtual machines.
We recently covered getting Sonoma beta in a VM with Viable by upgrading from Ventura, which you can get up and running by using this guide to get MacOS Ventura running in a VM with Viable. Whether or not you find Viable or UTM to be easier, or more appropriate for your individual use, is a matter of personal preference, but performance should be similar in both of the apps.
Have you attempted to install and run MacOS Sonoma beta in a virtual machine? Did you use UTM, Viable, Parallels, VMware, Virtualbox, or another solution? Share with us your experiences and thoughts in the comments!

