Key Takeaways
- It is important to only install .Appx or .AppxBundle packages from trusted sources.
- To install .Appx packages, sideloading must be enabled on your Windows 10 device.
- .Appx packages can be installed using the graphical installer or PowerShell cmdlets, depending on your needs.
Microsoft’s Universal Windows Platform applications used the .Appx or .AppxBundle file format in older versions of Windows 10. They’re were normally installed from the Windows Store, but Windows 10 allows you to sideload Appx packages from anywhere.
Like other software, you should only install .Appx or .AppxBundle packages from sources you trust.
UPDATE: 2023/10/07 12:00 EST BY NICK LEWIS
APPX has been replaced by MSIX
You’ll still find “.appx” files floating around on the Internet, however, they have generally been replaced with MSIX files. If you need to use an APPX file to install something you still can, and the information here holds.
What’s an .Appx or .AppxBundle?
Windows 10 “Universal apps” or “Universal Windows Platform” apps used to be distributed in .Appx or .AppxBundle files. These are application packages that include the name, description, and permissions of an app along with the application’s binaries. Windows can install and uninstall these packages in a standard fashion, so developers don’t have to write their own installers. Windows can handle everything in a consistent way, allowing it to cleanly uninstall applications with no leftover registry entries.
If a developer makes a .Appx program, you normally don’t download and install it directly. Instead, you visit the Windows Store, search for the program you want to install, and download it from the Store. All software in the Windows Store was in .Appx or .AppxBundle format behind the scenes, but has been largely replaced with the .msix format.
In some cases, you may need to install a .Appx or .AppxBundle package from outside the Store. For example, your workplace may provide an application you need in .Appx format, or you may be a developer who needs to test your own software before uploading it to the Store.
First: Enable Sideloading
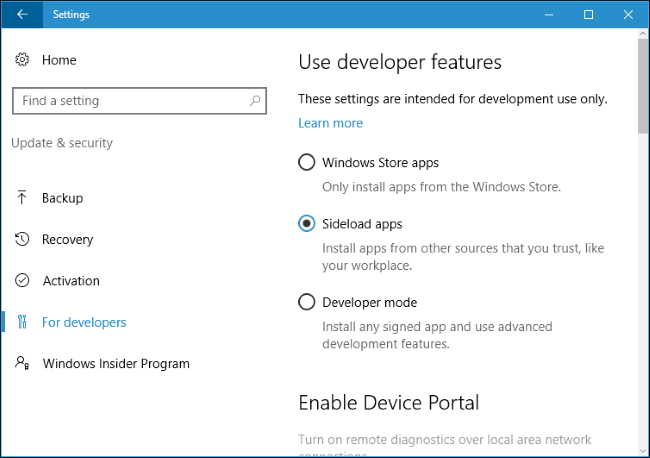
You can only install .Appx or .AppxBundle software if sideloading is enabled on your Windows 10 device. Sideloading is enabled by default starting with the November Update, but sideloading may be disabled by company policy on some devices.
To check if sideloading is enabled, head to Settings > Update & Security > For Developers. Ensure the setting here is set to either “Sideload apps” or “Developer mode”. If it’s set to “Windows Store apps”, you won’t be able to install .Appx or .AppxBundle software from outside the Windows Store.
If this option is set to “Windows Store apps” and you enable sideloading, Windows will warn that apps you install could expose your device and data, or harm your PC. It’s like installing normal Windows software: You should only install software from sources you trust.
How to Install an .Appx Package Using the Graphical Installer
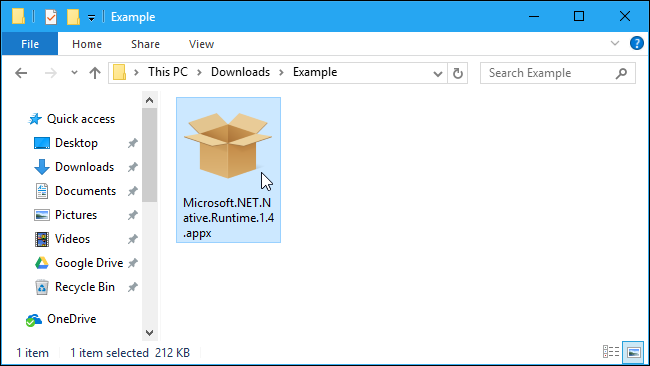
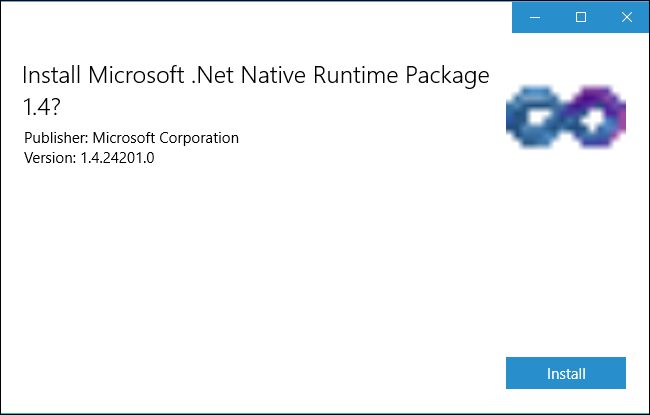
On Windows 10’s Anniversary Update, Microsoft added a new “App Installer” tool that allows you to install .Appx or .AppxBundle applications graphically. To install them, just double-click a .Appx or .AppxBundle package.
You’ll be shown information about the .Appx package, including the name, publisher, version number, and an icon provided by the developer. To install the package, click the “Install” button.
How to Install an .Appx Package With PowerShell
Windows 10 also includes PowerShell cmdlets you can use to install an .Appx package. The cmdlet offers more features than the App Installer tool, such as the ability to point Windows at a dependency path that contains other packages the .Appx package needs.
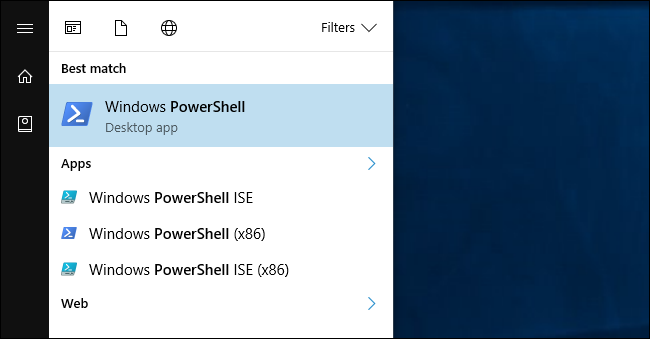
To install an Appx package with PowerShell, first open a PowerShell window. You can search the Start menu for “PowerShell” and launch the PowerShell shortcut to open one. You don’t need to launch it as Administrator, as .Appx software is just installed for the current user account.
To install an Appx package, run the following cmdlet, pointing it at the path to the .Appx file on your system:
Add-AppxPackage -Path "C:\Path\to\File.Appx"
For more advanced usage options, consult Microsoft’s Add-AppxPackage documentation.
How to Install an Unpackaged App With PowerShell
If you’re developing your own software, the above cmdlet won’t be ideal for you. It will only install properly signed applications, but you don’t necessarily want to sign your application while developing it.
That’s why there’s an alternate way to install Appx software. This only works with apps left in “unpackaged” form. The Desktop App Converter also creates both an unpackaged app, which you can install using the below command, and the final .Appx application package.
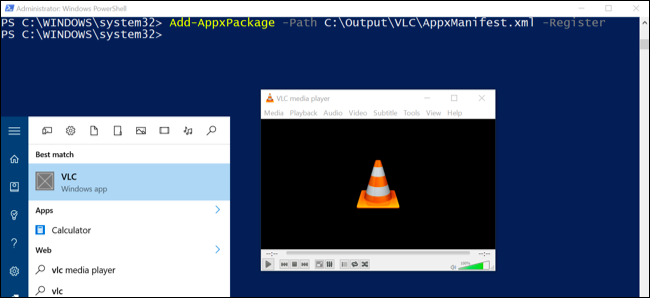
To do this, you’ll need to open a PowerShell window as Administrator. Afterwards, run the following command, pointing Windows at the “AppxManifest.xml” file in the unpackaged app’s directory:
Add-AppxPackage -Path C:\Path\to\AppxManifest.xml -Register
The application will be registered with the system in developer mode, effectively installing it.
To uninstall an AppX package, just right-click the application in the Start menu and select “Uninstall”. You can also use the Remove-AppxPackage cmdlet in PowerShell.

