Jump to:
First, the fact that the Camera Failed error doesn’t include any error code or details related to the possible reasons why the camera isn’t working properly makes the troubleshooting difficult. And even if the steps detailed below aren’t time-consuming, you should make sure your device has a decent charge in its battery before you attempt them. Also, make sure that your phone is running the latest software version.
In most cases, these solutions won’t involve losing any photos or data from your device, but we recommend backing up anything you don’t want to lose, especially if it gets to the point where you need to perform a factory reset.
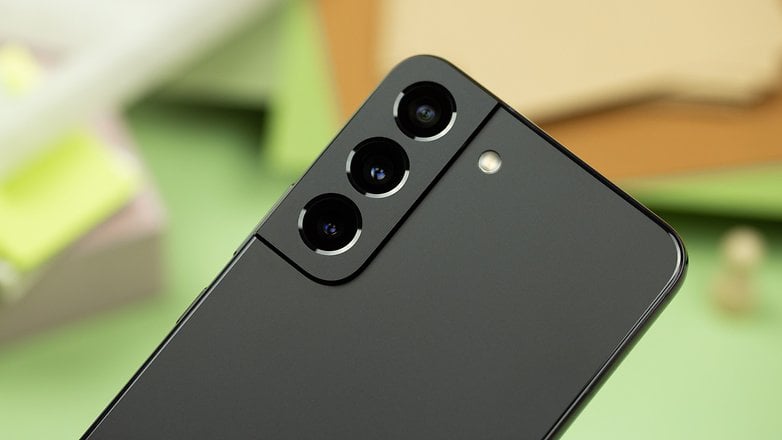
Fix ‘Camera Failed’ on Samsung Galaxy S23/S23+/S23 Ultra
The Samsung Galaxy S23 series is the flagship smartphone series for 2023 from the South Korean smartphone giant. The first few months of the family in the market showed a couple of minor errors that were fixed with software updates, but the “Camera Failed” error can still be found in the new generation. As usual, you can try the following solutions to restore the camera app on your Galaxy S23 phone:
Solution 1: Force restart the Galaxy S23/S23+/S23 Ultra
- Press the Volume down and Power buttons together until the Samsung logo appears.
- Once the phone reboots, check if the issue is resolved. If no, move to the next step.
Solution 2: Reset the Camera app
- Open the Camera app.
- Go to the Settings option (gear ⚙️ icon in the upper-left corner).
- On the Camera Settings page select the Reset settings option.
- Tap on Reset and restart the app.
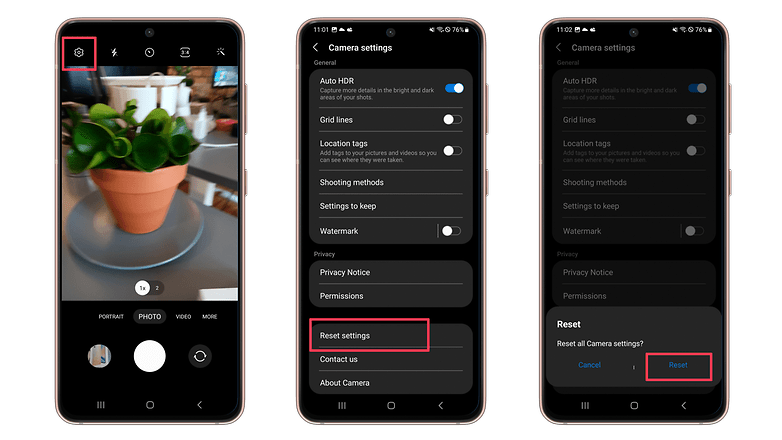
Additionally, you can try resetting the Camera app by following the instructions in the section below, the steps for the Galaxy S22 and S23 families are the same.
Note that if these steps do not solve your issue, the last resort would be to hard reset your phone or take it to a Samsung service center in the US than can do the repair or by calling customer support at 1-800-726-7864. We do hope, however, it doesn’t have to come to that.
Fix ‘Camera Failed’ on Samsung Galaxy S22/S22+/S22 Ultra
The Samsung Galaxy S22 series was the 2022 flagship smartphone series from the South Korean smartphone giant. A few months into its launch, several people have posted complaints about them facing the dreaded “Warning: Camera Failed” message when opening the camera. The issue affects a bigger number of Galaxy S22 Ultra devices apparently. And here are some steps that could possibly help you solve this rather annoying problem.
Solution 1: Force restart the Galaxy S22/S22+/S22 Ultra
- Press the Volume down and Power buttons together until the Samsung logo appears.
- Once the phone reboots, check if the issue is resolved. If no, move to the next step.
Solution 2: Reset the Camera
- Tap and hold the Camera app icon until the options menu appears.
- Select App info.
- Choose Storage.
- Tap Clear cache.
- Now tap on Clear Data and tap Ok to confirm.
- Check if the issue persists.
How to Fix ‘Camera Failed’ on Samsung Galaxy S21/S21+/S21 Ultra
The Samsung Galaxy S21 series was released in 2021 and right after its launch, several people posted complaints about this “Warning: Camera Failed” message when opening the camera. As mentioned in the Galaxy S22 series section above, the steps to follow are pretty close to what we suggested before.
Solution 1: Force restart the Galaxy S21/S21+/S21 Ultra
- Press the Volume down and Power buttons together until the Samsung logo appears.
- Once the phone reboots, check if the issue is resolved. If no, move to the next step.
Solution 2: Reset the Camera
- Tap and hold the Camera icon until the options appear.
- Then tap App info > Touch Storage.
- Tap Clear cache.
- Now tap on Clear Data and tap Ok to confirm.
- Check if the issue persists.
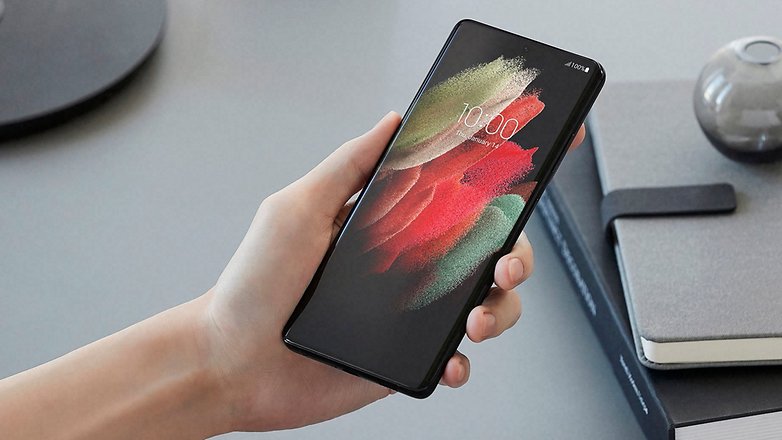
How to Fix ‘Camera Failed’ on Samsung Galaxy Note 20/ Note 20 Ultra
I am sure you are here reading this because of the Samsung camera failed error you received on your expensive Galaxy Note 20 series device. While the ‘camera failed’ error is annoying, it can mostly be fixed by performing a couple of simple steps at least in most cases. On the Samsung Galaxy Note 20 and the Note 20 Ultra, you may try these steps to fix this common error.
Method 1: Close background apps and perform a forced restart
Sometimes, the issue behind this error message isn’t the camera – but an app that has permission to access the camera. It is possible that the apps that have access to the camera are causing the problem. So try closing them first and see if the issue gets fixed. You can clear all open apps from the ‘recent apps’ menu and check if the problem is solved. To do this:
- Tap on the Recent Apps icon.
- Swipe up on every app preview to close them. Alternatively, you can also click the Close all option.
- Once this is done, press and hold the volume down button and the Power key for 10 seconds. This will force the phone to restart.
- Check if the issue is solved.
Second solution: Use the camera in Safe mode
In case the issue remains unsolved after you try the steps above, it’s time you tried the second option. In this method, we will boot your phone to safe mode and see if the issue is recreated there. The logic behind this is to check if the issue is caused by an errant third-party app.
- Swipe down from the top of the screen, and tap the Power icon.
- Tap and hold the Power off option until it turns into the Safe Mode icon.
- Tap Safe mode and wait as your Note 20 reboots.
- Once it has finished rebooting, you will notice that there’s text in the lower-left corner that says Safe mode.
- Now launch the Camera and see if the error still shows up.
- If it does not, it means that the issue is caused by an errant app.
- Check if you installed any new apps recently and remove them.
How to fix ‘Camera Failed’ on Android: Samsung Galaxy S20/S20+/S20 Ultra
Turns out, even the mighty Samsung Galaxy S20 series isn’t exempt from the ‘Warning: Camera Failed” error. Thankfully, before you try out more drastic methods (like a hard reset or worse, a trip to the service center), you might want to try the following possible solutions
Method 1: Reset camera settings
- Open the Camera app.
- Go to the Settings option (upper-left corner).
- Tap on it and the Camera Settings screen will open.
- Scroll down and tap the Reset Settings option.
Method 2: Wipe the cache partition
- Turn your Phone off.
- Press and hold the Volume Up key and the Bixby/Power button until an Android logo appears.
- Android recovery options appear.
- Use the Volume down key to highlight an option called Wipe cache partition.
- Click the Bixby/Power button to select.
- Press the Volume down key to highlight Yes, then press the Bixby/Power key to select.
- Wait for the process to complete. Select Reboot system now using the power button.
- Wait for the phone to restart and check if the issue is resolved.
How to fix ‘Camera Failed’ on Android: Samsung Galaxy Note 10/Note 10+
Even the latest iteration of the Samsung Galaxy Note flagships aren’t immune to this error, made all the more frustrating by the fact that the Galaxy S10 and S10+ have fantastic (and expensive) camera equipment. First things first. Try simply restarting your phone and making sure your apps are up to date by opening the Google Play store and checking My apps & games. If that doesn’t work, you can try the following:
Solution 1: Force stop the camera app
- Open Settings > Apps.
- Find and tap on the Camera app.
- Tap Force stop.
- Try to reopen the app and see if you are still getting the same problem.
Solution 2: Reset app preferences
- Open Settings>Apps.
- Select More in the upper right part.
- Select Reset app preferences.
- Restart your device.
- If the problem is being caused by a default app, this should solve it.
How to fix ‘Camera Failed’ on Android: Samsung Galaxy S10/S10+
Unfortunately, the same goes for the 2019 Galaxy S Series smartphones. Luckily the Galaxy S line and the Galaxy Note like are becoming increasingly similar, so the method for fixing this problem is exactly the same on both devices.
If neither of these solutions works, you should continue down this list and try the solutions for the older devices, starting with the S9 and S9+. The wording on the menu might be ever-so-slightly different, but the options will remain the same.
How to fix ‘Camera Failed’ on Android: Samsung Galaxy S9/S9+
Again, if you are currently using one of the third-latest Samsung Galaxy S9 series smartphones, it’s worth checking that all of your apps are up to date. If that doesn’t work, try resetting your S9 or S9+. If that doesn’t work, follow the list of instructions below.
Method 1: Clear the camera app cache
- Open Settings > Apps.
- Find and tap on the Camera app.
- Tap on Storage.
- Select Clear cache.
Method 2: Clear camera app data
- Open Settings > Apps.
- Find and tap on the Camera app.
- Tap on Storage.
- Select Clear data.
Method 3: Boot into safe mode
Sometimes a third-party camera app can cause issues with the default camera app. Booting into safe mode (which disables 3rd party software) is the best way to identify if the issue is caused by a third-party camera app. You can then uninstall the problem app to solve the issue.
- Power off the device completely.
- Press and hold the power button until the logo appears.
- Once the logo appears to release the power button and then press and hold the volume down button.
- Release the button when Safe mode appears at the bottom of your device screen.
Method 2: Clear system cache
- Power off the device.
- Press and hold volume up button, Bixby button and power button.
- When the screen with No commands message shows up tap on the screen.
- Use volume keys to highlight Wipe cache partition and use power button to select it.
- Select Yes to confirm.
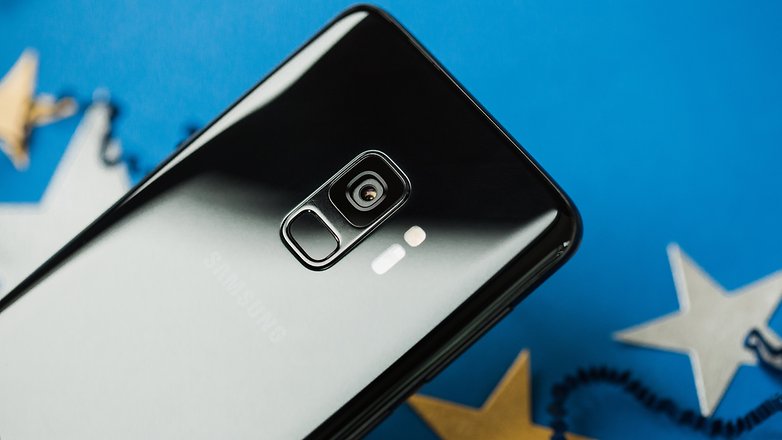
Method 3: Factory reset
The factory reset involves returning the device to its default software, which will remove all your data and files, so make sure you’ve backed up before trying this.
- Power off the device.
- Press and hold volume up button, Bixby button and power button.
- When the screen with No commands message shows up tap on the screen.
- Use volume keys to highlight Wipe data/factory reset and use power button to select it.
- Select Yes to confirm.
How to fix ‘Camera Failed’ on Android: Samsung Galaxy S8/S8+
The Samsung Galaxy S8 is a close relative of its predecessor, the Galaxy S7, so first you should also try the steps for the S7 to see if they resolve the camera failure issue. If this doesn’t work, there are the following additional methods that you can try to fix this problem on the Galaxy S8 Plus.
Solution 1: Ensure all the apps on your device are updated
- Go to the Google Play store.
- Open My apps & games.
- Check what apps are updated and which should be updated.
- After updating the apps, check if the camera issue is resolved.
Solution 2: Boot the Galaxy S8 into safe mode
- First, turn off the device completely.
- Next, hold down the power button until the Samsung logo appears on screen.
- Then hold the volume button until the phone completes restarting and Safe mode appears on the left bottom corner of the screen.
- If the ‘Camera Failed’ error does not occur in safe mode, then some third-party app is causing the issue.
- Uninstall apps one by one until you figure out the one responsible, starting with those installed right before the camera failure started.
How to fix ‘Camera Failed’ on Android: Samsung Galaxy S7/S7 Edge
If your Samsung Galaxy S7 is displaying the Camera Failed error try all of these steps in order, until one of them fixes your phone’s camera issue:
Method 1: Clear cache and data
- Restart the phone.
- If restarting doesn’t work, clear the cache and data of the camera app by Settings > Applications > Application manager > Camera app.
- Then tap Force Stop, and go to the Storage menu, where you select Clear Data and Clear Cache.
Method 2: Wipe data
- Turn the phone off, press the Power, Home, and Volume Up buttons together and hold until you see the Samsung logo pop up on the screen.
- Then the phone goes into its Recovery mode.
- Use the Volume Down button to scroll to Wipe Cache Partition and then press the Power button to begin.
- Once you’re done, restart your phone.
Method 3: Wipe data
If all of that doesn’t work, the problem likely has to do with Smart Stay. Some users have reported that there seems to be a software error when the rear camera starts up, but only when this function is on, likely because Smart Stay is already using the front camera to detect when you’re looking at the screen so it stays on.
Go to your phone’s display settings menu and turn off Smart Stay to fix the issue temporarily. The long-term fix for this, according to Samsung, is to make sure your phone’s software is up to date since the software issue has already been fixed in one of the updates.
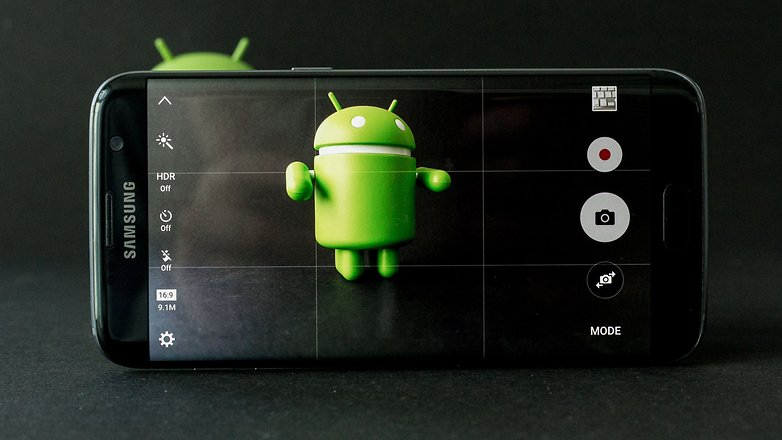
How to fix ‘Camera Failed’ on Android: Samsung Galaxy S6/S6 Edge
Reports of ‘camera failed’ errors on the Samsung Galaxy S6 and S6 Edge are rare, but some users do experience them. In most cases, the problem appears to be a third-party app that’s messed things up, so booting into safe mode is the way to test that:
- Turn off your phone.
- Press and hold the Power key and, when the Samsung logo appears, release it and hold the Volume Down button instead.
- Your phone should now restart in Safe mode.
If the camera works in this mode, you don’t have a hardware or firmware problem. Unfortunately, if it doesn’t work in safe mode, then you might. Don’t go rushing to your retailer just yet, though: try the steps detailed above first. In many cases, a factory reset can give your device the kick it needs to sort out the camera problem.
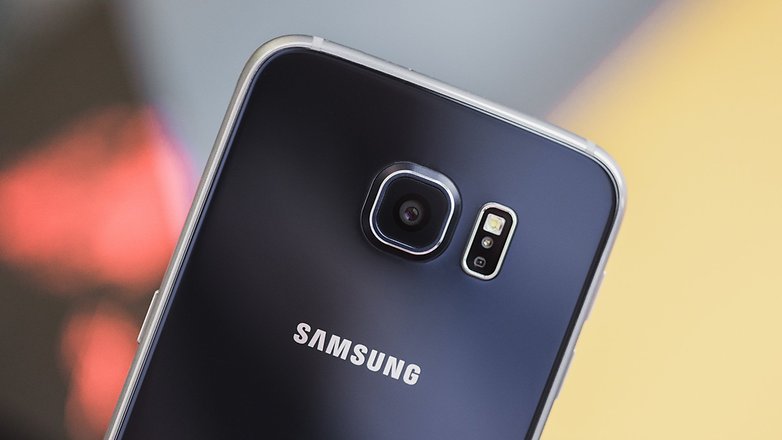
How to fix ‘Camera Failed’ on Android: Samsung Galaxy S5, Galaxy S4, and Galaxy S3 series
If you have a Samsung Galaxy S5, we have good news and bad news about this one. The good news is that there’s a very high chance the camera failed error has the same cause and solution(s) as it does for the S3 and S4. The bad news is that there’s a small chance that your device may actually have a hardware fault; a limited number of S5 devices did suffer from faulty cameras.
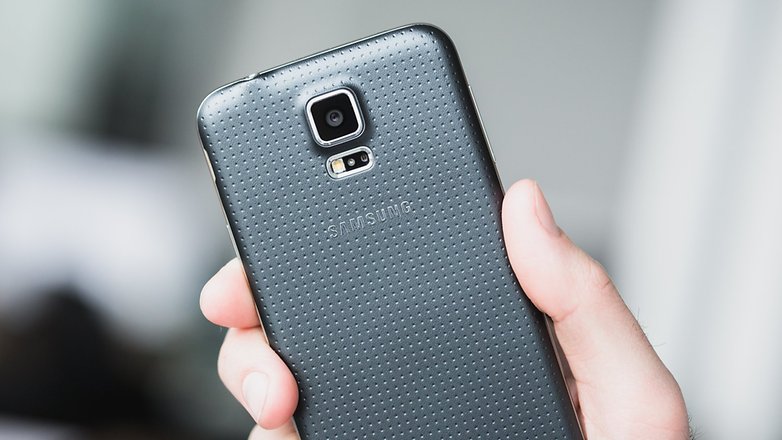
In many cases, the ‘camera failed’ error occurs because the Camera app has got itself into a bit of a mess. You can often solve that with a fairly simple bit of housekeeping. So, if you still have a Galaxy S5, Galaxy S4 or Galaxy S3 device, follow the steps below in order to fix the Camera Failed bug:
- Go into Settings > Applications Manager and then swipe left for All Apps.
- Scroll down to the Camera app and tap on it.
- Now tap on Force Stop, then Clear Cache, then Clear Data.
- Don’t worry: this won’t delete any of your photographs, but it will delete your camera’s settings so you’ll need to set those again.
- Reboot your phone and see if that worked.
If it didn’t, step two is to clear the cache partition. To do that:
- Turn off your phone and then press and hold Volume Up, Power and Home.
- Once the phone vibrates, let go of Power but keep the other two buttons pressed.
- Once you see the Android Recovery screen, navigate to Wipe Cache Partition using the volume down key and use Power to select it.
- This won’t delete your data but it should reset the app’s cache, which should solve the problem.
Nothing? Time for the nuclear option: a factory reset. Make sure you take backups of anything you need first, as this will return your phone to factory-fresh condition without any of your stuff on it.
Still no joy? Dump the app altogether and try the excellent Google Camera (KitKat or later required) or one of the many wonderful third-party camera apps out there. Read the reviews carefully though: some camera apps are better than others. There’s no point in installing a lame one.
Have you encountered the infamous ‘camera fail’ error on your Android device? Was it on a Samsung or on something else entirely? Was an app the culprit, or did you have to take the device back to the shop? Let us know in the comments.
Article updated in April 2023 with instructions on how to fix the “Camera Failed” error message on the Galaxy S23 smartphones.


