Quick Links
- How to Select a Frame from a Live Photo
- How to Extract a Still Frame from a Live Photo
Key Takeaways
- Open the Photos app and tap the “Edit” button to select a frame from a Live Photo. Set the image as the “Key Photo” to represent the Live Photo.
- To extract a still frame from a Live Photo, tap the three-dot menu button and select “Duplicate.” Choose “Duplicate As Still Photo” to create a new photo based on the Key Photo.
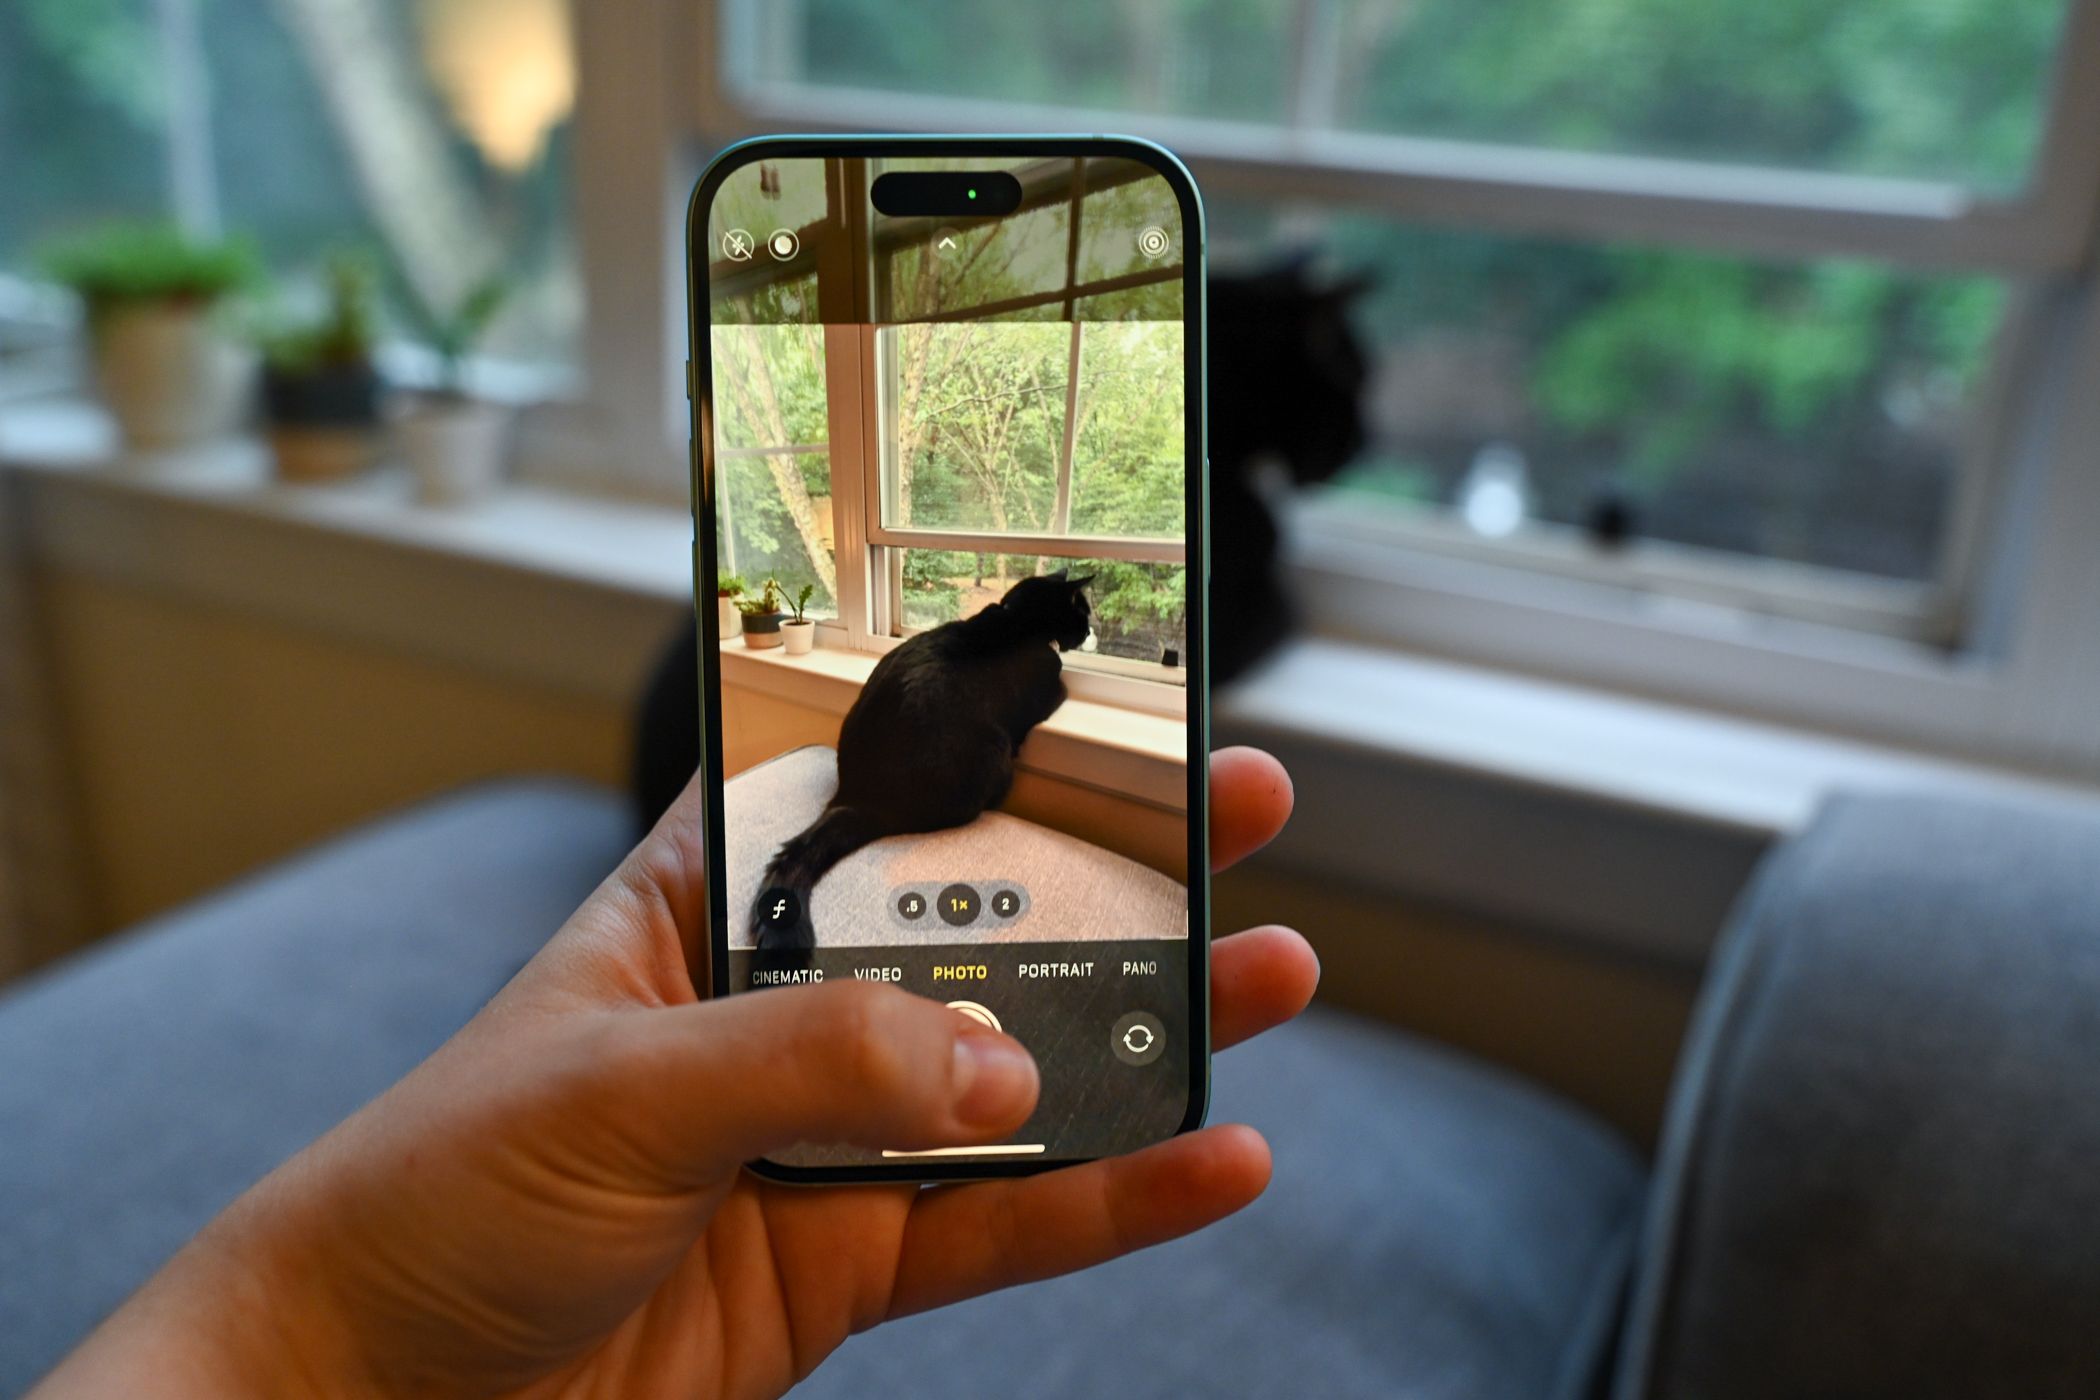
If you’ve ever taken a Live Photo on your iPhone, you’ve basically created a short video clip attached to an image. If you don’t like the resulting photo (or want to grab a different one), it’s possible to extract a different photo from the video clip that you can save or share. Here’s how.
How to Select a Frame from a Live Photo
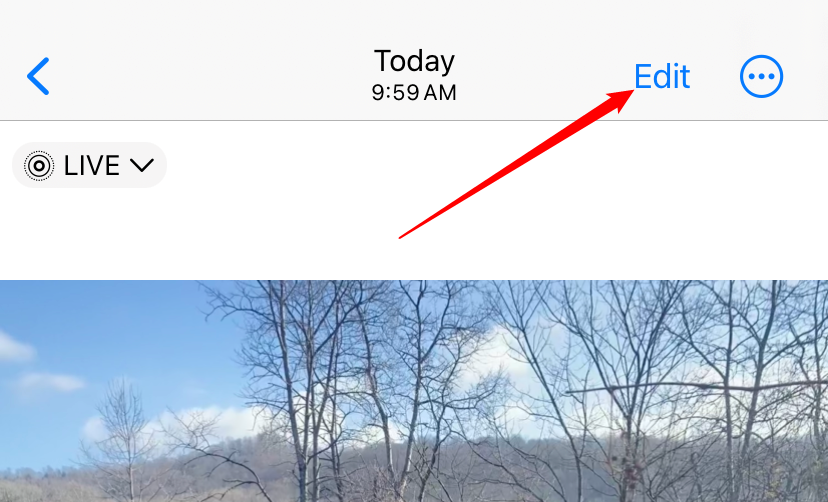
First, open the Photos app. Browse your photos until you find the live photo you’d like to work on. Tap it to view it in detail. Then tap the “Edit” button in the upper-right corner of the screen.
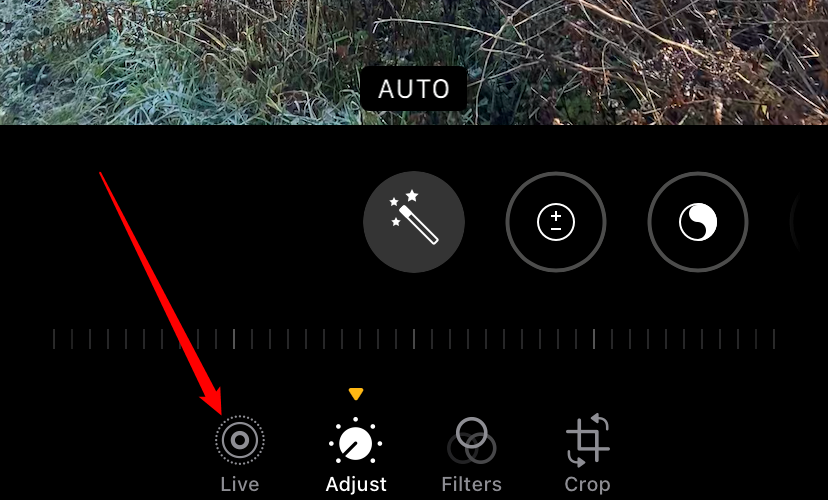
On the Edit screen, tap the “Live Photo” icon near the bottom of the screen. (The Live Photo icon looks like three concentric circles.)
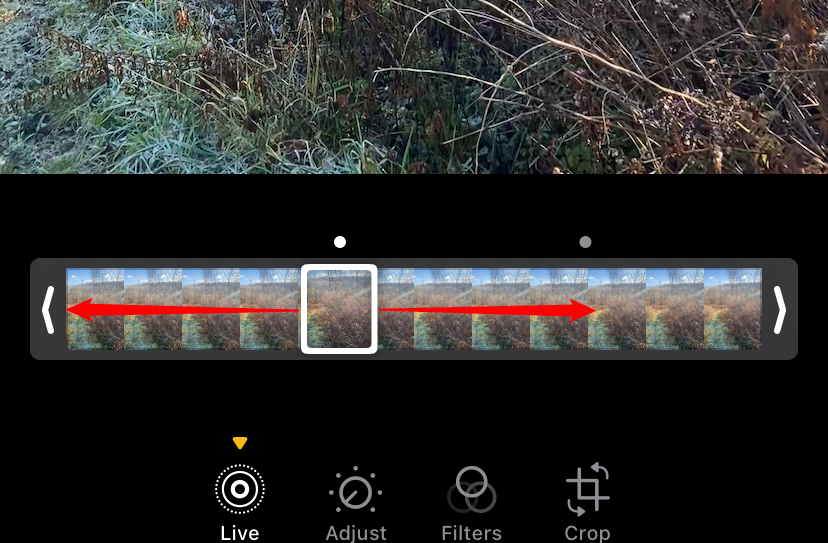
A filmstrip will appear just below the photo. Drag your finger along the filmstrip until you find the image that you would like to extract. You will be making this the “Key Photo”—the photo that visually represents the Live Photo when you view it in the Photos app.
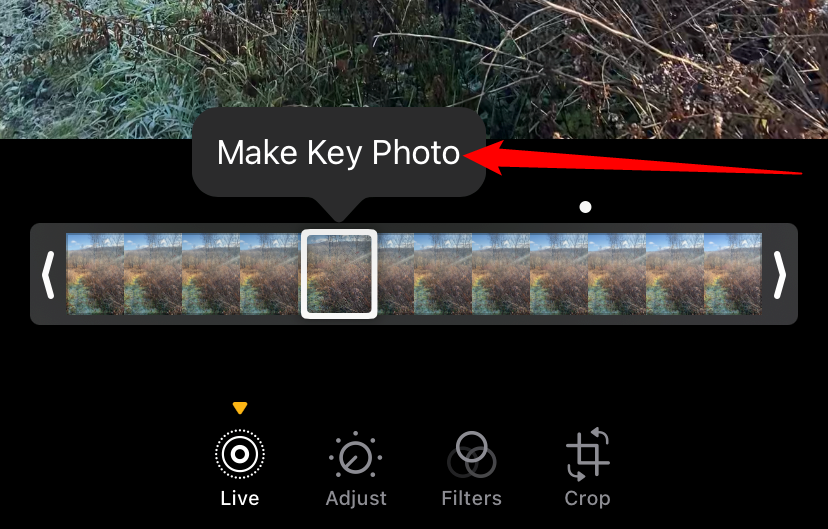
After you lift your finger from the film strip, a bubble will pop up that says “Make Key Photo.” Tap it.
The Key Photo will be set. After that, click “Done” to leave the Edit screen.
When you return to the photo-detail screen, notice that the image has changed to the one you selected.
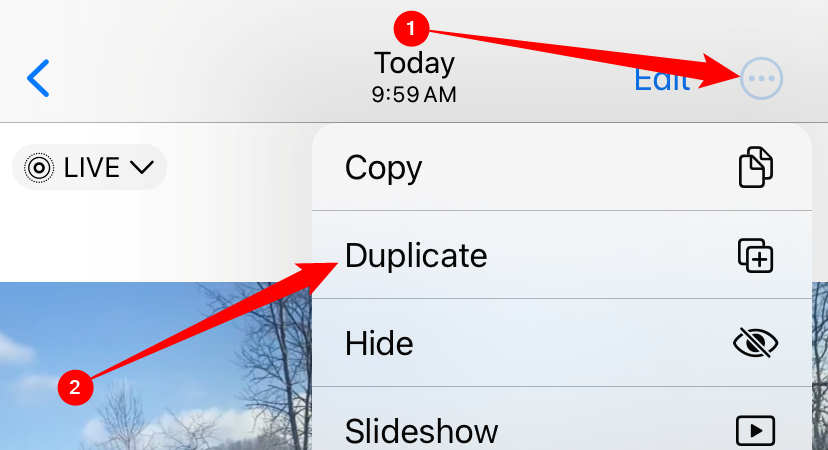
To extract the image while leaving the original Live Photo intact, we are going to duplicate it. First, tap the three-dot menu button in the upper-right corner, then tap “Duplicate.”
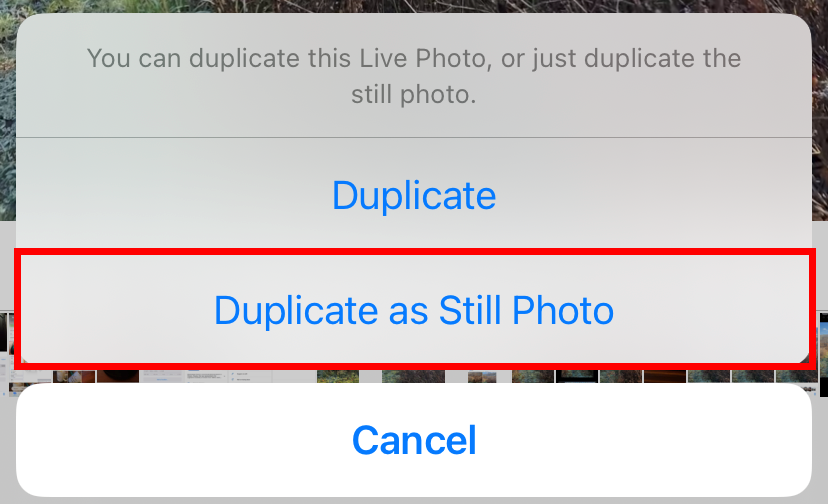
A pop-up will appear asking if you want to duplicate the photo as a Live Photo or as a still photo. Tap “Duplicate As Still Photo.”
After that, a new duplicate photo of the key frame you picked will appear in your Photos library just beside the original Live Photo. From there, you can process or share it however you wish.
If you’d like, you can also return to your original Live Photo, tap “Edit” again, then “Revert” it back to its original key frame. That will restore the Live Photo to its original settings.
Keep in mind that the resolution of the extracted photo may not match that of a typical still photo on the iPhone. That’s because you have just extracted a still frame from a video, and Apple devices record video frames at a lower resolution than still photos. Still, it’s a pretty nice feature to have. Have fun!

