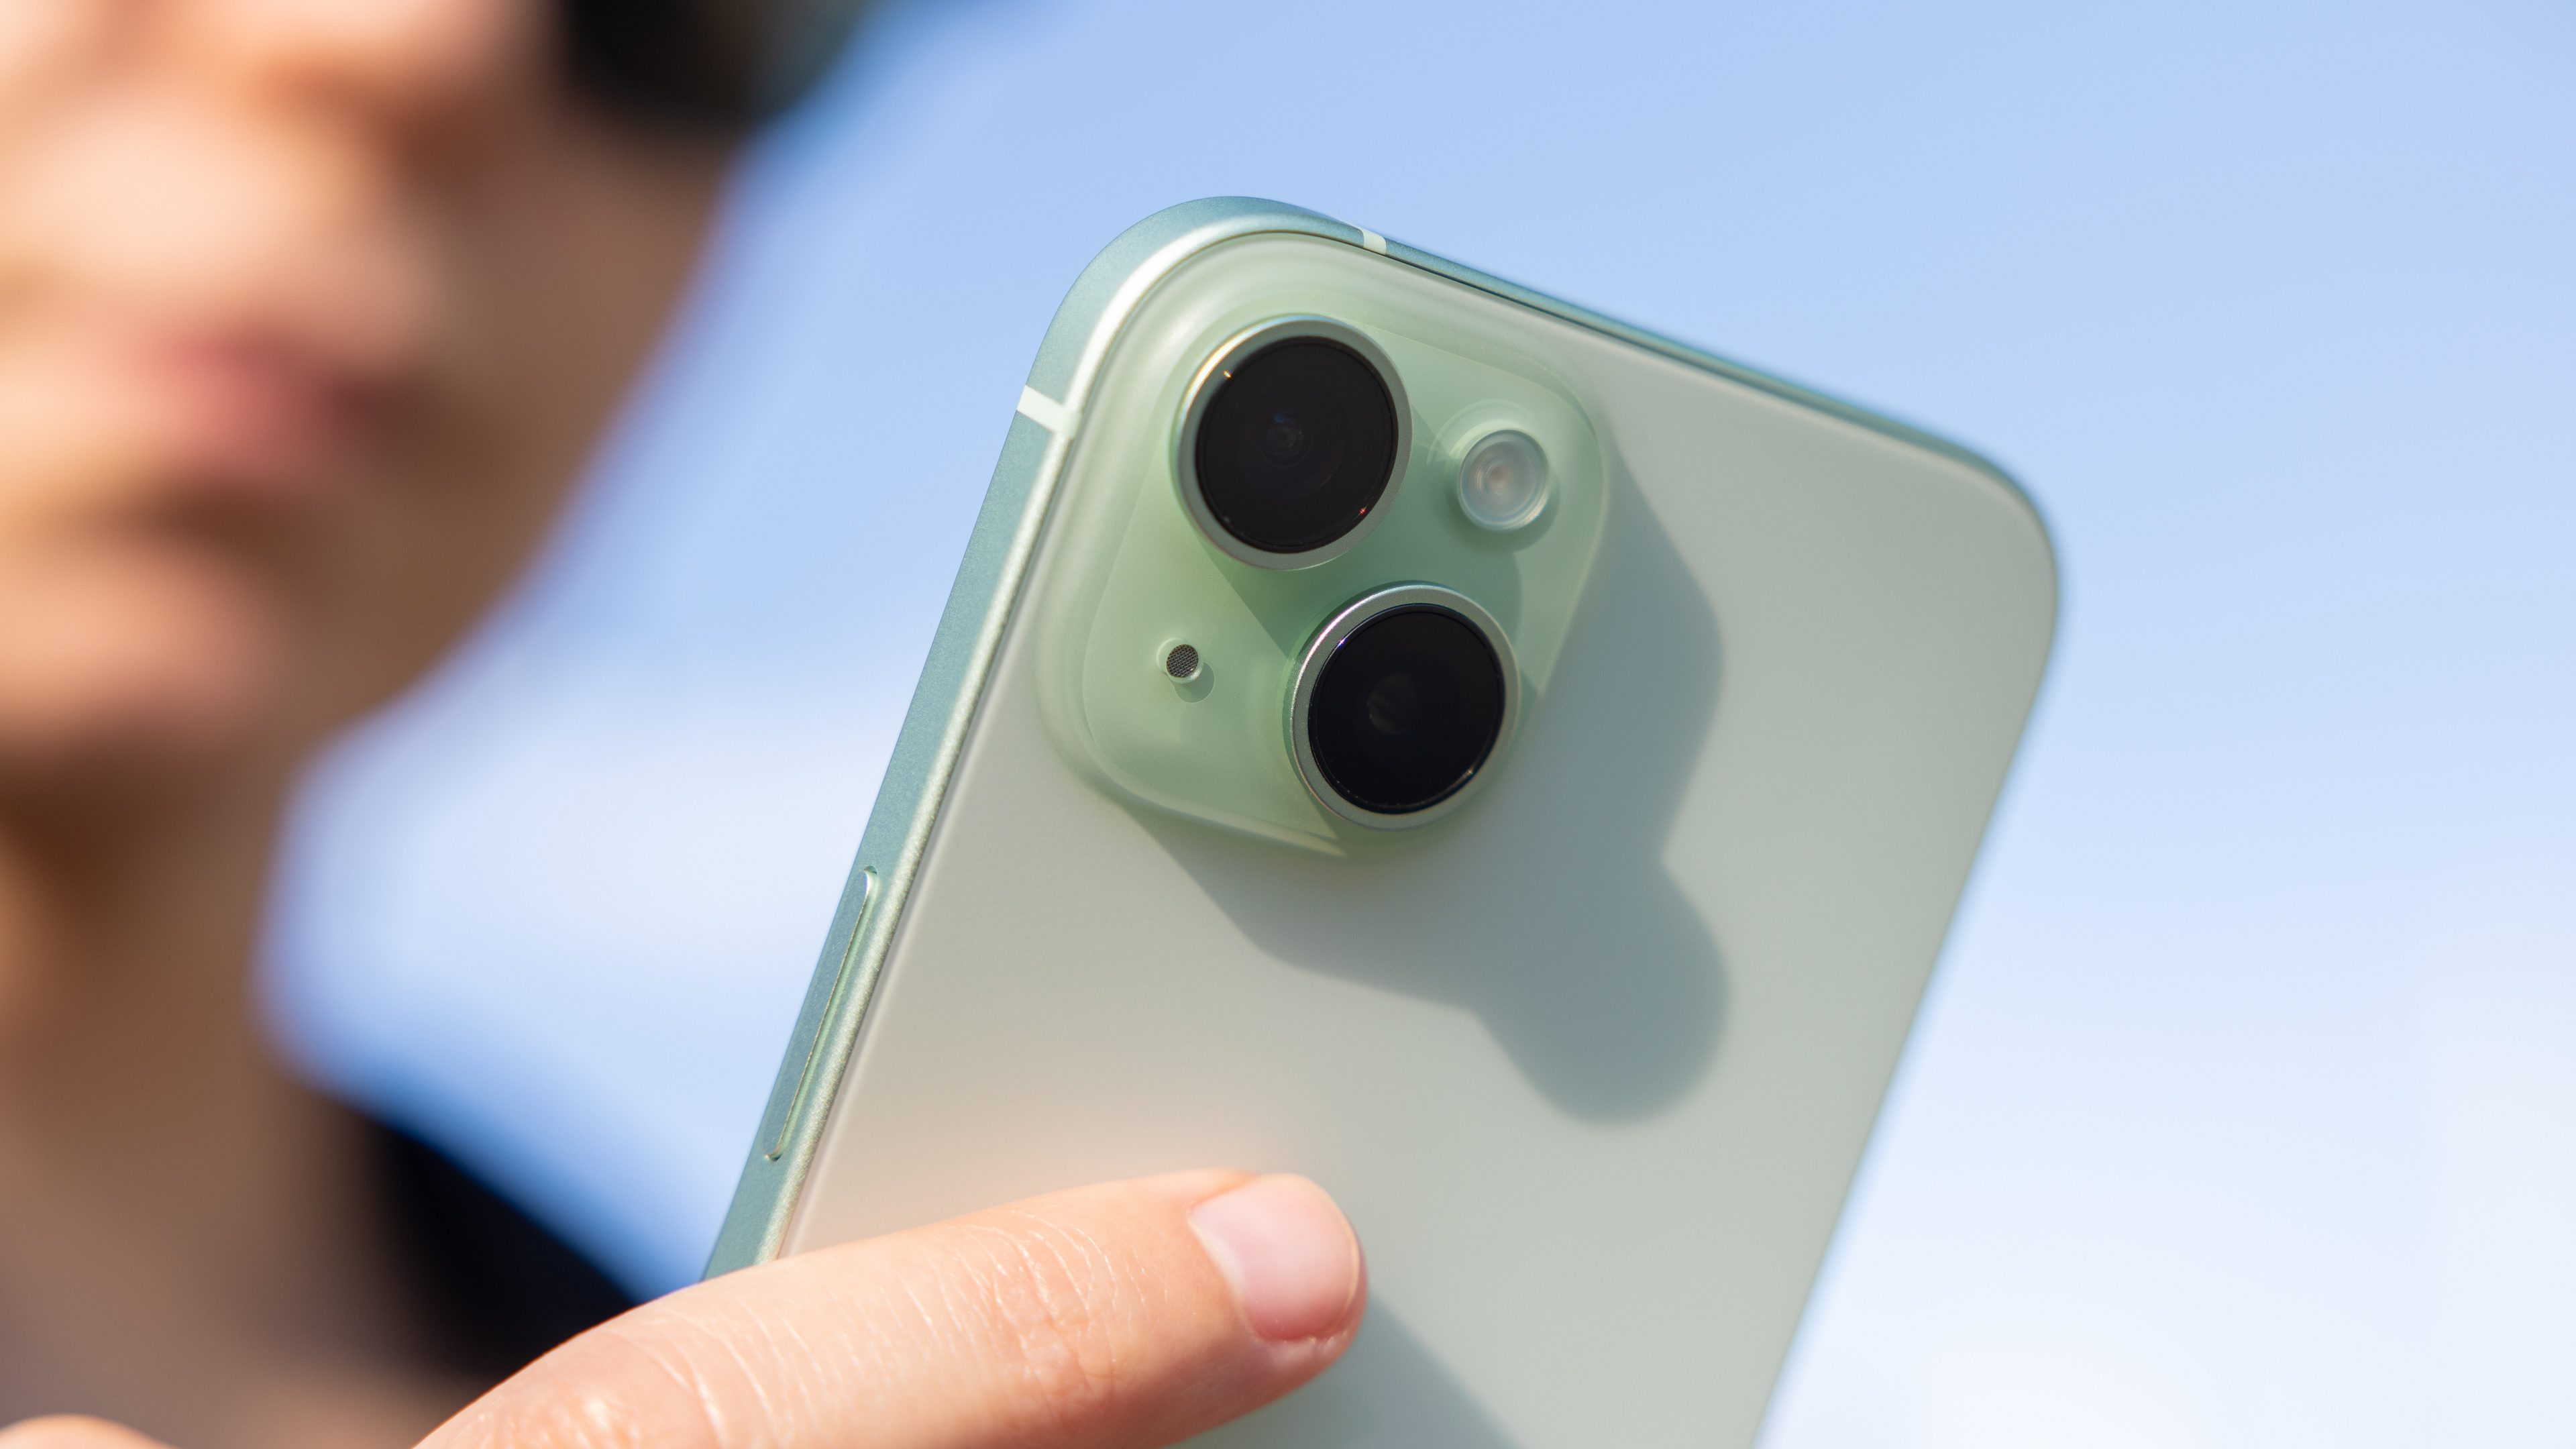
Security improvements on iOS have made it harder for thieves to make a stolen iPhone useful. But over time these bad actors continue to find even more ingenious ways to bypass new measures. In iOS 17.3, Apple added the Stolen Device Protection feature that significantly enhances security on iPhones, especially those with compromised passcodes. Here’s how you can activate and use the feature on your iPhone.
How Stolen Device Protection works?
Basically, Stolen Device Protection is a new security tool that protects sensitive information such as your Apple ID account, passwords, and bank details from being accessed or altered in cases your iPhone with its passcode is stolen. It also protects your device by keeping vital features like Find My and Lost Mode available and activated.
Stolen Device Protection works by requiring extra biometric authentication through Face ID or Touch ID when doing changes or actions related to accounts, security, and payments in your iPhone.
The additional security check only activates when your device is detected to wander off from familiar places like your home or work address. These locations are determined by the device’s GPS. With that, it is necessary to add your home or work address in the Maps app.
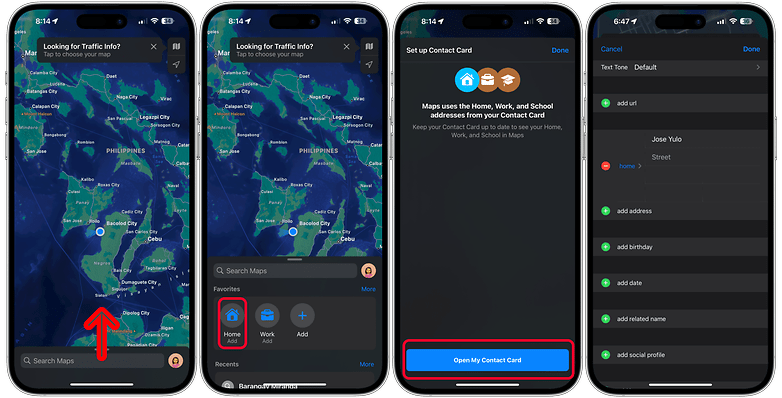
Follow the instructions below on how to add a home or work address:
- Open the Maps app.
- Scroll up from the search bar and tap the Home icon.
- Choose Open My Contact Card.
- Scroll down and tap add address.
- Input your work or home address.
- Tap Done to save.
These actions will require a security check when Stolen Device Protection is enabled:
- Viewing and using passwords and passkeys in Keychain.
- Viewing the Apple Card in Wallet.
- Doing transactions in Wallet.
- Using payment details stored in Safari.
- Erasing iPhone’s content and settings.
- Disabling Lost Mode.
A delay is added for some actions such as changing the passcode or resetting settings before doing the additional security check is done. This delay can be triggered if you’re not at familiar locations or have it required at all times. At the same time, an active delay could be removed if you return to a familiar place.
These are the actions that will require delay:
- Changing or updating Apple ID account and password.
- Signing out the current Apple ID.
- Changing device passcode.
- Adding or removing Face ID or Touch ID.
- Resetting settings.
- Turning off Find My tracking or Stolen Device Protection.
How to enable or disable Stolen Device Protection on your iPhone
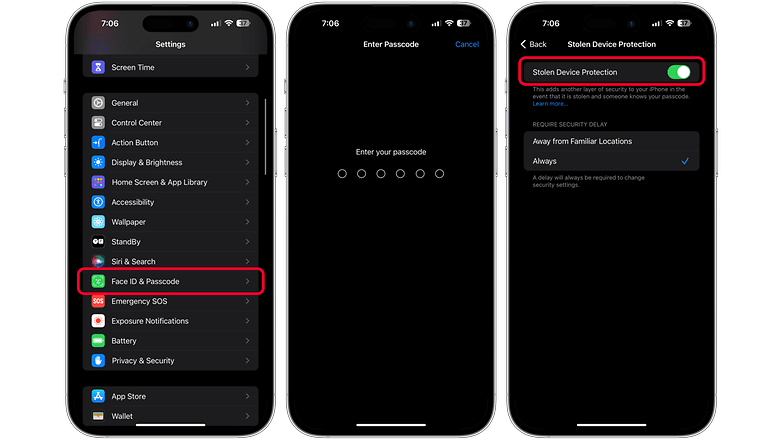
By default, Stolen Device Protection is turned off. Enabling it is pretty quick as you’ll need to access the feature from the Face ID and Passcode settings. You can find the step-by-step guide on how to turn on or off Stolen Device Protection below.
- Go to your iPhone’s Settings.
- Choose Face ID & Passcode.
- Enter your passcode.
- Scroll down and tap Stolen Device Protection.
- Enable Stolen Device Protection.
Which iPhone models are compatible with Stolen Device Protection?
Stolen Device Protection was introduced with the iOS 17.3 update. This means the feature is available to iPhone models already run on iOS 17 including the new iPhone 15 series. You can check here the list of iPhone models that are compatible with iOS 17.
- iPhone 15 (Plus)
- iPhone 15 Pro (Max)
- iPhone 14 (Plus)
- iPhone 14 Pro (Max)
- iPhone 13
- iPhone 13 mini
- iPhone 13 Pro (Max)
- iPhone SE 3 (2022)
- iPhone 12
- iPhone 12 mini
- iPhone 12 Pro (Max)
- iPhone SE 2 (2020)
- iPhone 11
- iPhone 11 Pro (Max)
- iPhone XS (Max)
- iPhone XR
Have you enabled Stolen Device Protection on your iPhone? Which other safeguard measures do you suggest for improving security on your device? We’re eager to hear your iPhone tips in the comments.

