Quick Links
- Graphical Method: Use Task Manager to Find Your Windows Uptime
- Command-Line Method: Use PowerShell to Check Your Windows Uptime
Key Takeaways
- To view your PC’s uptime using a graphical method, launch Task Manager, access the “Performance” tab, and find your uptime listed in the “Up Time” section.
- To view your system’s uptime using the command line, open PowerShell and run the “(get-date) – (gcim Win32_OperatingSystem).LastBootUpTime” (without quotes) command.
Your computer’s uptime tells you how long it has been since you turned on your computer. If you need this information for troubleshooting or something else, it’s easy to find your uptime on both Windows 11 and Windows 10 operating systems. We’ll show you both graphical and command-line methods to do that. Let’s get started.
Graphical Method: Use Task Manager to Find Your Windows Uptime
The easiest way to view your PC’s uptime is by using the built-in Task Manager utility. This utility shows you how long your computer is running within a nice and easy-to-understand interface.
To use this method, launch Task Manager on your PC. One way to do this is to right-click your Windows taskbar (the bar at the bottom of your screen) and choose “Task Manager.”
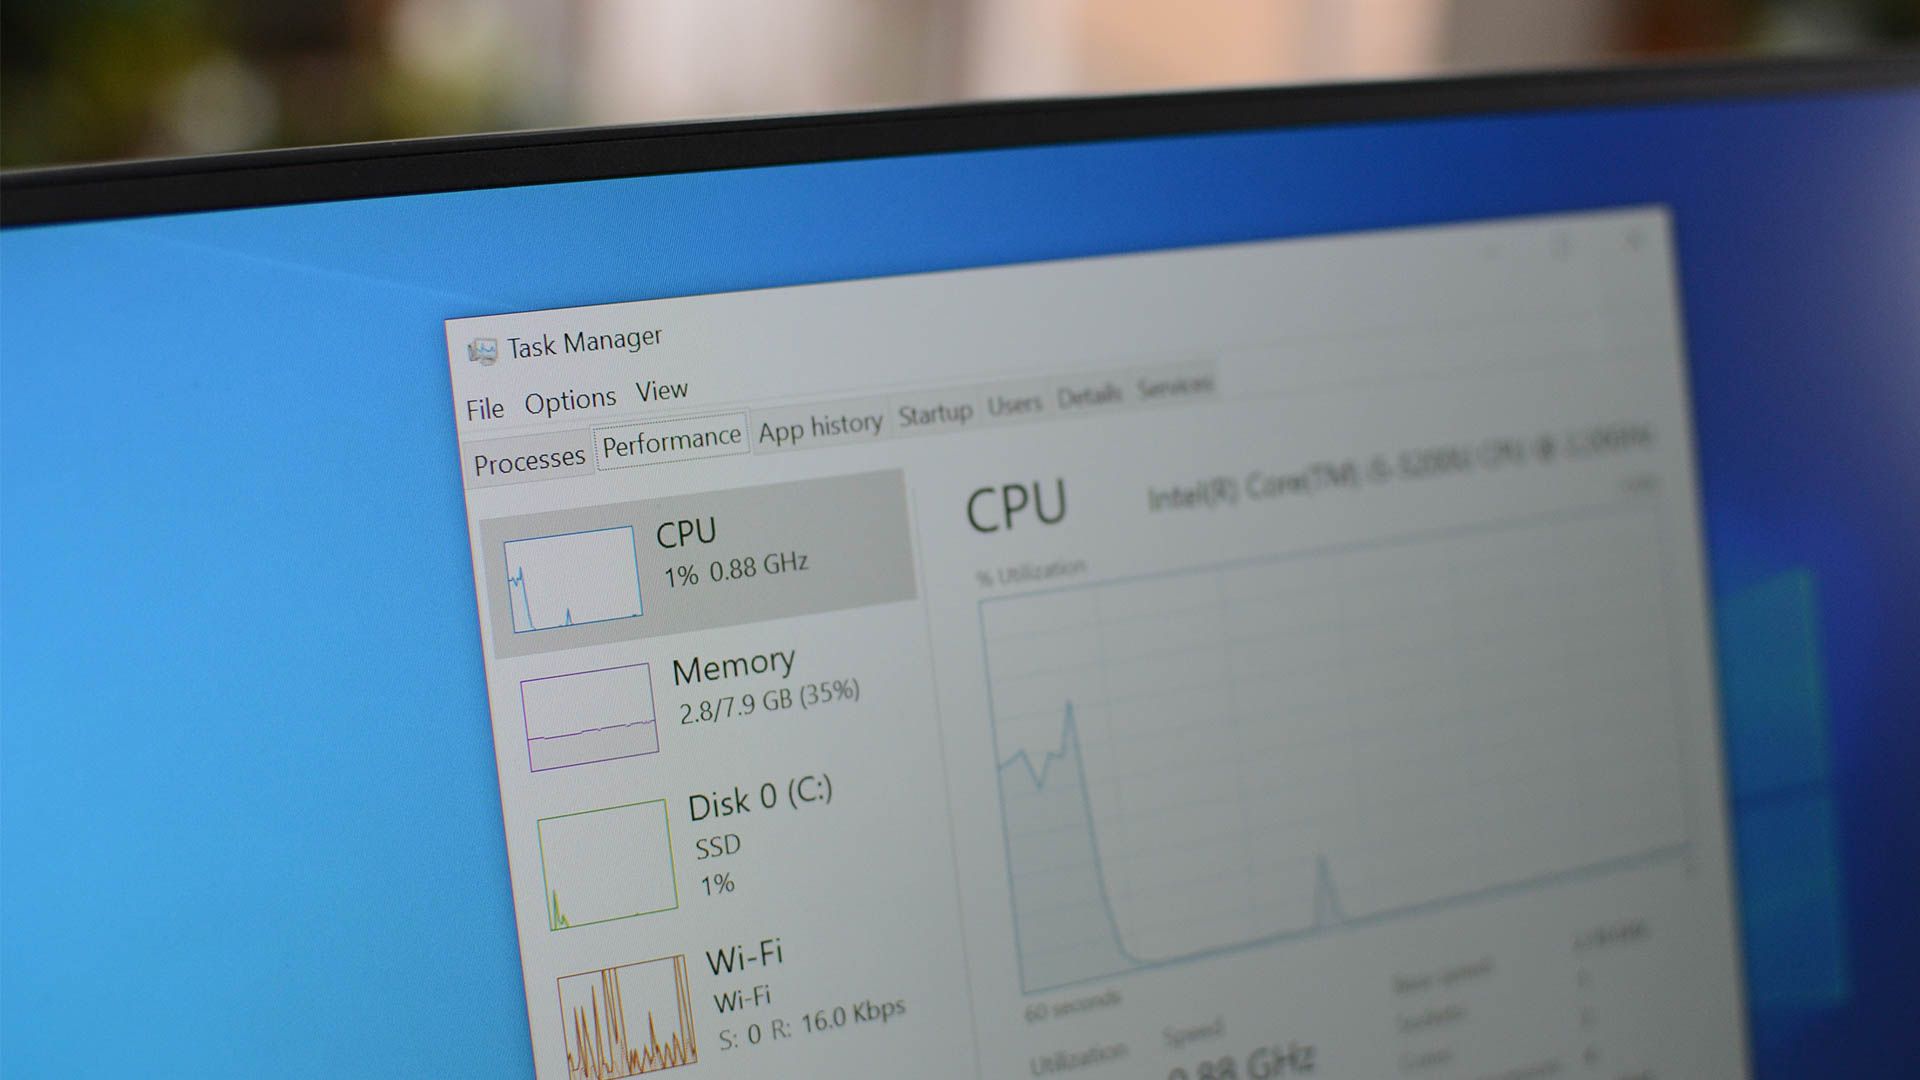
When Task Manager opens, if you’re on Windows 11, select “Performance” in the left sidebar. If you’re on a Windows 10 PC, in the tab list at the top, select the “Performance” tab.
In the “Performance” tab, you’ll find a section saying “Up Time.” This section tells you the time duration your computer has been operating for. This is the amount of time that has passed since you turned on your computer.
Now that you know your system’s uptime, you can use it wherever you want to use it.
Command-Line Method: Use PowerShell to Check Your Windows Uptime
If you like running commands, you have a command that you can use in your PowerShell utility to find your computer’s uptime. This method works the same way on both Windows 11 and Windows 10, and we’ll show you how to use it.
First, open a PowerShell window on your PC. Do this by opening the Start Menu, finding “PowerShell”, and clicking the utility in the search results.
On the PowerShell window, type the following command and press Enter:
(get-date) - (gcim Win32_OperatingSystem).LastBootUpTime
When your command executes, you’ll see various values on your screen. These values refer to how long you’ve been using your computer. This is the amount of time that has elapsed since you booted your computer.
When you’ve finished viewing the uptime information, you can close your PowerShell window.
And that’s how you know how long it has been since your computer was turned on. Very handy in some cases!


