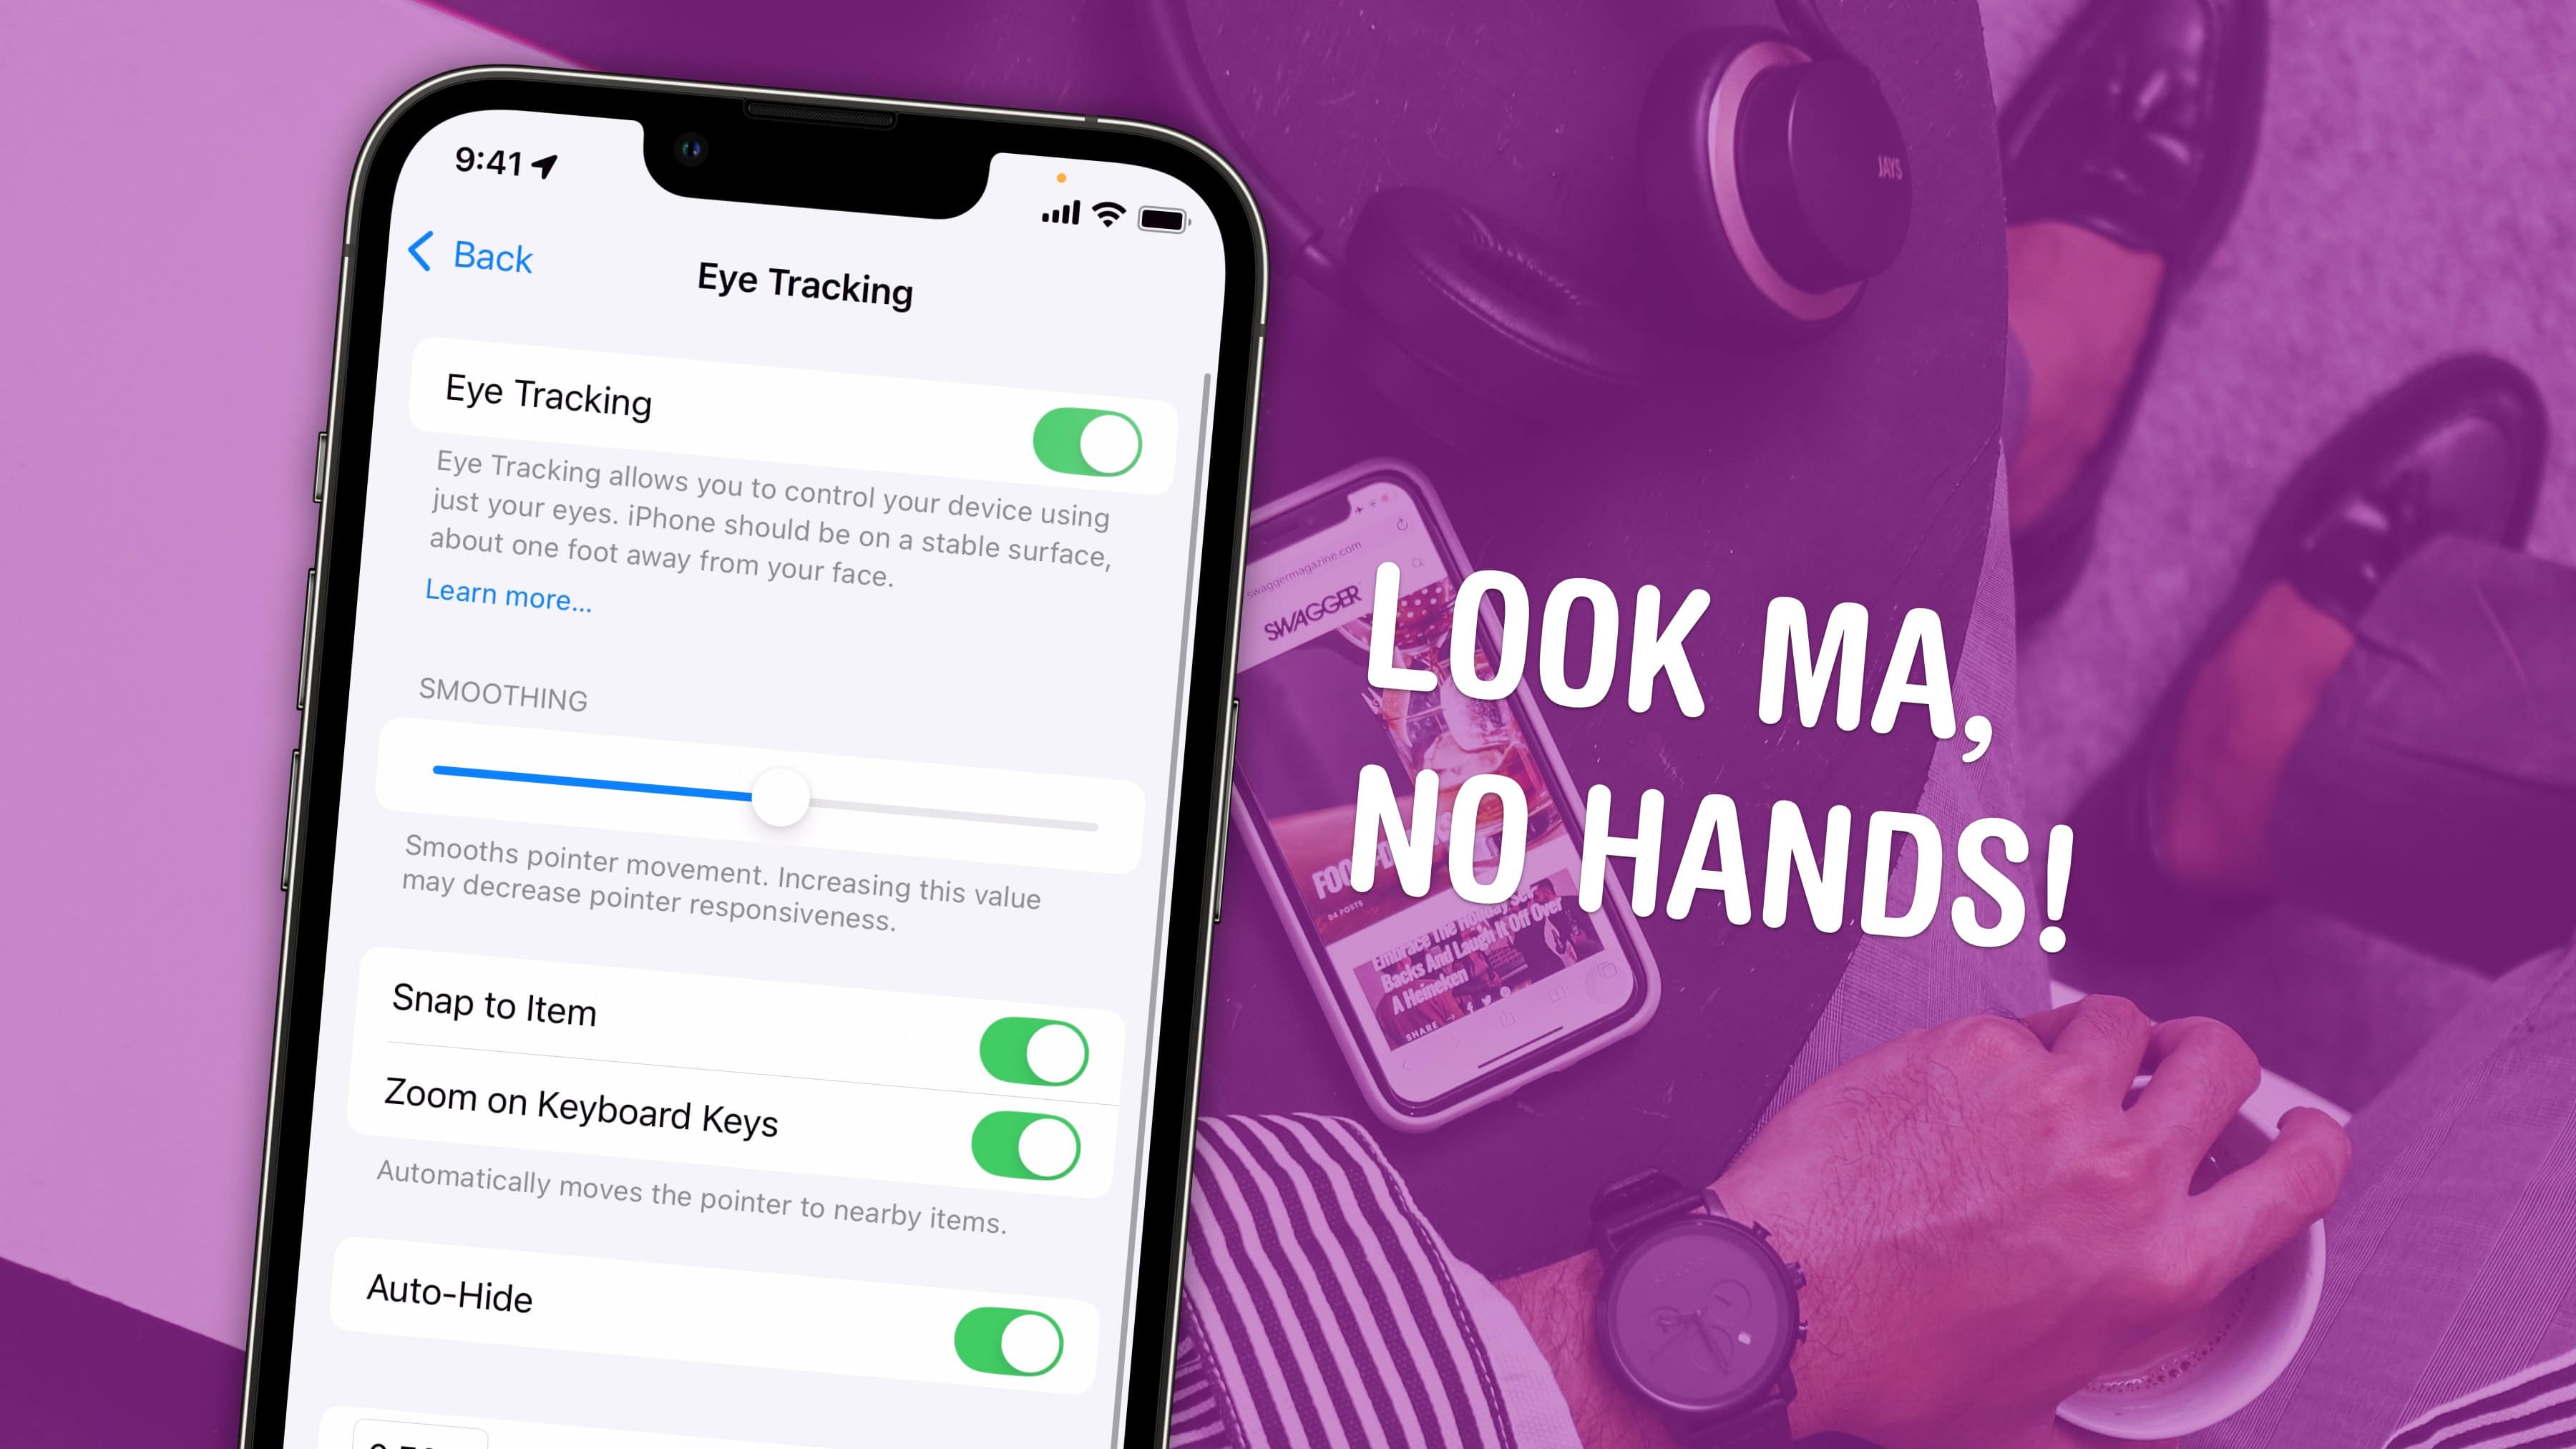
Eye Tracking is a pretty remarkable and ambitious accessibility feature that lets you control your iPhone entirely with your eyes. You can use this feature in a pinch if you need to use your phone with soapy hands while doing the dishes or with grimy hands while working on a car or doing other dirty work. Alternatively, if you’re losing your fine motor skills, this feature could be an essential one to learn.
Likely borrowing some of the software from the advanced Vision Pro headset, this feature lets you control your iPhone hands-free. And once you set up Eye Tracking, can unlike the iPhone’s Sound Actions feature. It lets you perform certain functions, like toggling your flashlight or taking a screenshot, just by making various mouth noises.
Keep reading or watch our video.
How to use Eye Tracking on iPhone
Apple showcased the Eye Tracking feature in May 2024, alongside Music Haptics and Vocal Shortcuts. As with so many of Apple’s accessibility features, they solve specific problems for people with certain disabilities. But anyone can use them, now that the latest accessibility features are live in iOS 18.
Table of contents: How to use Eye Tracking on iPhone
- Enable Eye Tracking
- How to use Eye Tracking
- Adjust Eye Tracking settings
- Make Eye Tracking work better on your iPhone
- Set up Sound Actions
- More great accessibility features
Enable Eye Tracking

Screenshot: D. Griffin Jones/Cult of Mac
Enable it in Settings > Accessibility > Eye Tracking, in the Physical and Motor section. Just like on the Vision Pro, you’ll need to calibrate your iPhone by following a dot along on the screen.
How to use Eye Tracking
Once you activate Eye Tracking on your iPhone, you’ll see a gray floating on-screen cursor that follows your eye.
- The cursor snaps to a button or toggle switch to select it.
- If you hold your gaze in the same spot for a moment, a ring-shaped progress bar will draw around the cursor, letting you know that it’s about to tap the part of the screen underneath it.
- Stare at the floating on-screen button to bring up a menu. This menu lets you control gestures like scrolling, adjusting volume, and bringing up the Home Screen or Control Center.
- You can recalibrate the eye tracking at any time by staring in the upper left corner of the screen.
Adjust Eye Tracking settings
What to customize how Eye Tracking works on your iPhone? Go to Settings > Accessibility > Eye Tracking, and you find a variety of settings to control how the feature works:
- Smoothing is an adjustable slider that sets how closely Eye Tracking should match your eyes’ movement to the pointer on your iPhone’s screen. Less smoothing will be faster, but twitchier.
- Snap to Item will select buttons, toggles and other user interface elements if your gaze gets close to them.
- Zoom on Keyboard Keys will magnify the iPhone’s keyboard as you enter text.
- Auto-Hide sets how long you need to look at the iPhone’s screen before the Eye Tracking cursor appears.
- Dwell Control is what taps a button when you stare at it for a moment. You can customize these settings in Settings > Accessibility > Touch > AssistiveTouch in the Dwell Control section toward the bottom.
Make Eye Tracking work better on your iPhone
Apple says that for best results with Eye Tracking, you should place your iPhone on a stable surface about 1 foot away from your face. I recommend putting your iPhone on a MagSafe stand, getting close to it, and making sure there aren’t a lot of reflections or glare if you’re wearing glasses. It might also help if your iPhone is in Dark Mode.
The feature performs better on my iPhone 16 Pro, which has a better camera and more processing power than my old iPhone 12 Pro. But it still does not work as well as on the Vision Pro. That’s not surprising: The Vision Pro headset places multiple cameras within an inch of your face; iPhones only come with one front-facing camera and typically are held at arm’s length. The accuracy isn’t going to be the same.
Set up Sound Actions

Screenshot: D. Griffin Jones/Cult of Mac
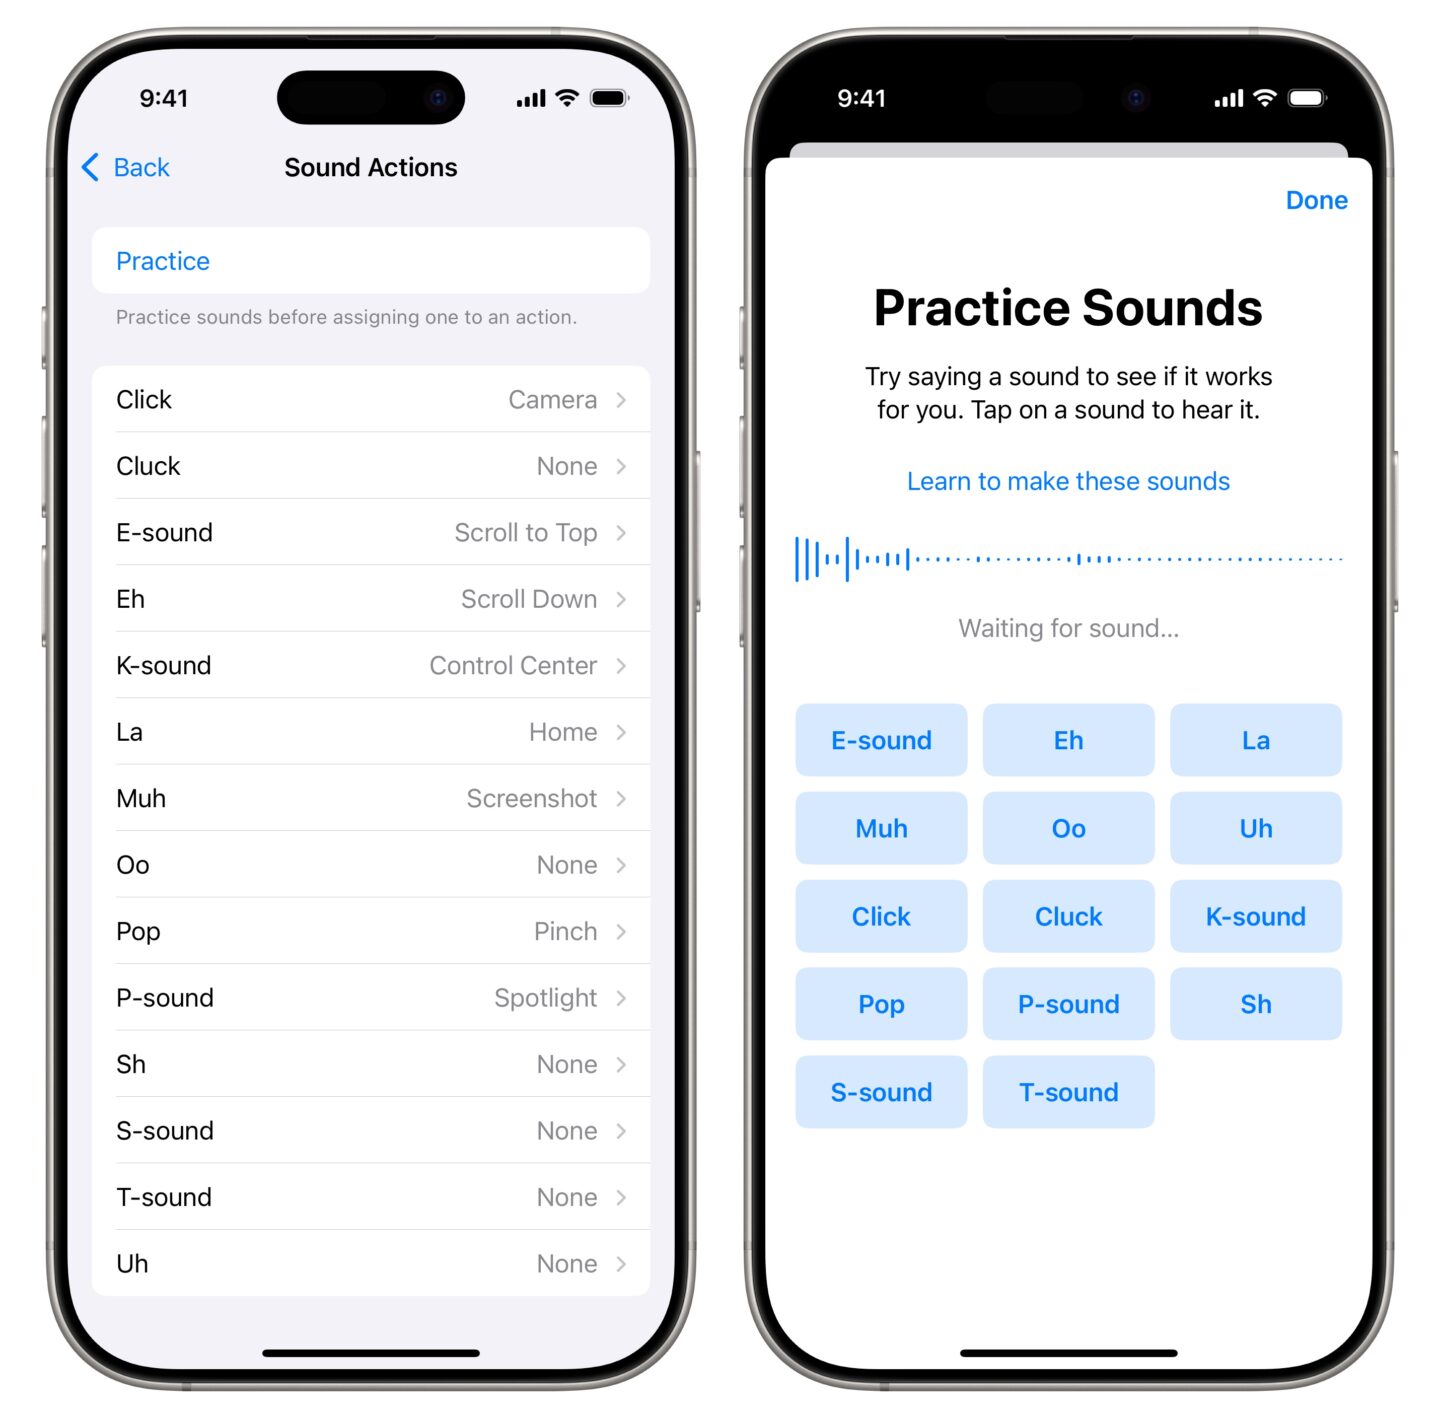
Once you set up Eye Tracking, you can enable Sound Actions, which let you control your phone using your voice. iOS offers a wide array of functions you can assign to different vocal noises. In Settings > Accessibility > Touch > AssistiveTouch, scroll down to the bottom and tap Sound Actions.
Tap Practice to see all the possible sounds that can trigger Sound Action. If you’re not sure what the difference is between “E-sound” and “Eh,” or “Click” and “Cluck,” tap Learn to make these sounds for a quick guide. Tap Done to go back and assign a function to a noise.
Tap on any sound, then tap on the feature you want to use. You can trigger features like the Action button, flashlight, Control Center, screen rotation lock, Reachability, screenshot and Spotlight. It can also trigger other accessibility features, like Background Sounds, Live Captions and Vehicle Motion Cues. You can even use Sound Actions to scroll up and down on the iPhone’s screen.
Sound Actions are only active while Eye Tracking is active.
More accessibility features
Check out other neat accessibility settings:


