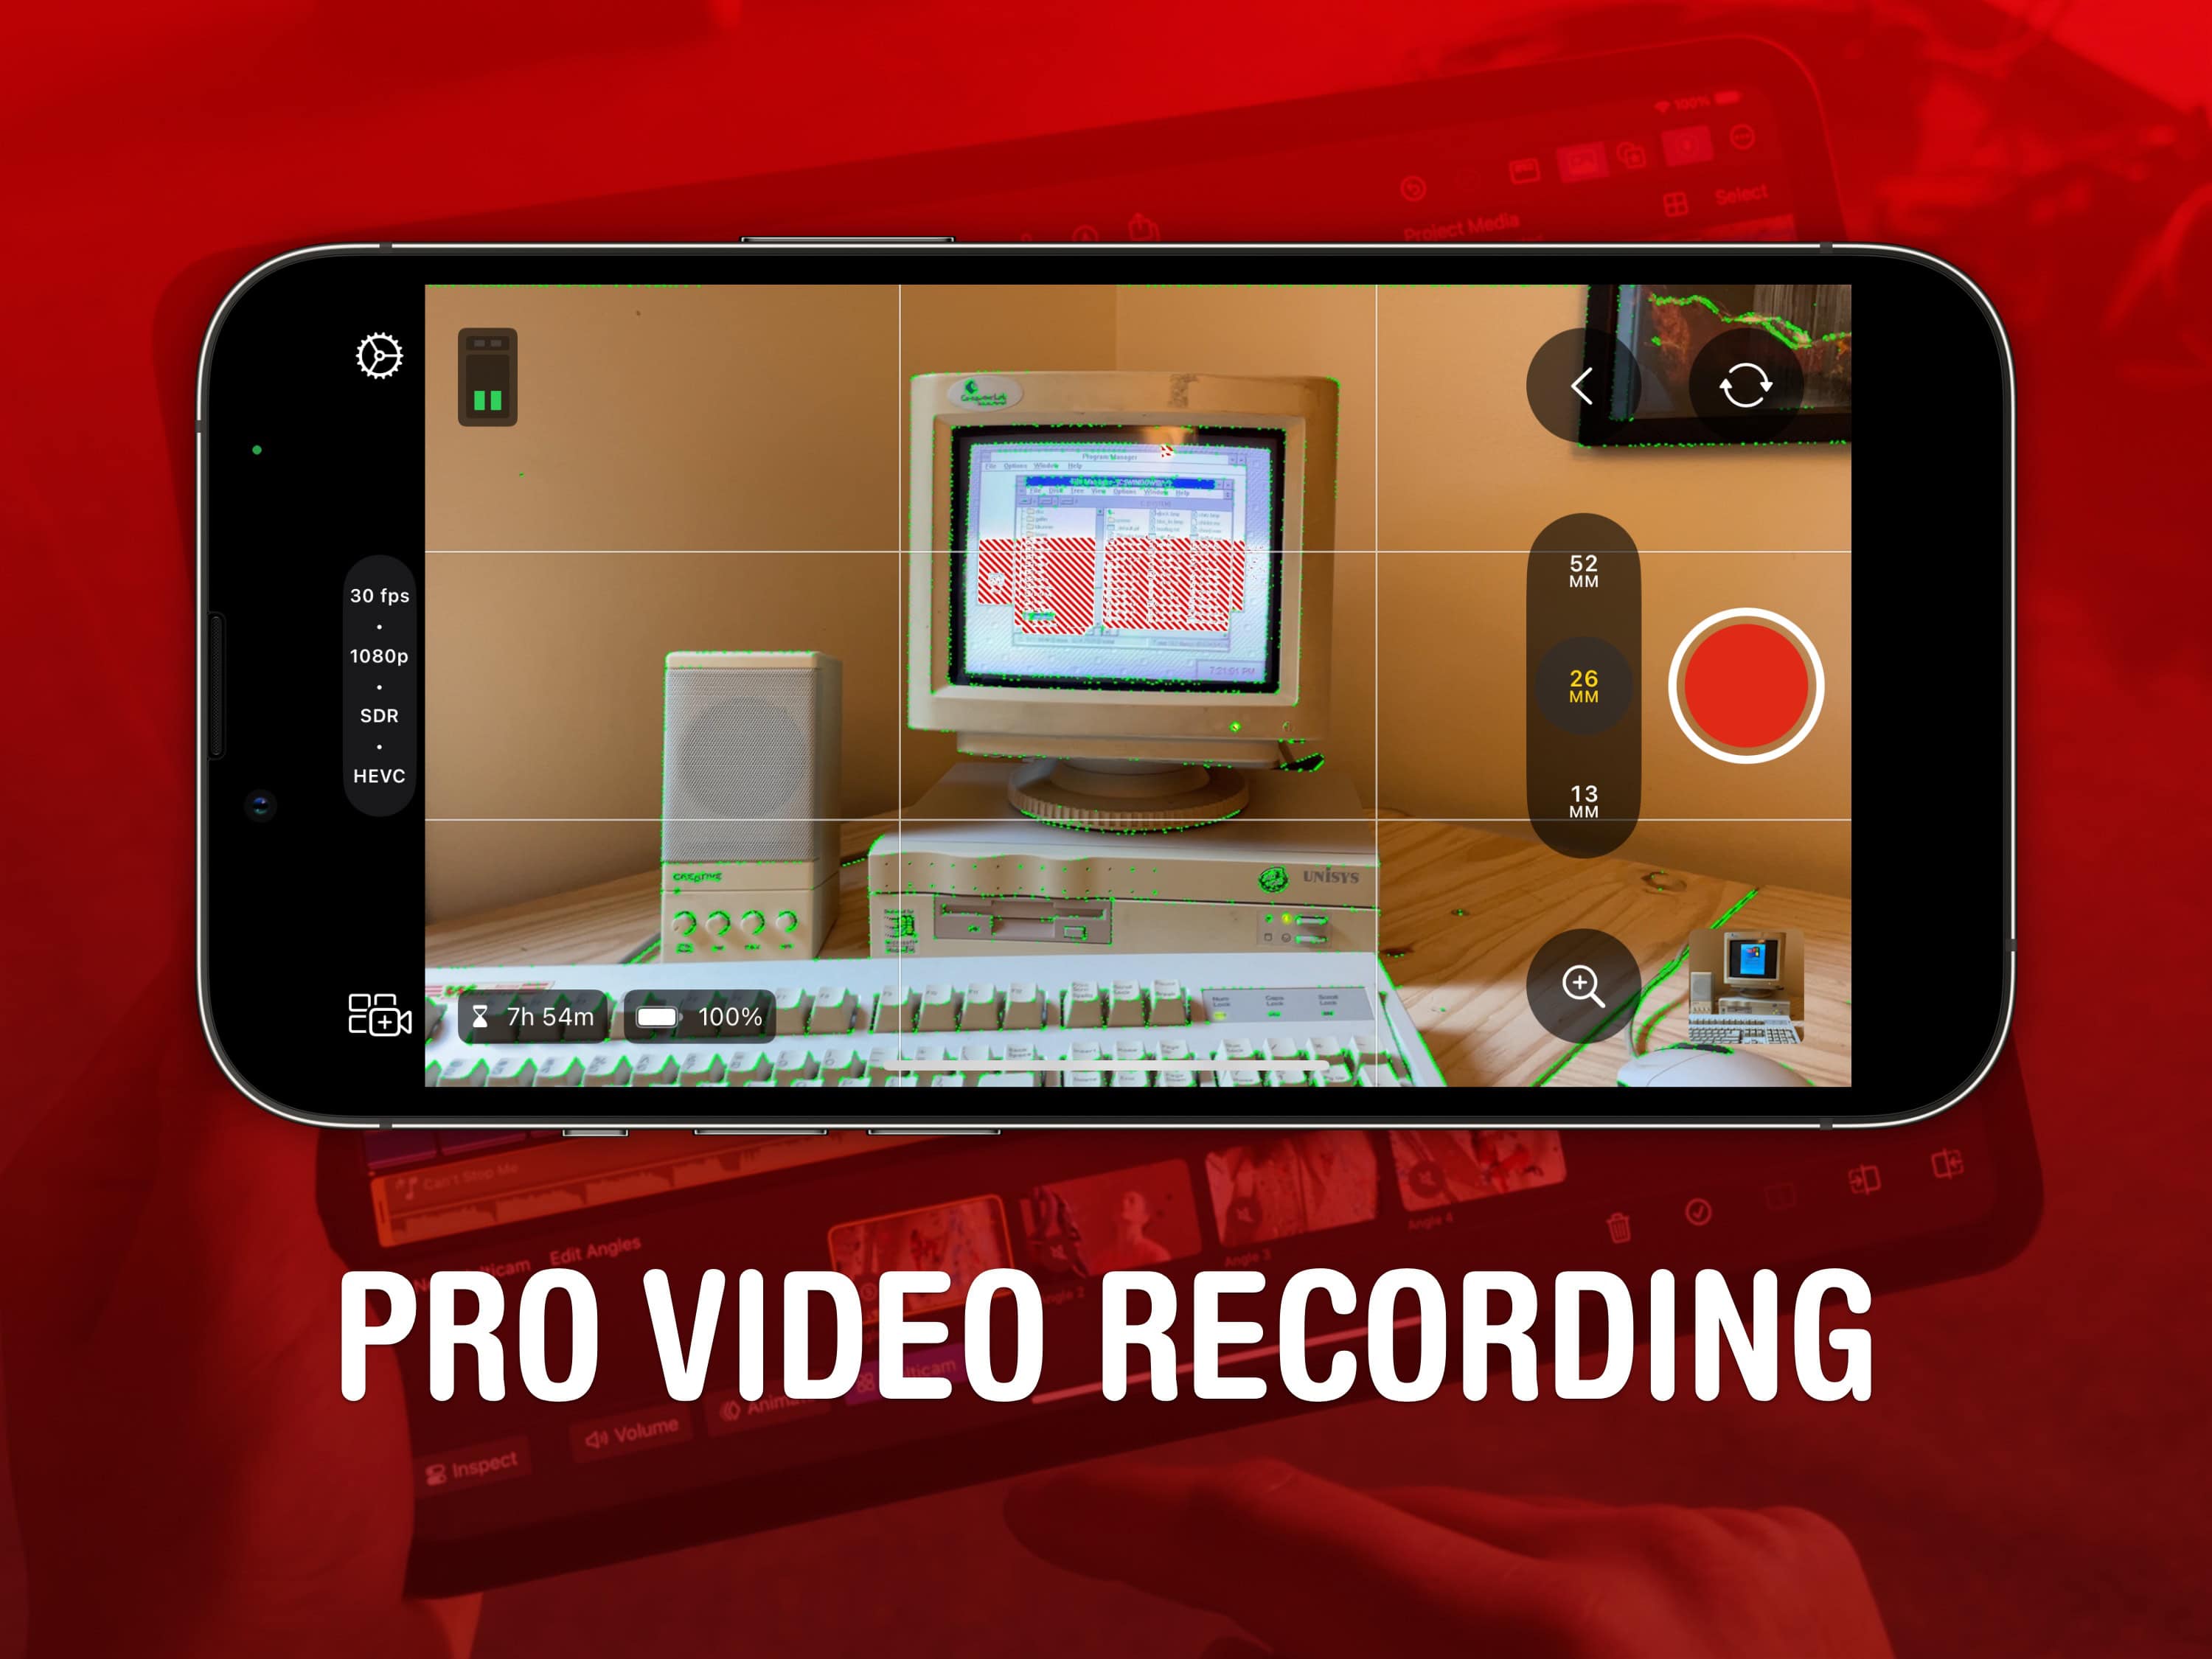
Final Cut Camera is a new Apple app that offers incredible manual control over your iPhone’s camera system. If you use your phone for professional videography — or even for a hobby project — you should use this free app to take videos rather than sticking with the stock Camera app.
Final Cut Camera comes absolutely packed with professional features the Camera app can’t match. The new app gives you finer control over exposure, white balance, color temperature and more. You can enable image overlays to see which parts of the frame are in focus or overexposed. In short, it’s a highly versatile camera. You can even pair it with Final Cut Pro for iPad to capture footage from multiple iPhones simultaneously.
Final Cut Camera is totally free on the App Store. Keep reading to learn how to use it.
How to use Final Cut Camera for iPhone
Final Cut Camera requires iOS 17.4, which Apple released on March 5, 2024. It’s compatible with the iPhone XS and later.
Quickly adjust resolution, frame rate and color space

Screenshot: D. Griffin Jones/Cult of Mac
When using Final Cut Camera, you will see details about the quality of video you’re shooting near the Dynamic Island (or notch) on your iPhone. Tap on this area to expand it and make adjustments. In order, the app shows:
- Video codec: For me, the only option is HEVC.
- Video color: The default is HDR, but you can reduce it to SDR.
- Video resolution: You can pick 4K, 1080p or 720p.
- Frame rate: Pick between common formats like 24 fps, the standard in film and TV; 25 fps, common in Europe; 30 fps, common for home video; 60 fps, for smoother video; and 120 fps, for slow-motion video.
Nearby, you’ll see an hourglass icon with a label indicating how much space is available on your iPhone to store your video. Make your selections and tap × to close the menu.
Zoom in and out
You can zoom in and out between your iPhone’s different rear cameras or its front-facing camera. Instead of the usual 0.5×, 1×, 2×, 3× and 5× labels used in the regular Camera app, the different lenses show up in Final Cut Camera named after equivalent camera focal lengths of 13 mm, 26 mm, 52 mm, etc. Tap a label to switch lenses to an optical zoom level.
Tap the magnifying glass icon next to it to zoom in digitally. You can slide your finger to zoom smoothly. Slide your finger farther away from the center to zoom in fast, or gently roll your finger up or down to zoom slowly.
Access manual controls in Final Cut Camera

Screenshot: D. Griffin Jones/Cult of Mac
Tap the arrow button in Final Cut Camera to bring up a variety of manual controls:
- The light bulb and sun button adjusts the color temperature — whether whites are tinted bluer or yellower. Slide on the level to adjust. Tap Auto to pick from one of the presets.
- The plus/minus button adjusts exposure — how bright the image looks. The slider is a combination of shutter speed and ISO, two factors that affect the overall brightness of the image. To adjust them manually and individually, tap Auto, then tap either Shutter or ISO.
- The AF button adjusts focus.
- The rotation lock button can force your iPhone to a specific orientation — left, right or portrait. Orientation is always locked once you start recording, but if you want to record something with the device held upside down, this will help you set up your shot. This works independently of whether Orientation Lock is enabled on your phone.
Save and send your video recordings

Screenshot: D. Griffin Jones/Cult of Mac
Videos you shoot in Final Cut Camera don’t get saved to your iCloud Photos library. After all, if you’re shooting an hour-long wedding ceremony, YouTube video essay or dozens of shots for a short film, you don’t want gigabytes of work filling up your personal iCloud storage.
Tap the preview in the corner to see recorded media. It’s like a mini version of the Photos app — you have a row of recent recordings along the bottom, a scrubbable timeline to watch the video above, and a row of buttons in a toolbar below:
- The first button on the left, Transfer Media, lets you send the video to a nearby iPad running Final Cut Pro for iPad.
- The Share button lets you send the video to a Mac or other device with AirDrop, save it to your library and more.
- The other three buttons, Play/Pause, Mute and Delete, will play back the video, toggle sound or instantly delete the recording.
Tap All Media at the top of the screen to see all your videos in a big scrollable list; tap Camera to go back and shoot more video.
Change settings in Final Cut Camera

Screenshot: D. Griffin Jones/Cult of Mac
Tap the Settings button in Final Cut Camera to bring up the panel. On the Preferences page, you have all the same controls over video format and resolution as before. Additional settings turn image stabilization on or off and let you mirror the front camera if you like.
The second page, Tools, offers options to help you set up your shot.
- Grid Overlay shows a standard 3 × 3 grid to help frame your shot according to the rule of thirds, a commonly used guideline for composing eye-catching shots.
- Aspect Ratio Guide overlays a square or 4:3 section in the middle of the shot, so you can make sure your recording can be cropped down to those aspect ratios later.
- The Overexposure Indicator will add a red hash pattern over areas of the image that are maxed out in brightness, so you can lower the exposure if necessary.
- Focus Peaking will add a lime green outline around parts of the image that are in focus, so you can quickly tell if your subject is blurry.
Note: None of these effects will show up in the final recording. Apple added them in the Final Cut Camera app to help you capture the perfect shot.
Finally, the Audio tab lets you switch between your iPhone’s built-in microphone to a wireless microphone, headset or a plugged-in recording device.
Live Multicam with an iPad (and other iPhones)
Live Multicam lets an iPad with Final Cut Pro use one or more iPhones as remote cameras. Footage shot from each iPhone records directly into the timeline live. With multiple iPhones, the iPad lets you become a director, switching between them with the tap of a button. Read more about how to set this up on Apple Support.
Download from: App Store
Price: Free


