How can you take better pictures with just your iPhone? You should get comfortable with the world’s handiest camera so you can capture memories that will last a lifetime. After all, more and more people are leaving behind family point-and-shoot cameras for the smartphones in their pockets.
If you know the ins and outs of photography, you don’t need the latest and greatest to take gorgeous shots. In fact, the winner of the 2020 iPhone Photography Awards took the prize-winning picture on an iPhone 4!
No matter what phone you have, here are my top iPhonography tips for the casual and curious.
Take better pictures with your iPhone
You can see live examples of my photography tips in this video here:
No. 1: Simplify the shot
What you leave out of a photograph is just as important as what you leave in.
On one extreme, a completely solid background (a painted wall, an empty sky) can look like you’re taking a profile picture or illustrating an eBay listing.
On the other extreme, if you simply point your camera and shoot, the background will be too busy to make anything stand out. Viewers’ eyes will get lost.
This is why I always start with the 2× lens. If it’s zoomed in too far, I just take a step back. Your picture will place greater emphasis on the subject; background details will be pushed away.

Photo: D. Griffin Jones/Cult of Mac
Unfortunately, a physical zoom lens isn’t available on the base model iPhones — only the Pro models benefit from that hardware upgrade. But you can still take some steps to carefully frame your pictures, even if you have an iPhone 13 mini.
- If I’m shooting an object on a table, I either try to angle it with the surface filling the whole frame, or with the table acting as a horizon. Avoid getting table corners in the shot.
- If you’re standing against a railing, either in nature or in a city, try to keep the railing completely out of the shot.
- Pay attention to the edge. There’s always an opportunity to move just a bit this way or that way to keep some little distraction out.
- Always avoid casting a shadow on what you’re shooting. This might require some thoughtful coordination if there’s a clear sky and the sun’s behind you.
No. 2: Use a lot of light
The latest iPhones have ever-bigger sensors for soaking up more light, sensor-shift image stabilization for mitigating blur, focus pixels for sharpening details, and Night mode for bringing a dark, muddy scene to life.
As hard as Apple fights physics with computer science, you get even better pictures if you can capture everything naturally. That means adding as much light as you can.

Photo: D. Griffin Jones/Cult of Mac
If you’re indoors, turn on every light in the room. If you have a lot of light coming from one direction, like a single window or a lamp, put yourself in the middle — you want all that light falling on your subject.
Plus, with more light, your phone can focus faster.
No. 3: Learn the limits of your lenses
Your phone isn’t always honest when you tap 2× or 3× — or even when you leave it on 1×. Sometimes, it’s cropping in on the 0.5× lens or the 1× lens, so you’re only getting a quarter of the resolution.
There are two main causes:
- If it’s too dark in the room, the iPhone Pro won’t use the zoom lens. That’s because the zoom lens has a smaller sensor, so the picture would be too grainy.
- You’re too close to the subject. The 1× lens on the iPhone 14 can’t focus any closer than 8 inches, for example. It’ll switch to the (much worse) 0.5× lens and crop in. Unfortunately, Apple doesn’t publish official numbers for the minimum focus distance, but keep it in mind.
Presenting … my most perfect picture

Photo: D. Griffin Jones/Cult of Mac
This picture of my cat exemplifies every single rule above:
- Shooting with the 2× lens, I kept the edge of the rug out of the shot.
- This picture was taken right next to a gigantic frosted window for room-filling diffuse light. I turned the lamp on, too, for good measure.
- I was a good 2 feet away, plenty of distance for the telephoto lens to properly focus.
Some classical rules of composition are applied, too.
- Using the rule of thirds, the cat’s head is positioned in the top-right third of the image rather than the center.
- The lines on the rug, the shadow cast across the cat’s face and the subdued tones of the shot all work together to point your eyes instantly to the blep of the cat’s tongue.
One more thing: Take better pictures with these iPhone camera accessories

Photo: Moment
If you’re ready to step up your game, I have some iPhone camera gear recommendations for you.
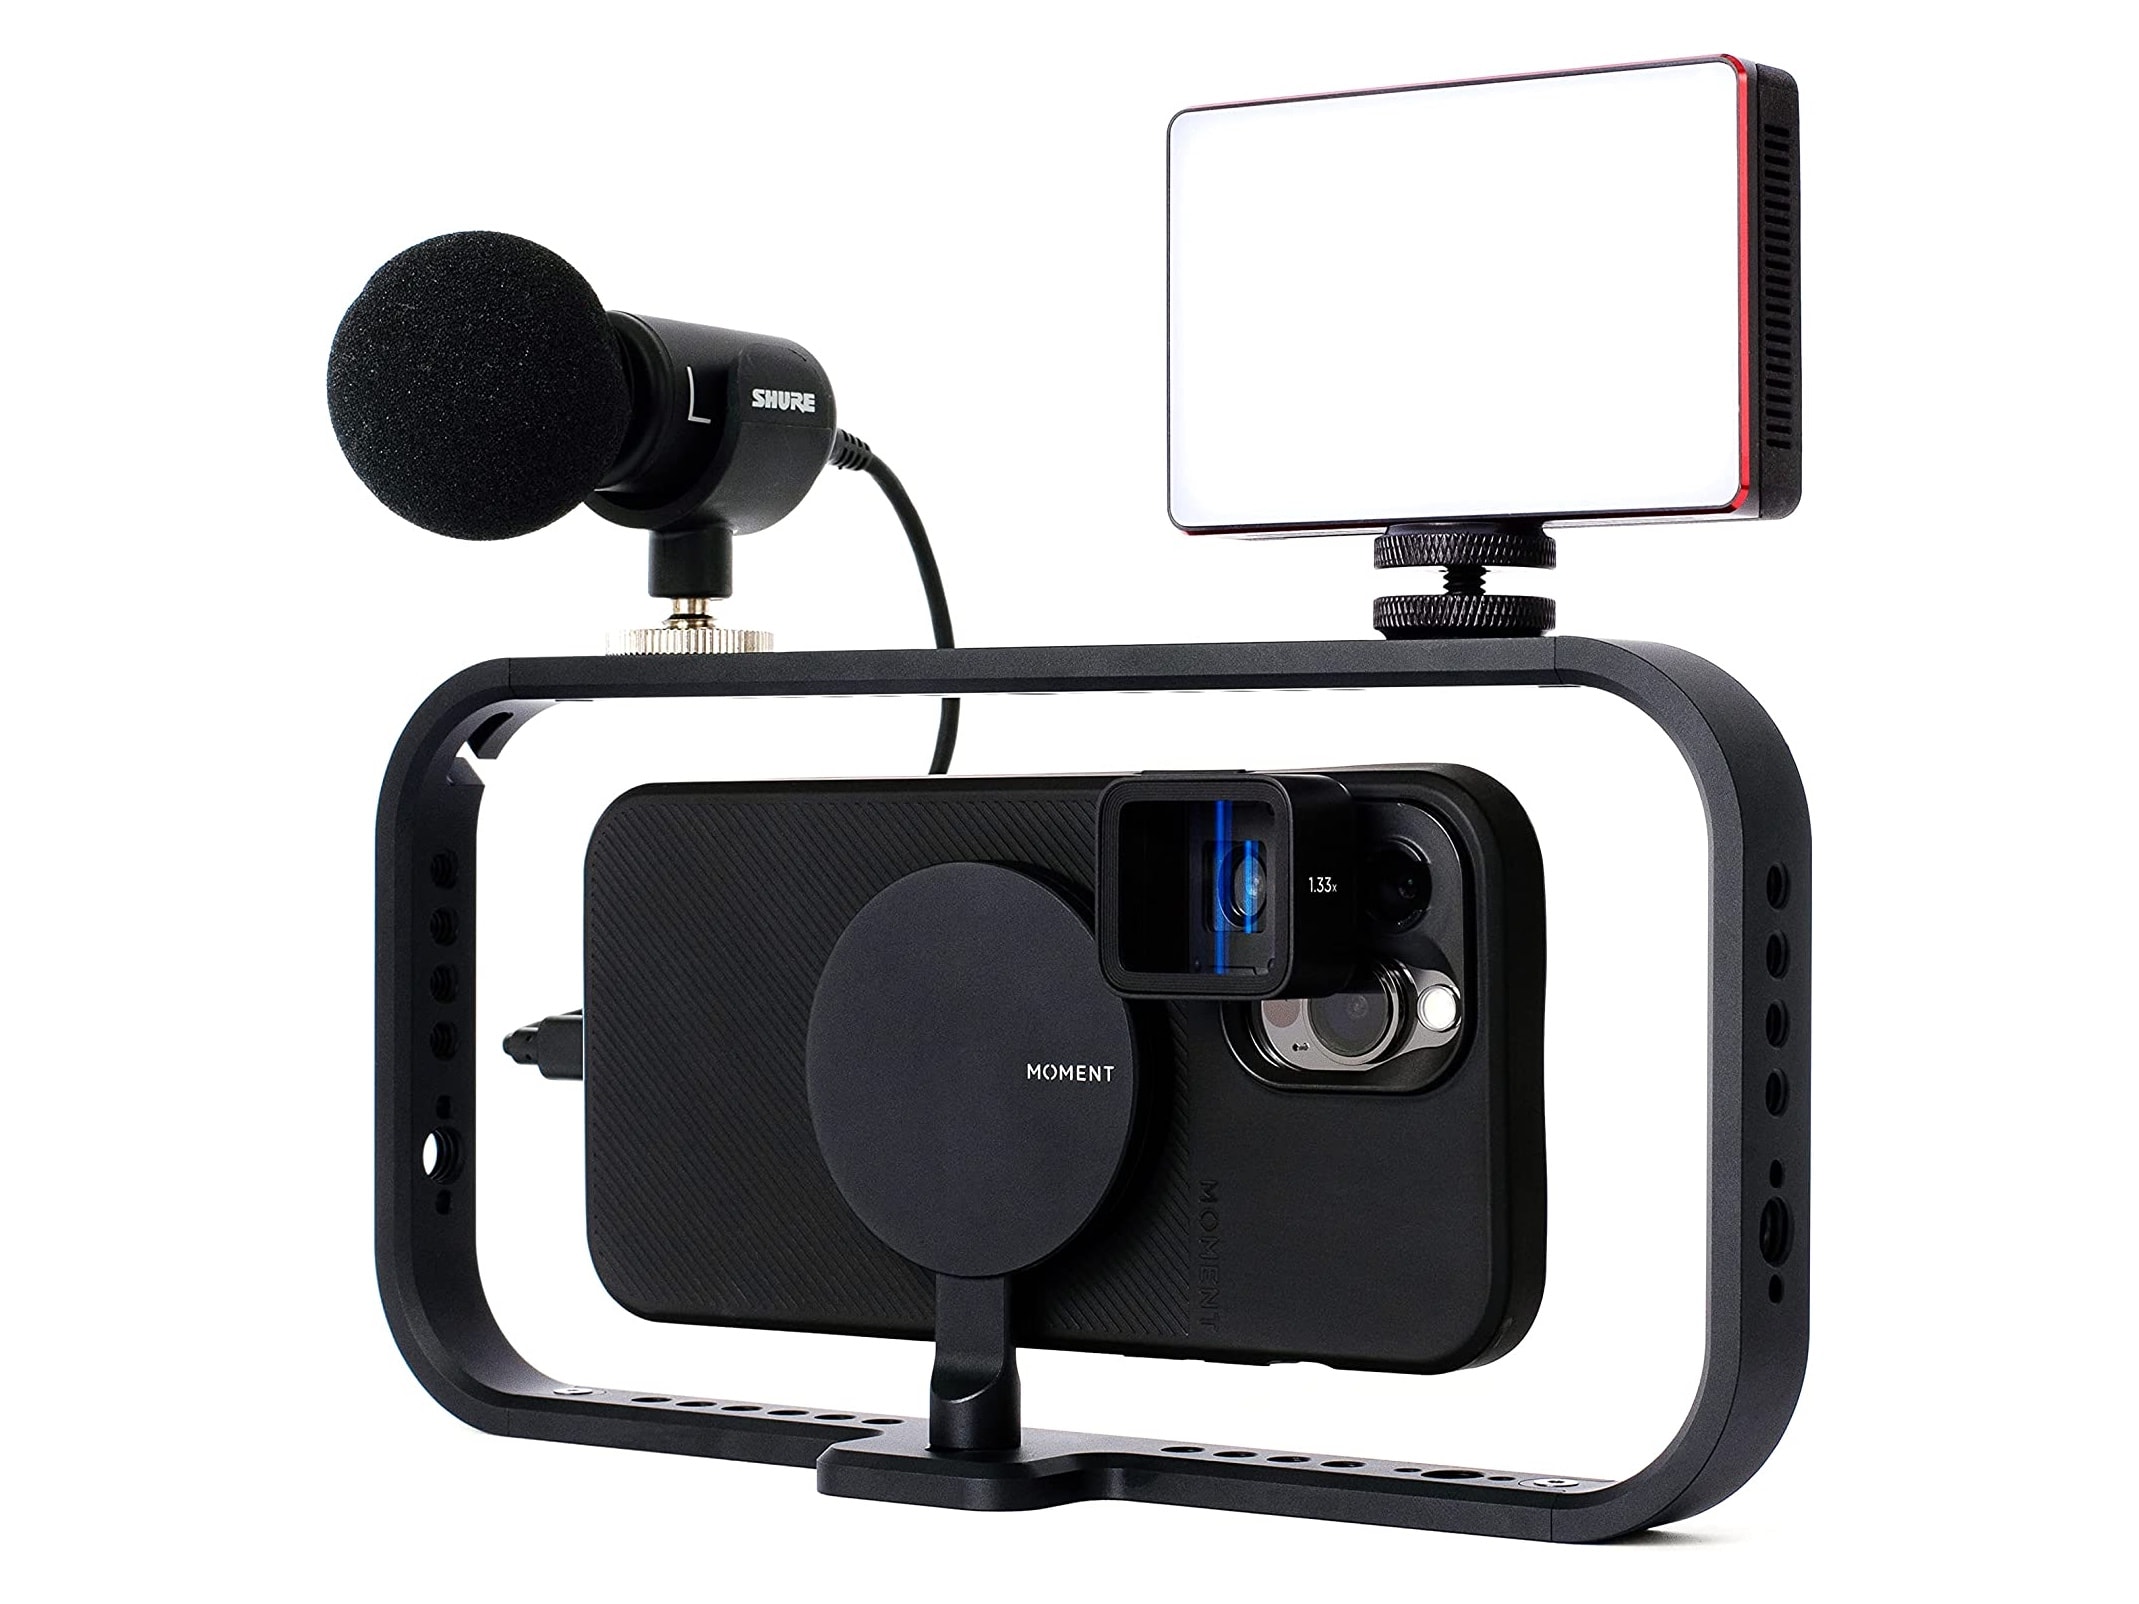
- The Moment Filmmaker Cage is a phone grip that makes it easier to keep steady for those moving handheld video shots. Your iPhone with MagSafe can just plop right in. It comes with tripod and accessory mounting points all around for adding a light, microphone and more.
- Moment’s Telephoto lens adds an extra 2× optical zoom to whatever you attach it to. Add telephoto to telephoto, and you can get up to 6× with the latest pro iPhones — unleashing some truly incredible range at no loss in quality.
- You can attach these lenses to your iPhone by using a Moment case. Or, if you prefer going case-free, this screw-on clip.
Read my full review with more Moment accessories for more details and example shots.


