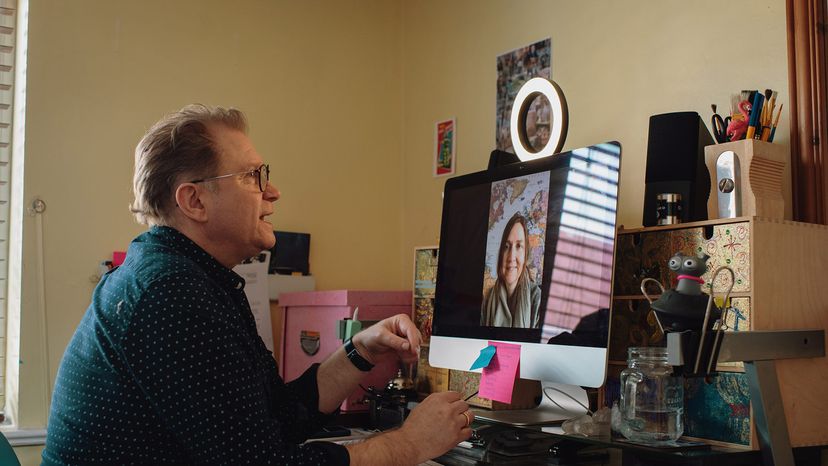

Once you’ve purchased a ring light, it’s time to experiment with brightness and positioning. If you’re using a smartphone or digital camera, place the device in the center of the ring light (it usually comes with a tripod for this purpose, but you can prop it on something like a stack of books.)
If you’re using it with a laptop computer (say for a Zoom call), try to place the light at the upper edge of the computer screen to illuminate your face.
You’ll want to select a fairly high brightness to eliminate image noise. However, too much can actually cause “highlight clipping.” This is undesirable and creates pure white artifacts on your subject. Pay close attention to your image — try cranking up the brightness to the point of clipping, and then backing it down a couple notches. If no clipping is present at the highest setting, then you should be fine leaving it there.
Since the rays that come off a ring light tend to drop off quickly, you’ll want to position the light relatively close to you without being so near that you introduce highlight clipping. We recommend starting with the light placed about a foot (0.3 meters) away, and then trying slightly nearer and farther distances until you find one that you like. If possible, you may also want to angle the light slightly to combat glare.
Glare can also come into play if you’re wearing glasses. In that case, move the ring light from the 12 o’clock position to a 10 or 2 o’clock position and angle the light higher. Experiment to see what is most flattering to your face.
Finally, give some thought to your background elements. If your body is right up against a wall, then it will cast a distracting shadow. Ideally, your background will be at least a few feet away from the subject.


